Hello and welcome to the Waffle Flower’s 2019 January release Blog Hop!
Starting with this release, all of our dies will come de-tabbed and pre-arranged on magnet storage sheets. Dies smaller than 4″x4″ are still adhered to a backer card with tape.

We’ve added Enamel Dots to our line. They are customized to include lots of the tiny dots that our cardmakers love. We have three designs for this release. The Clean & Clear set includes both white and clear dots, perfect for adding dimension and shine to any color combination. Stardust includes white and silver glitter dots. Up & Running features 7 colors of dots from the rainbow of Waffle Flower ink colors. Don’t forget to check them out in the ink section on our website!
We have 5 new stamp sets and 7 dies in this release.
The big, elegant flowers from Magnolia (stamp, die, combo) was illustrated by Karla Jodoin and we have many more beautiful designs by her to come! These sets are great for coloring. The exquisite details in the stamp set will make it easy for even beginners to enjoy. You will also find the the sweet Group Hug (stamp, die, combo), illustrated by Big Bear & Bird. We just love how this brings us a warm and fuzzy feeling. The Here for You (stamp, die, combo) is designed by our fellow cardmaker and designer, JJ Bolton. It has all the sentiments you need to send a heartfelt message to your friends and family in their time of need. The Favorite Valentine (stamp, die, combo), illustrated by Kamo, is the cutest for creating valentines for the classroom and beyond. We also included a 3×4 Spice Pot stamp set for quick cards this month.
The two stand alone panel dies in this release were designed by JJ Bolton and they both work great with the Here For You Stamp Set. The Tile Panel (die) is a modern but classic pattern and is so versatile that it can be used for both feminine and masculine cards. The Painted Landscape (die) is a unique die that makes it easy to create a mountain landscape scene with depth and texture, all in one layer!
For celebrating this release, I made four cards to show you how I could create my cards with such wonderful products!
<Card 1>
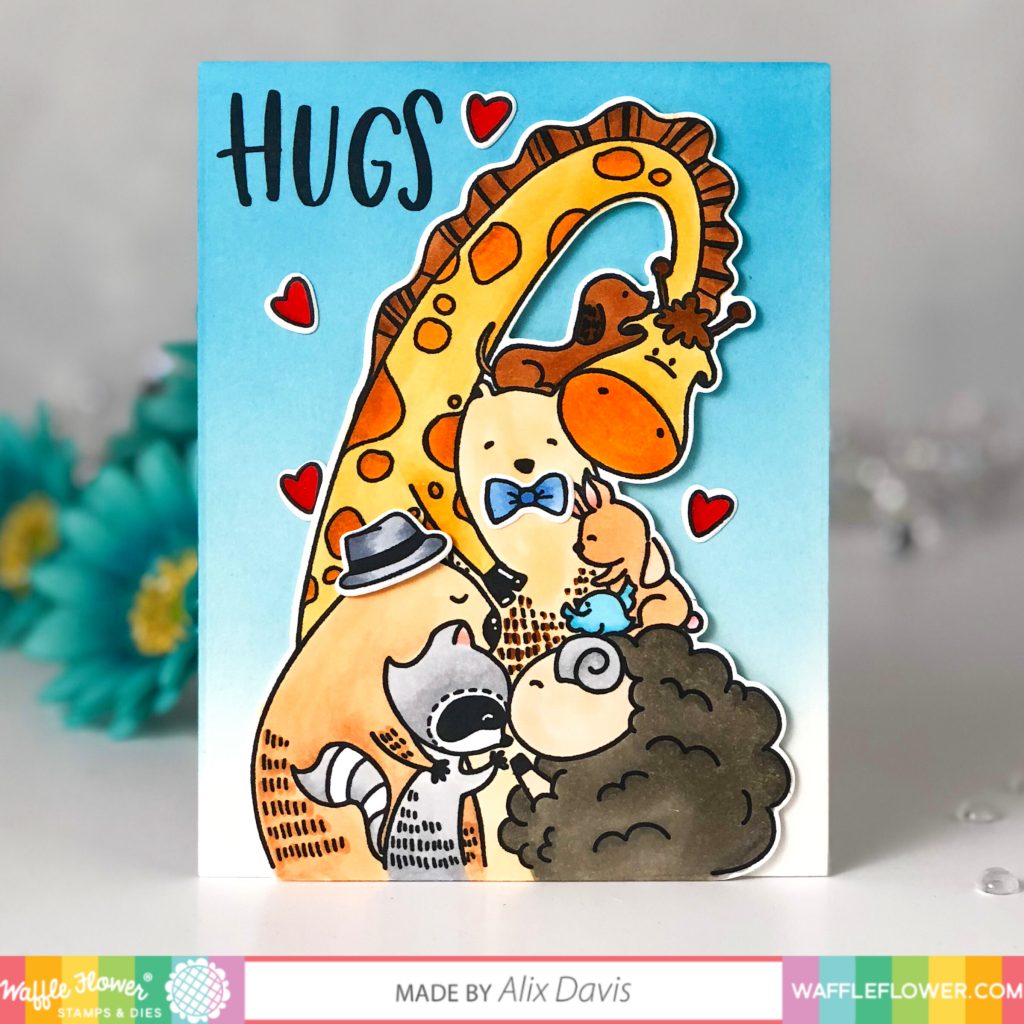
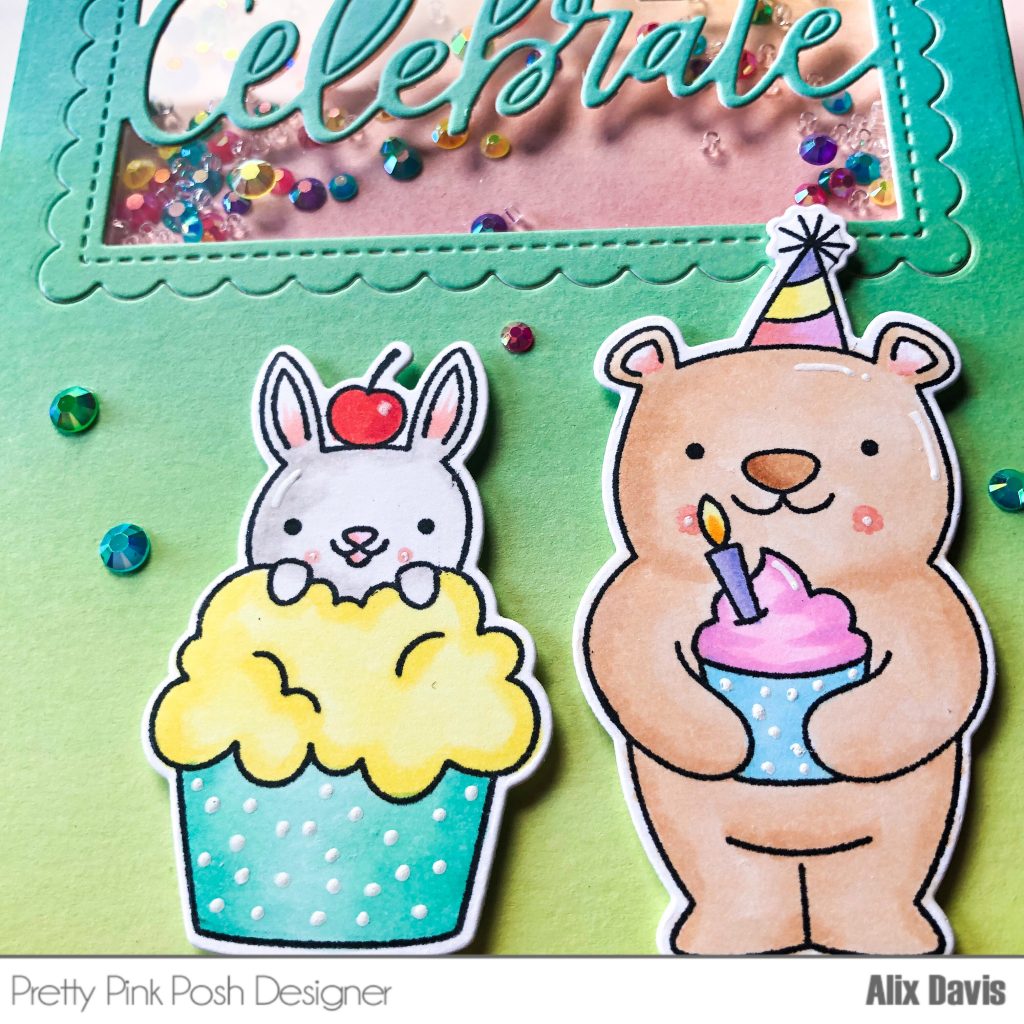
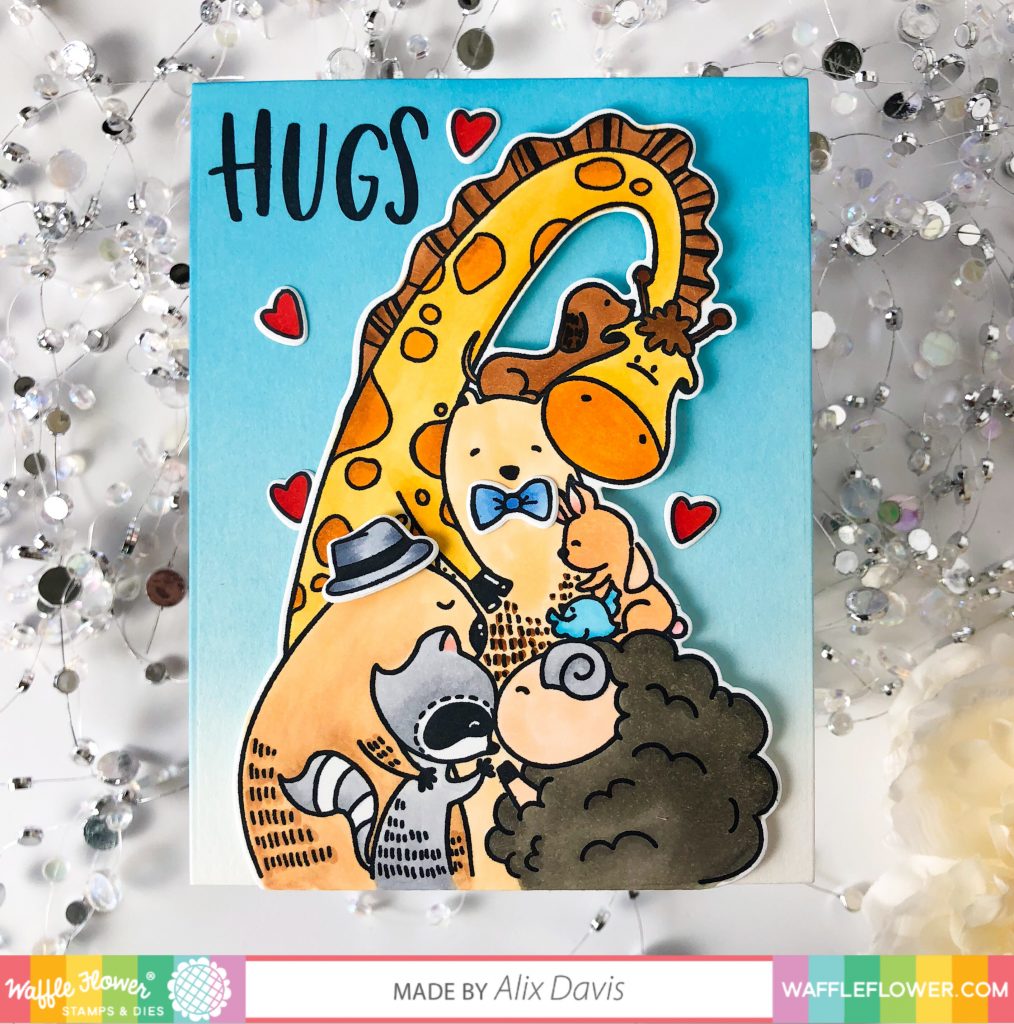
I was always Big Bear and Bird fan and I was so happy to see Waffle Flower Craft has been doing collaborations with her. When you have a large enough great image, you don’t really need to do too much but have having fun coloring them.
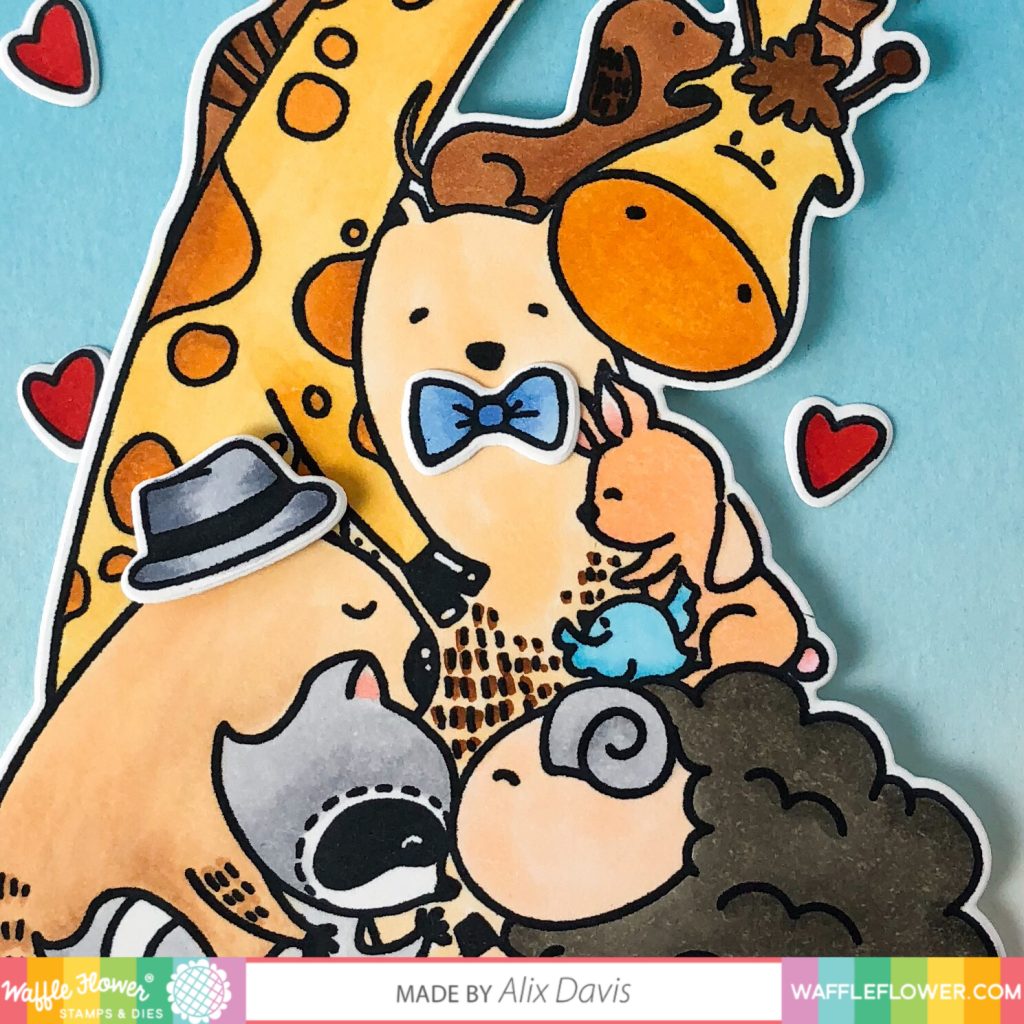
I cut a piece of A2 sized watercolor paper and ink blended the top surface using Tim Holtz Distress oxide ink in Salty Ocean. Then I colored the image from Group Hug Stamp set with Copic markers and cut it with Matching Dies. I decided to keep it simple, so I color and cut some hearts as embellishments. To finish off this card, I stamped the sentiment “Hugs” that came from the same stamp set.
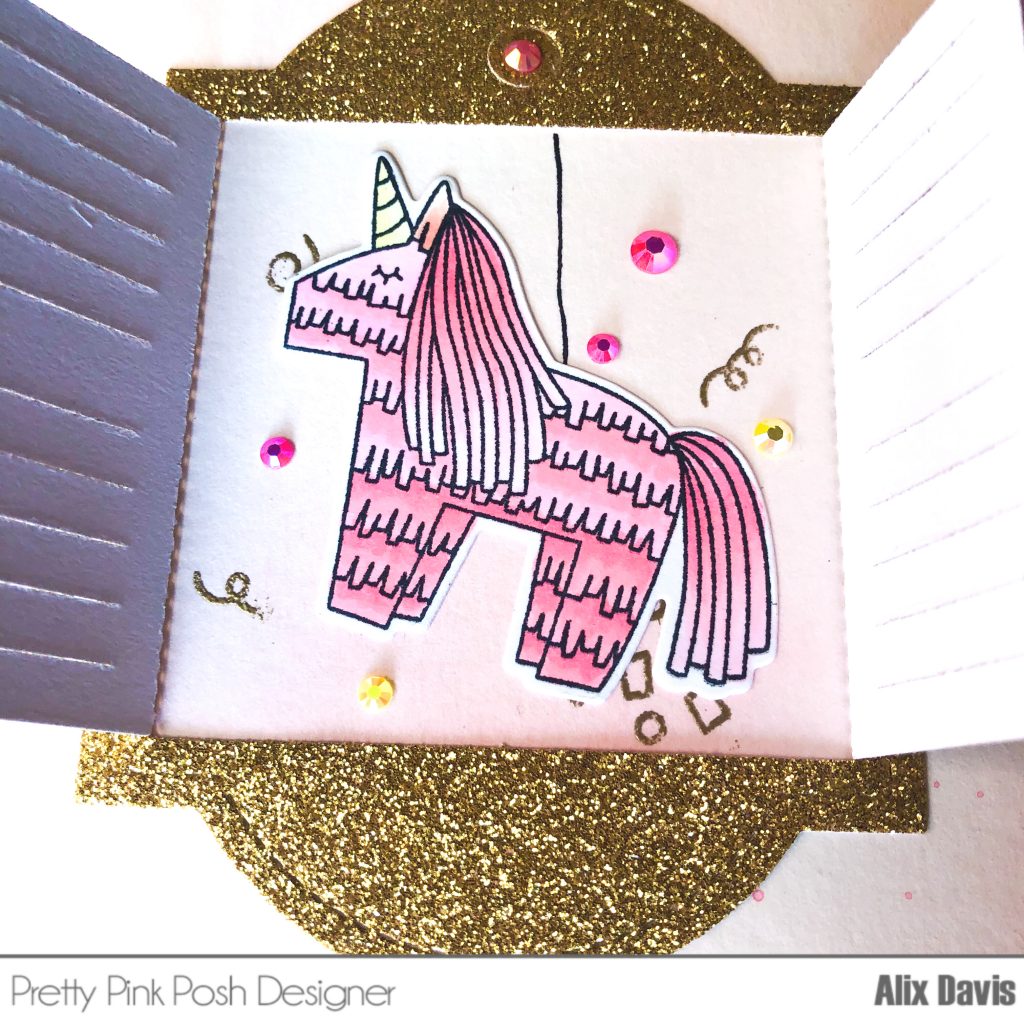
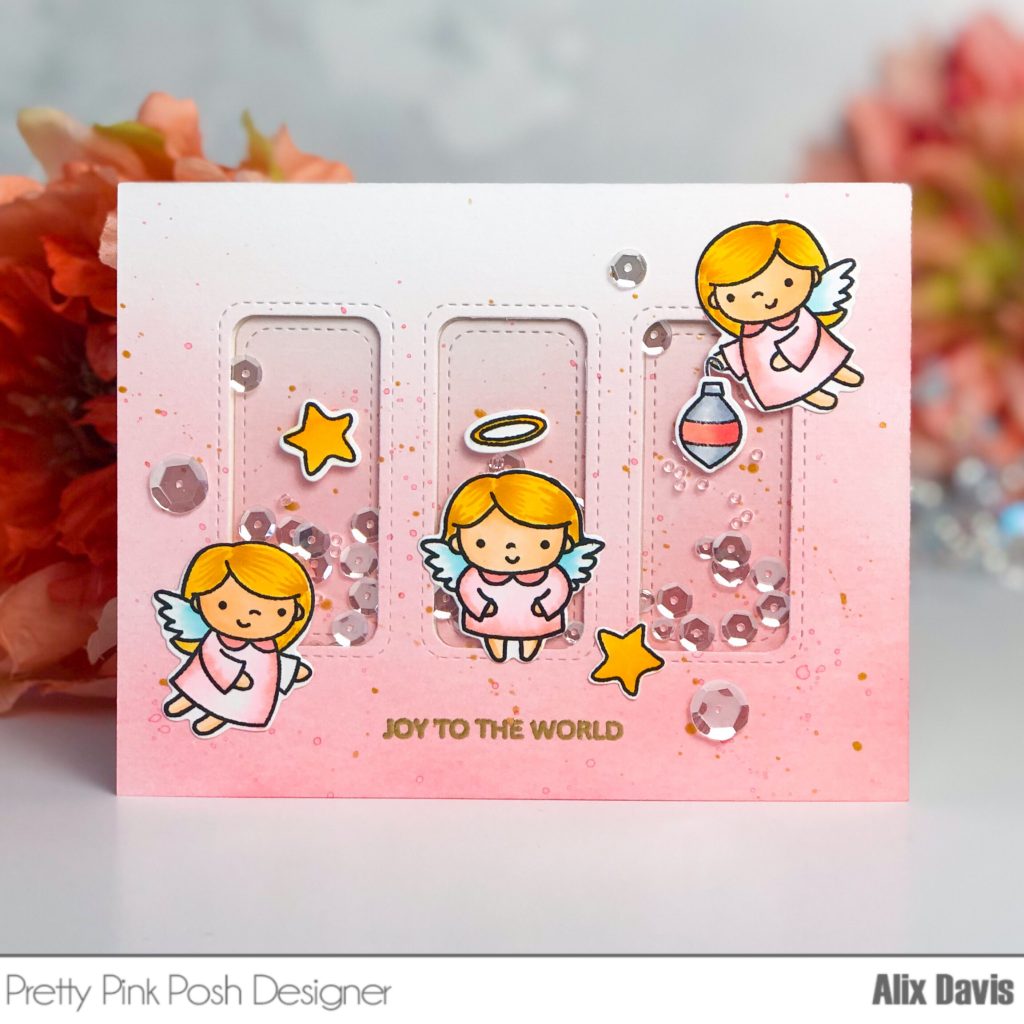
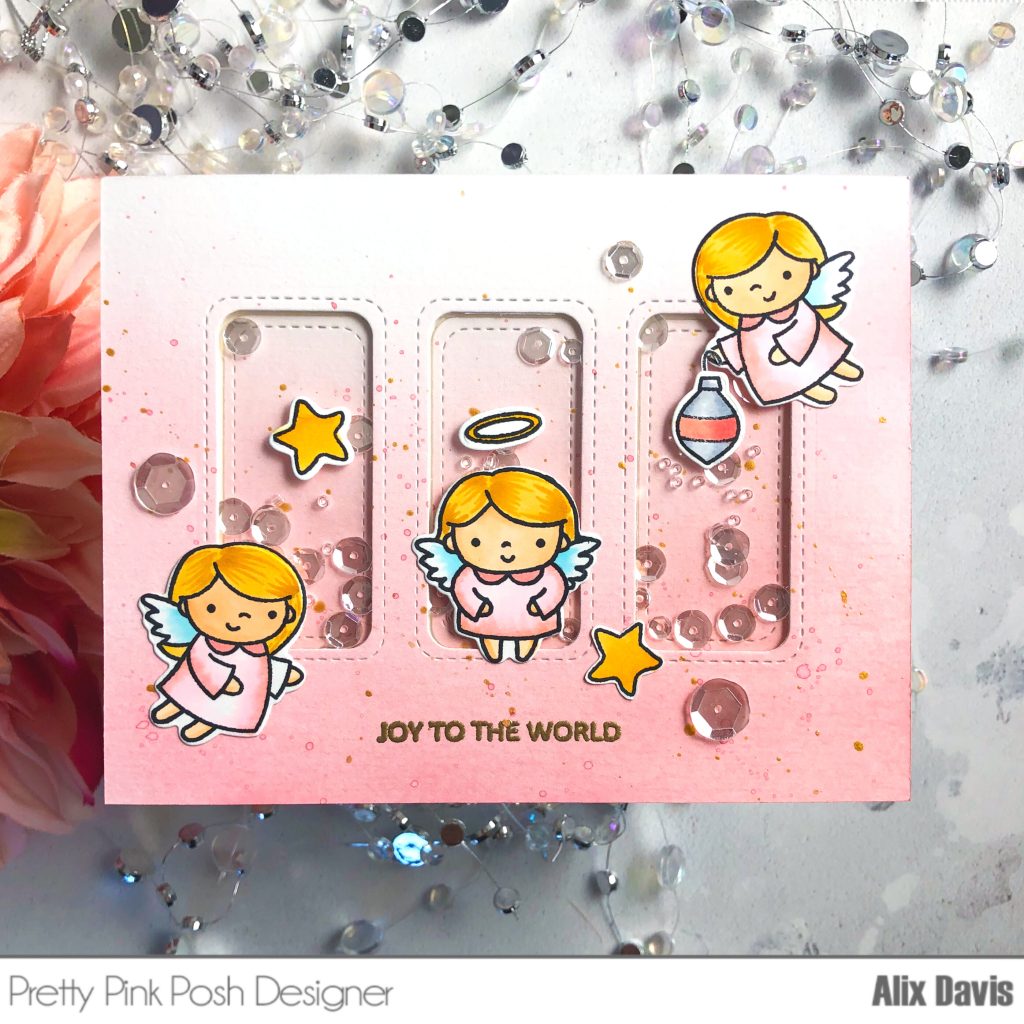
<Card 2>
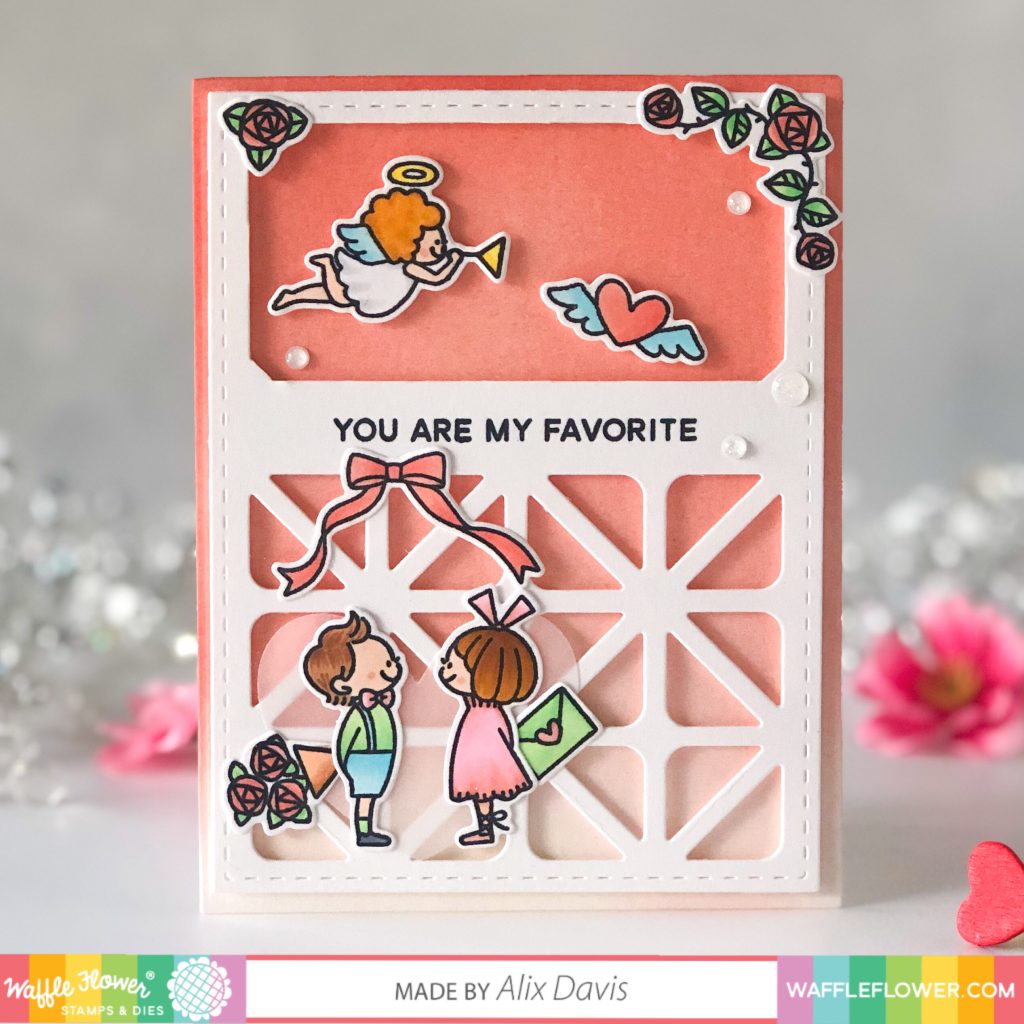
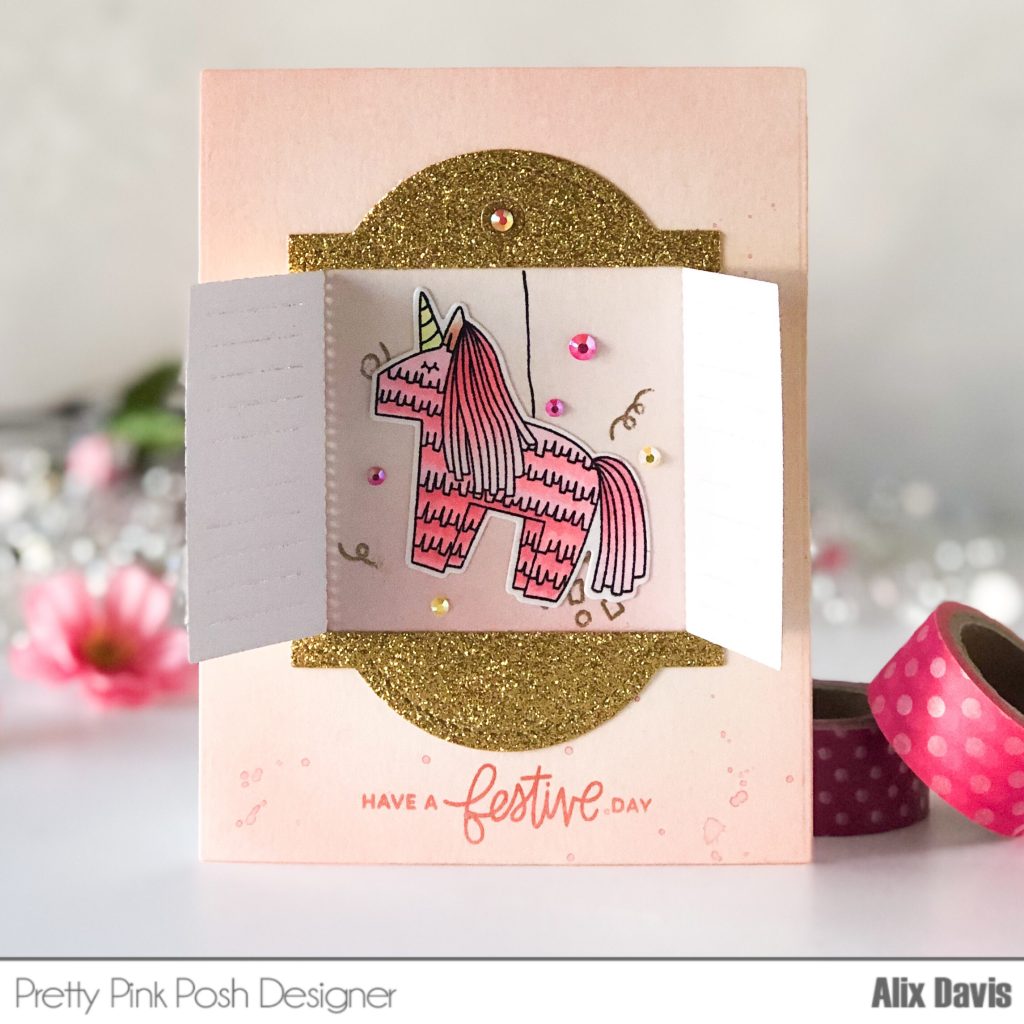
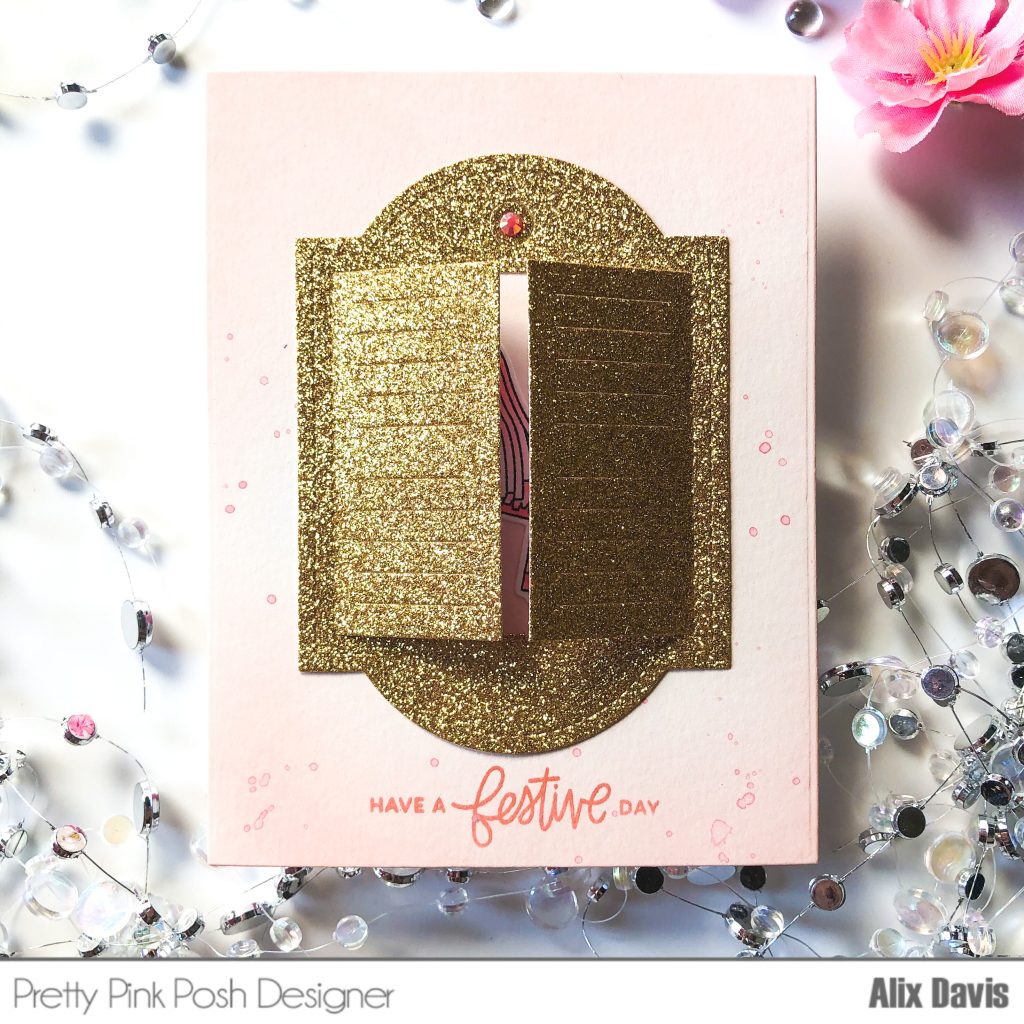
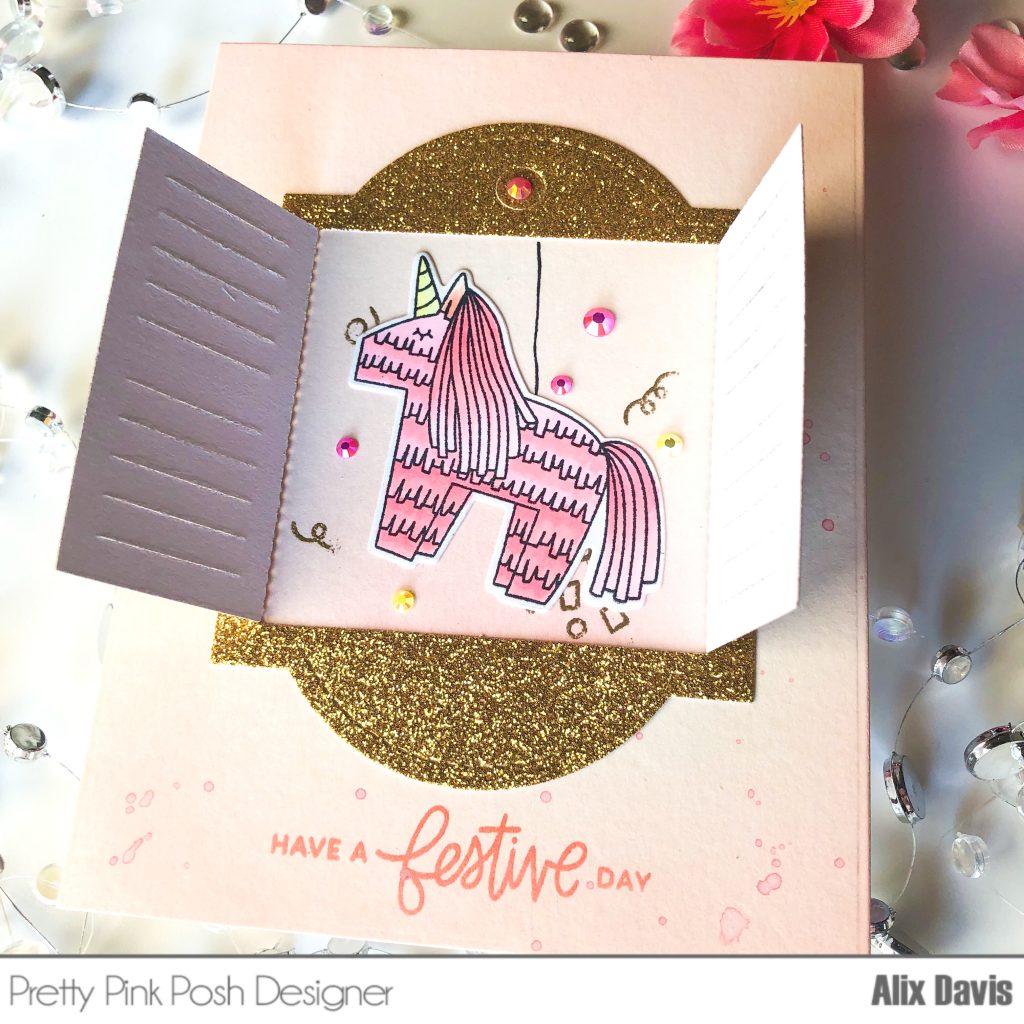
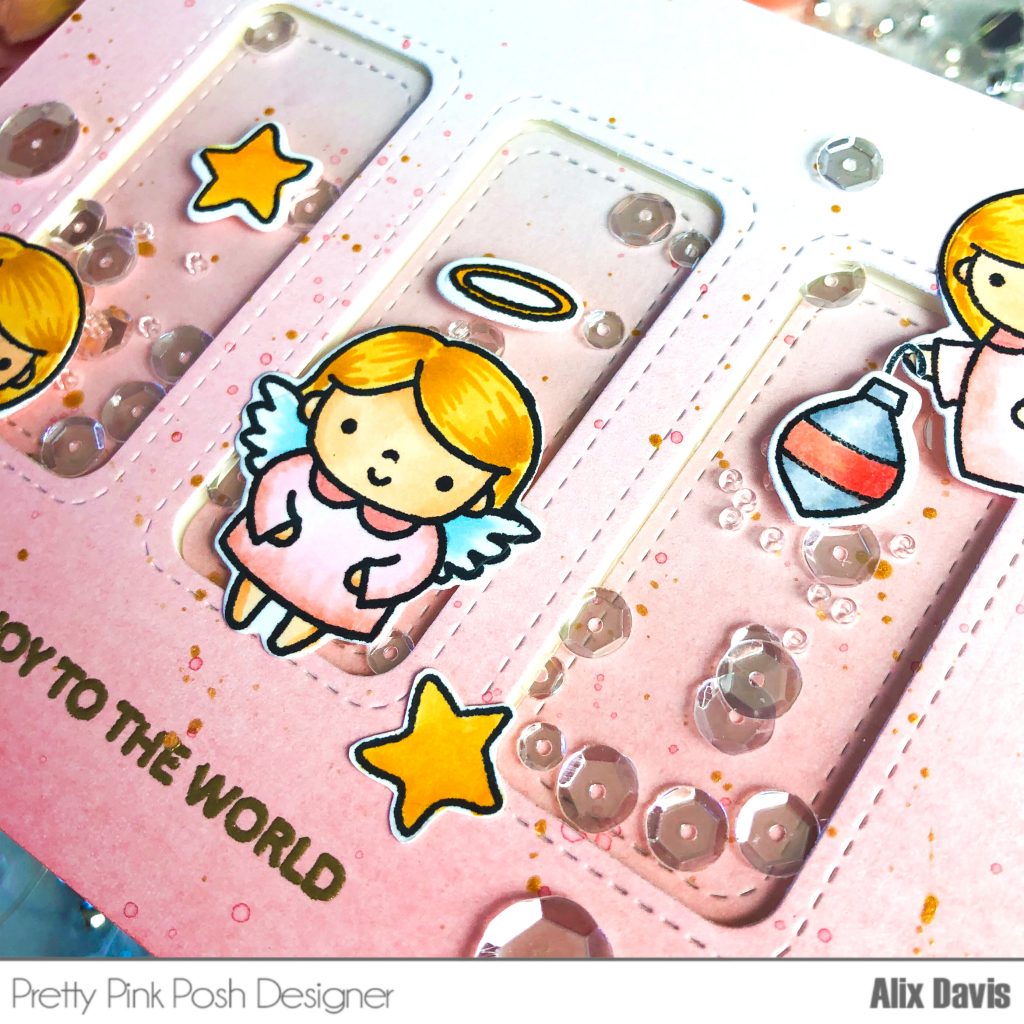
Valentine’s Day is a month away. This stamp set called Favorite Valentine comes in handy. I colored selected images from Favorite Valentine Stamp set with copic markers and cut with the Matching Dies. Then I cut a piece of A2 sized watercolor paper and ink blended the top surface using Tim Holtz Distress oxide ink in Candied Apple. I used Tile Panel Stand alone die to cut out of a piece of white cardstock and hand cut the upper portion out to create an opening window. I attached it onto prepped background with foam tapes for dimensions.
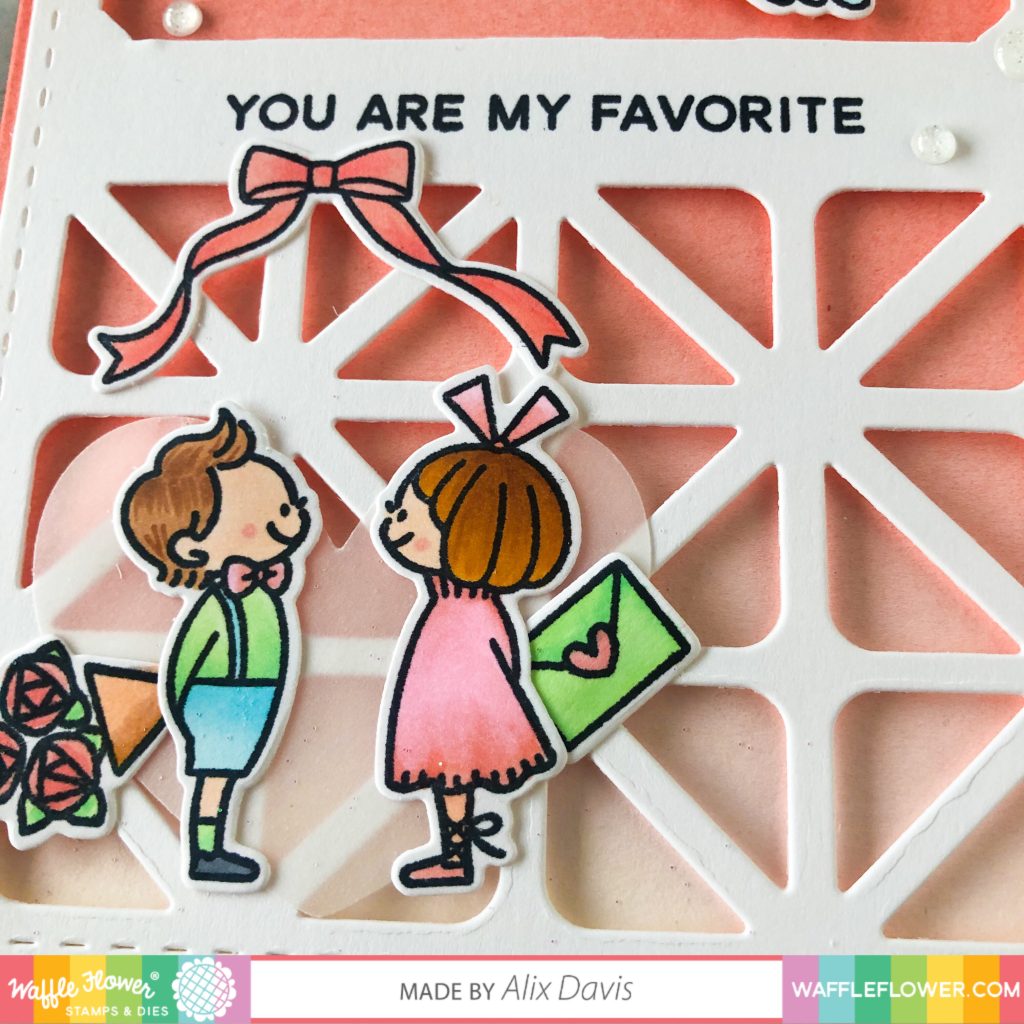
The scene I wanted to create is two shy people to express their true feelings to each other on Valentine’s Day with an angel’s help. I arranged colored images to where I think it should be (duh!)To mention a little, I cut a heart out of vellum paper using a die from Favorite Valentine Coordinating dies and placed it underneath the main characters to bring some focus. I stamped the sentiment “You are my favorite” onto the middle portion of card using the sentiment came with this stamp set. In the end, I embellished the card with some white sparkling enamel dots from Stardust Enamel Dots.
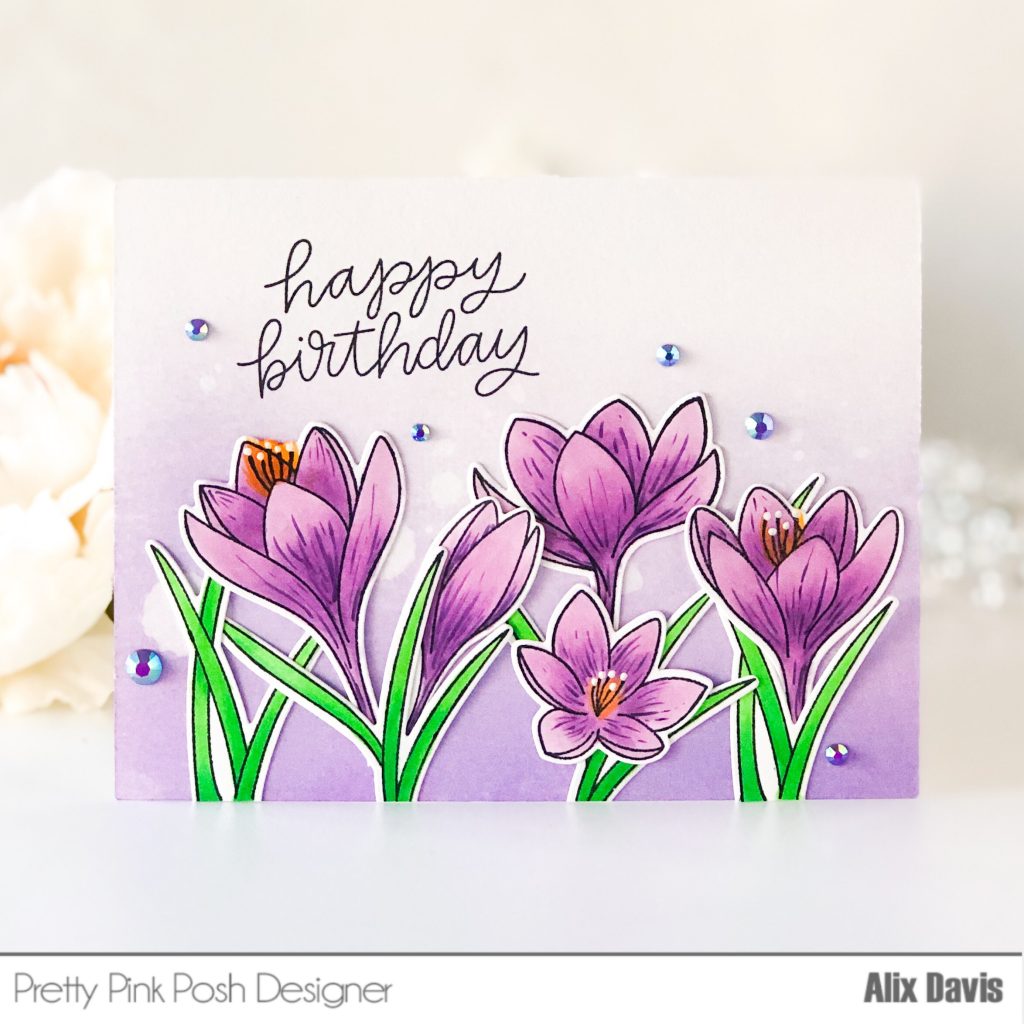
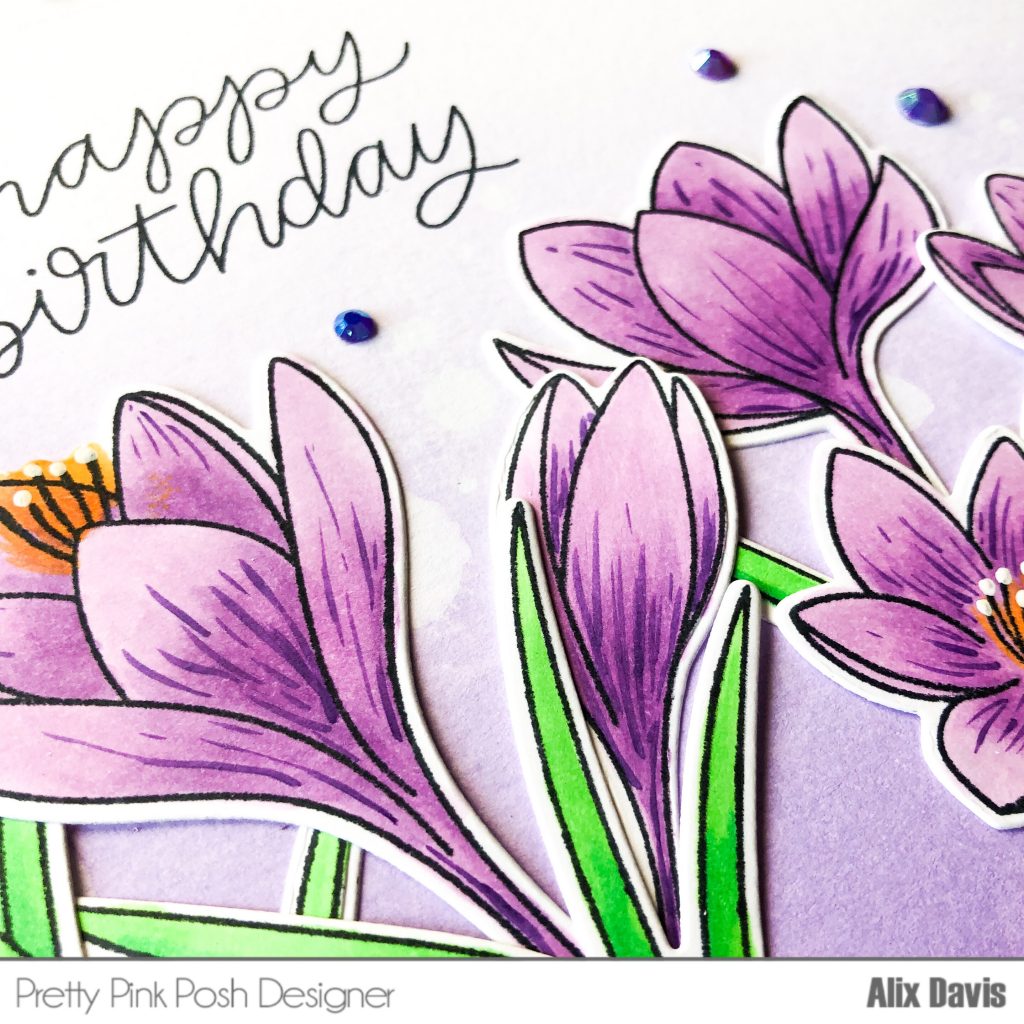
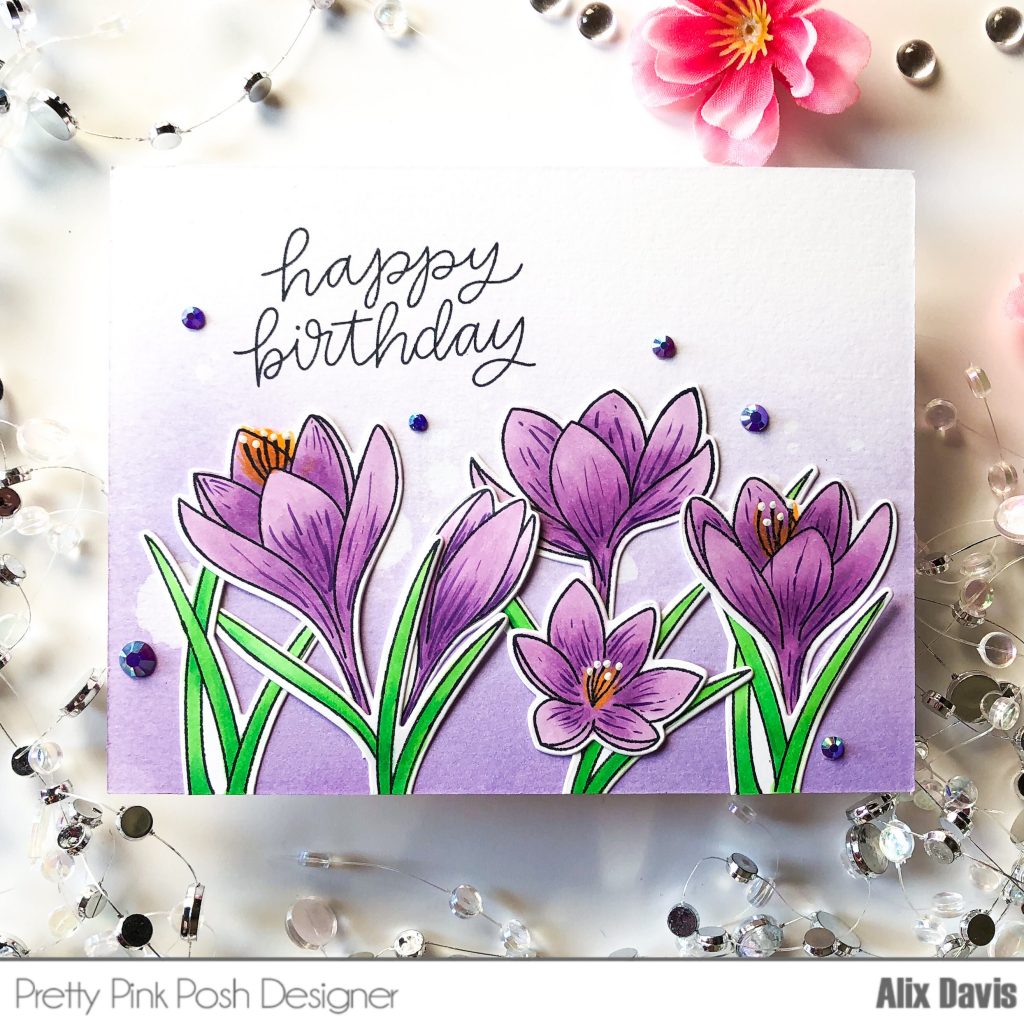
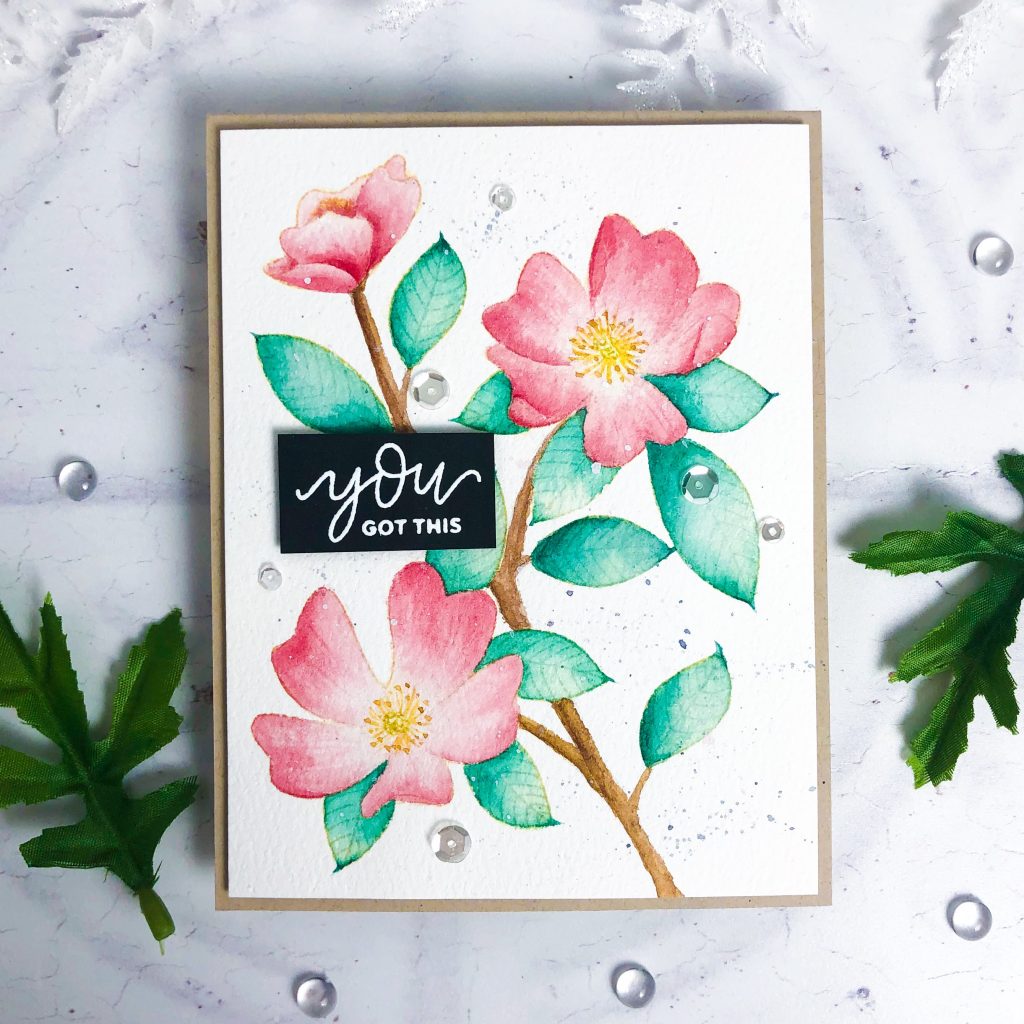
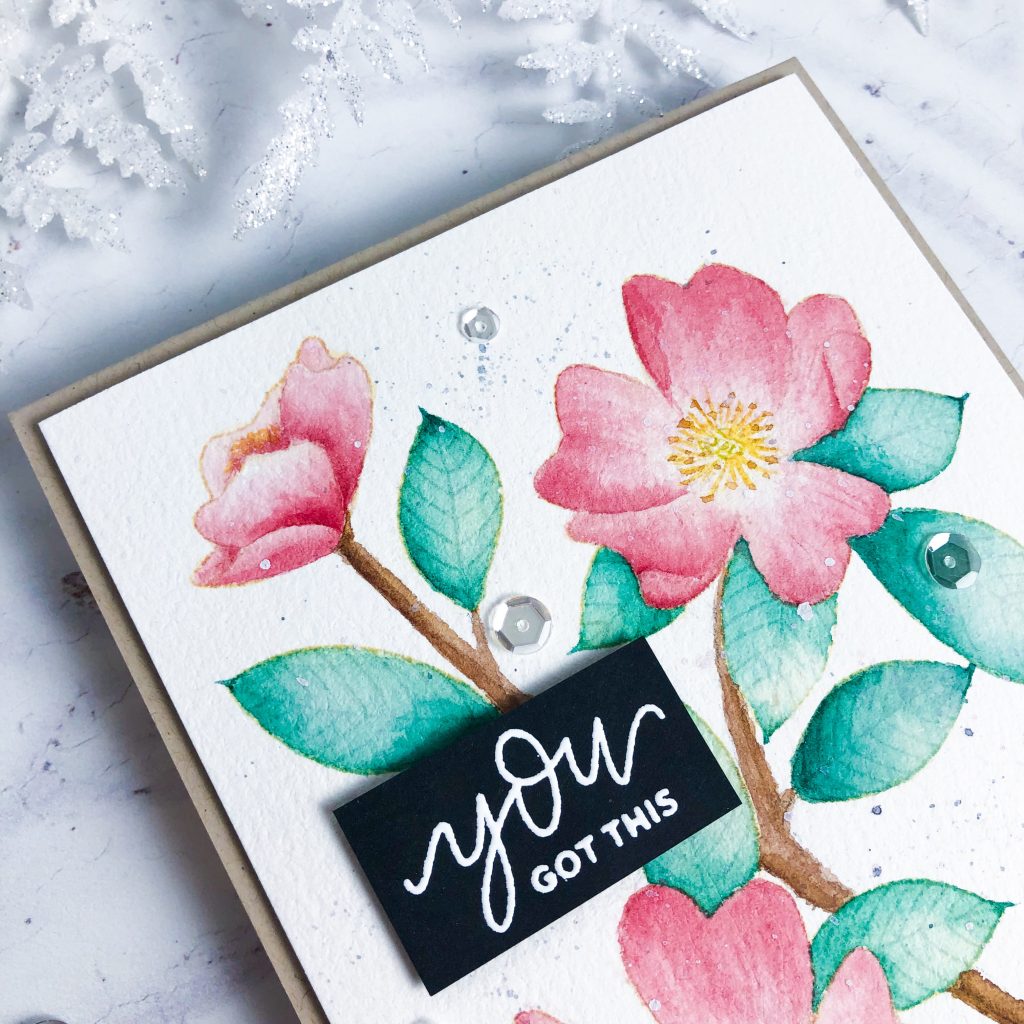
<Card 3>
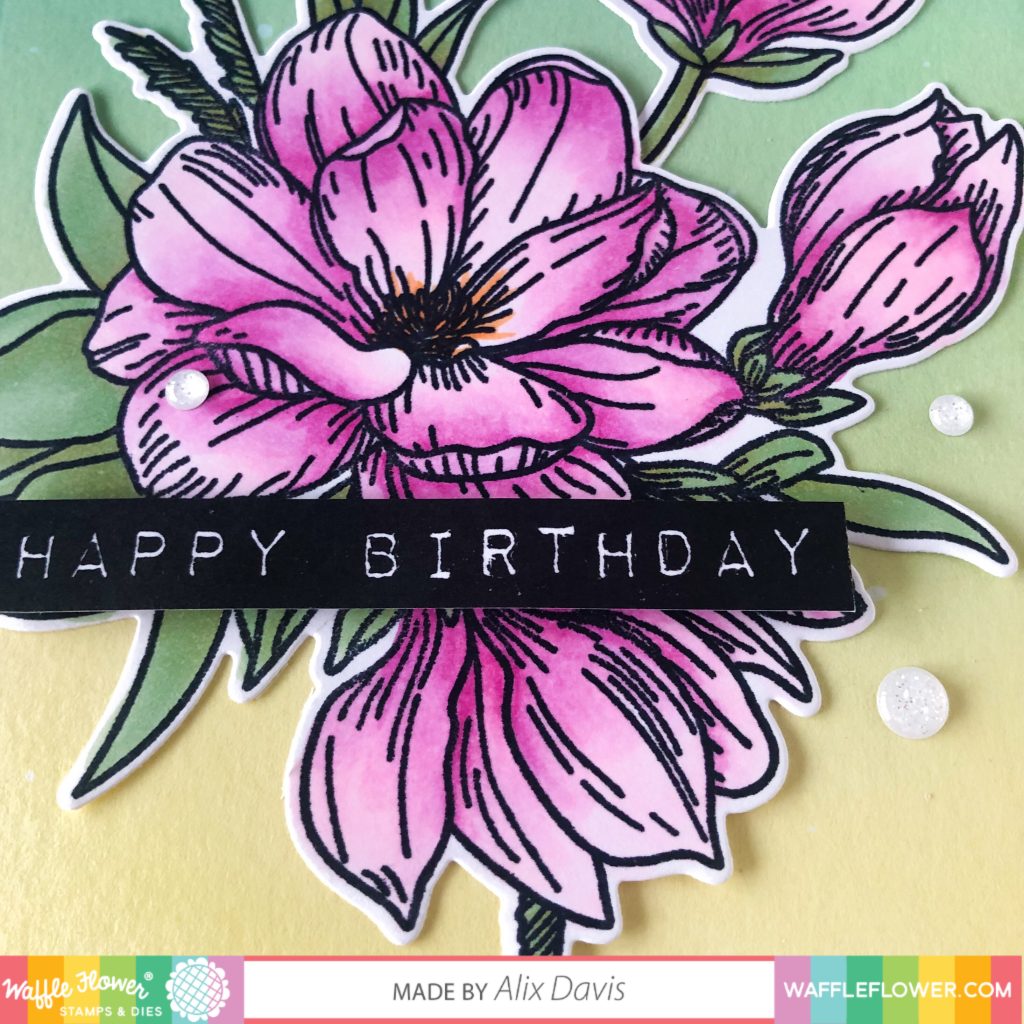
Here comes another large imaged Stamp set which I really fell in love with. The floral images are illustrated with lots of details so you could color them following guided line direction. I wanted to try color it with watercolor paints but the copic markers were just right next to me. So here we go with this card. I ink blended a piece of A2 watercolor paper with Tim Holtz Distress oxide ink in Twisted Citron, Mowed Lawn and Lucky Clover. Then I tapped some water off a paint brush and blotted with a piece of paper towel to create the effect on the background. When that was done, I set it aside to dry.
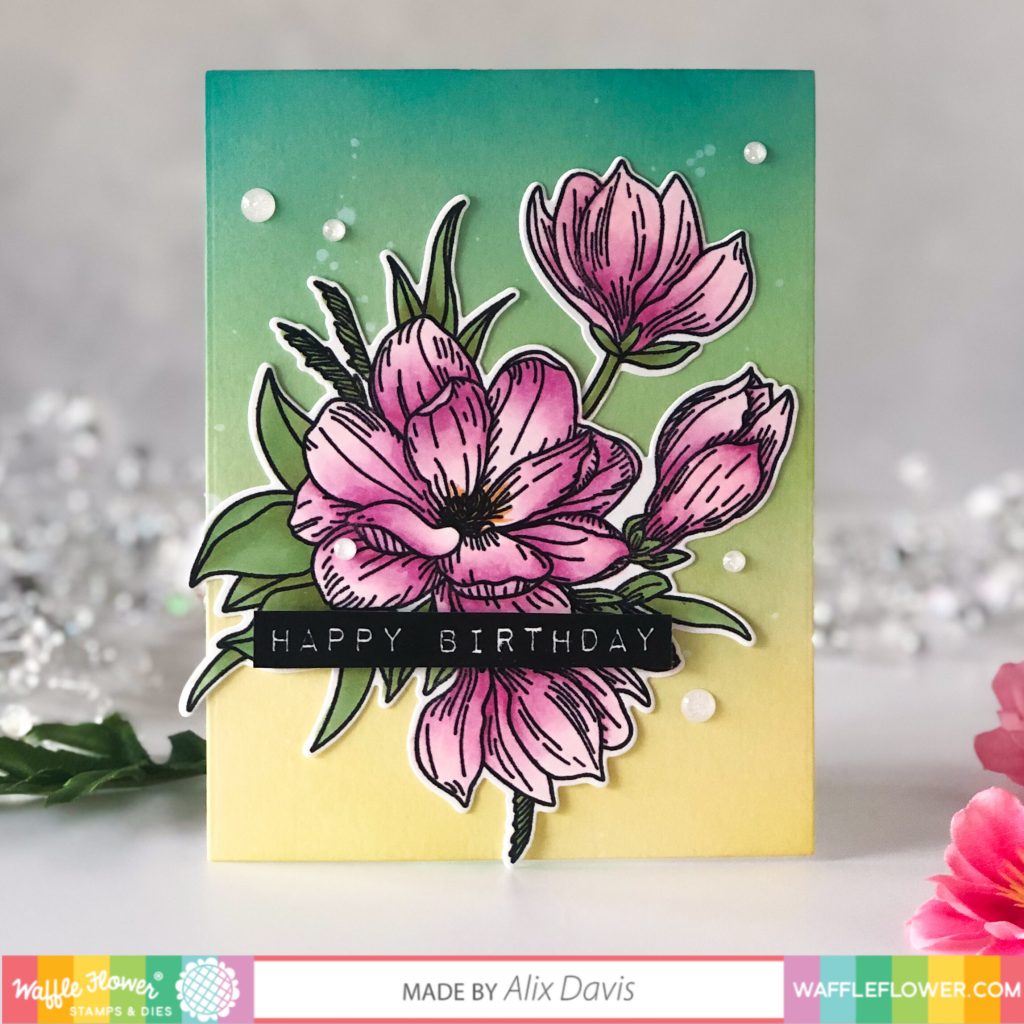
I copic colored the selected image form this Magnolia Stamp set and die cut the Matching Dies. Then I attached it onto the background using Multi Medium Matte. I stamped the sentiment “Happy Birthday” came with this stamp set with Versafind Oynx Black ink and hand cut it with my scissors. I attached this sentiment over the floral image using foam tape. And of course I love to add some enamel dots from Starburst Enamel Dots.
<Card 4>
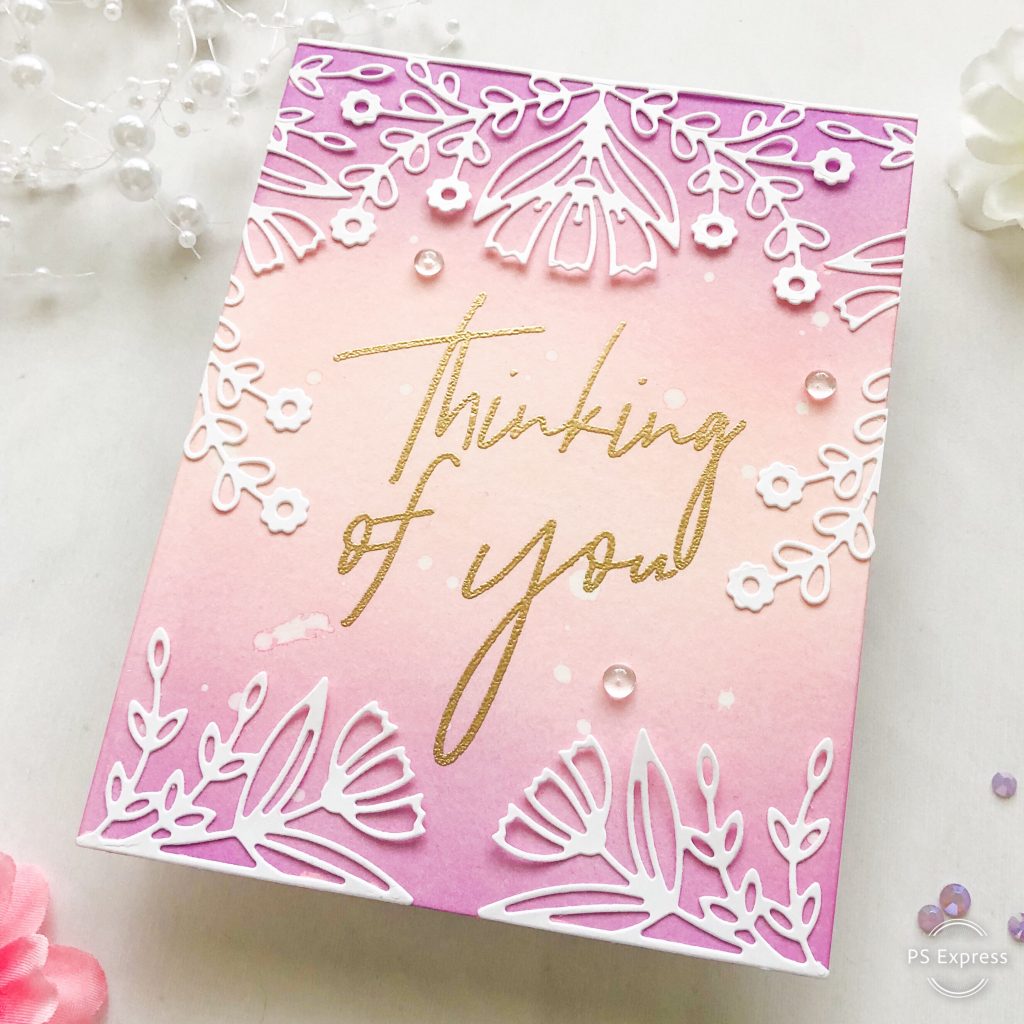
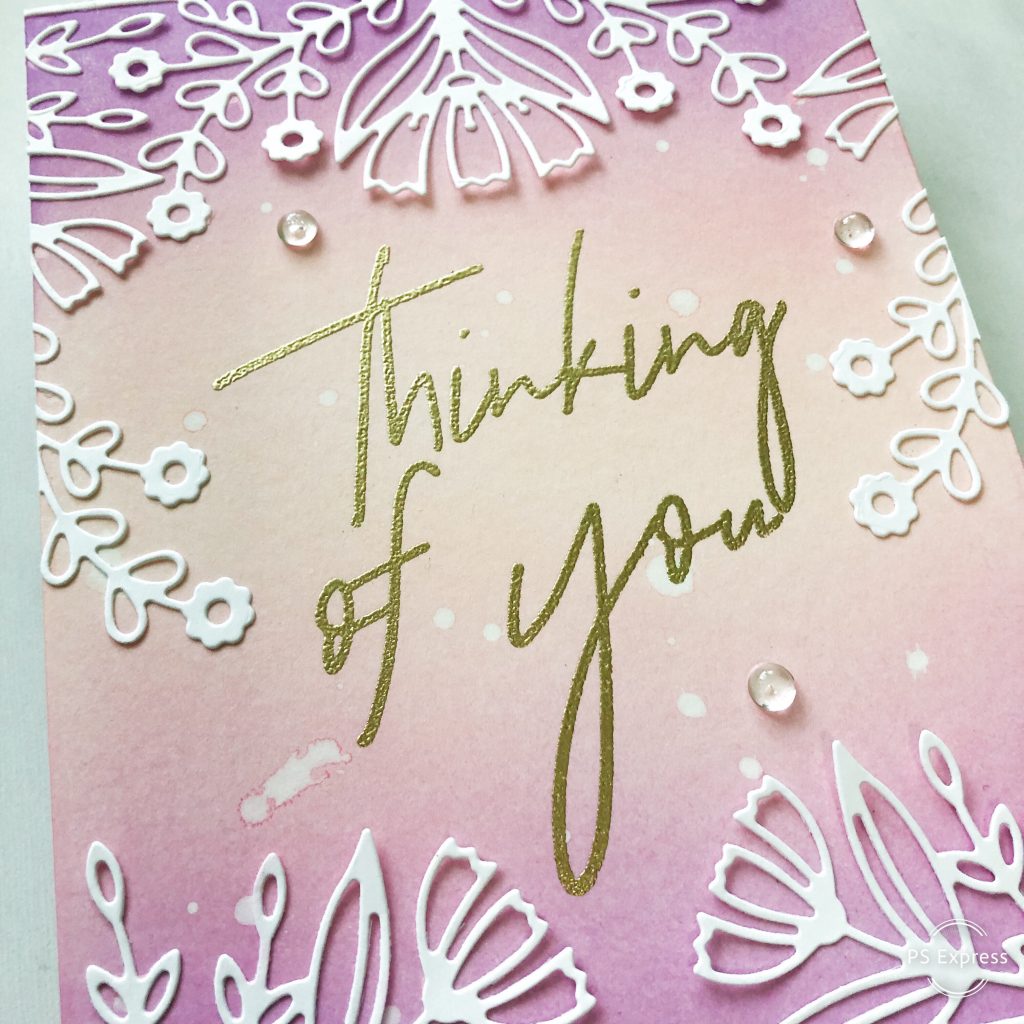
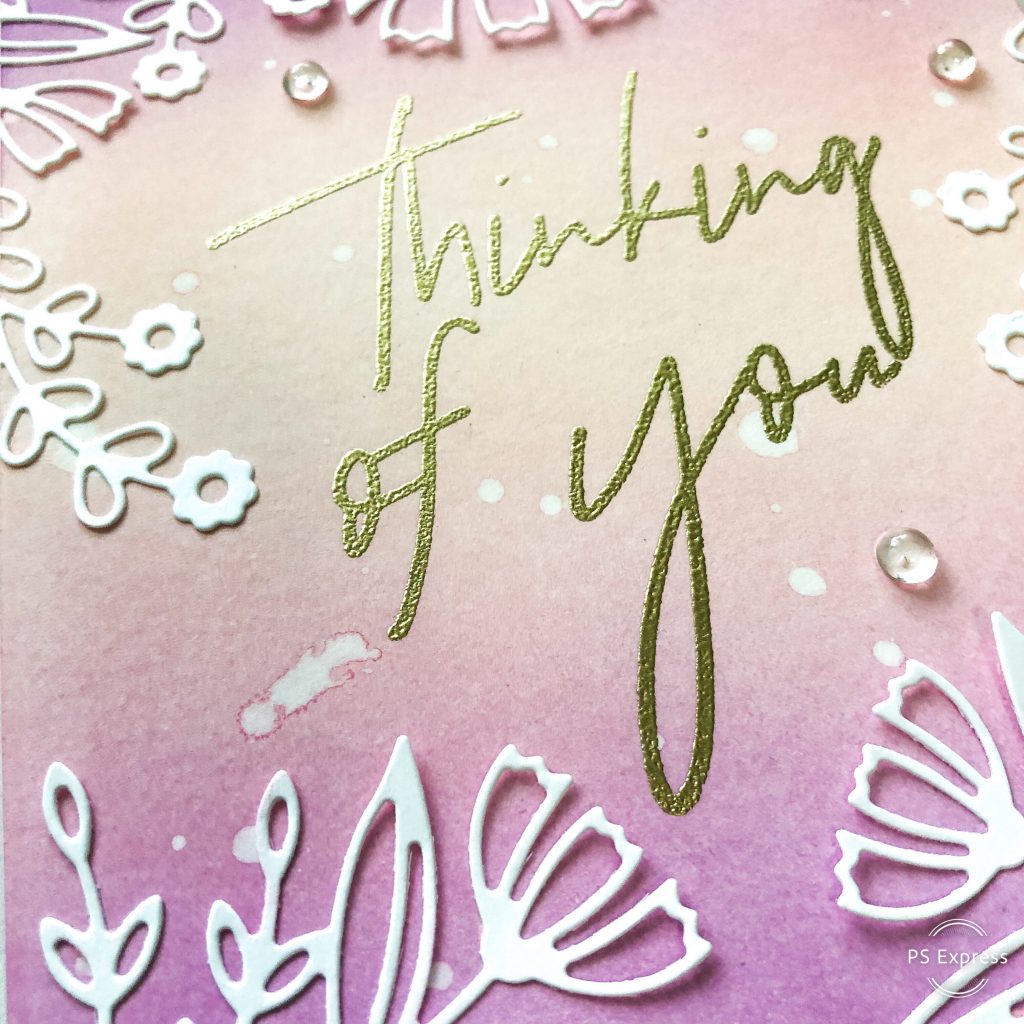
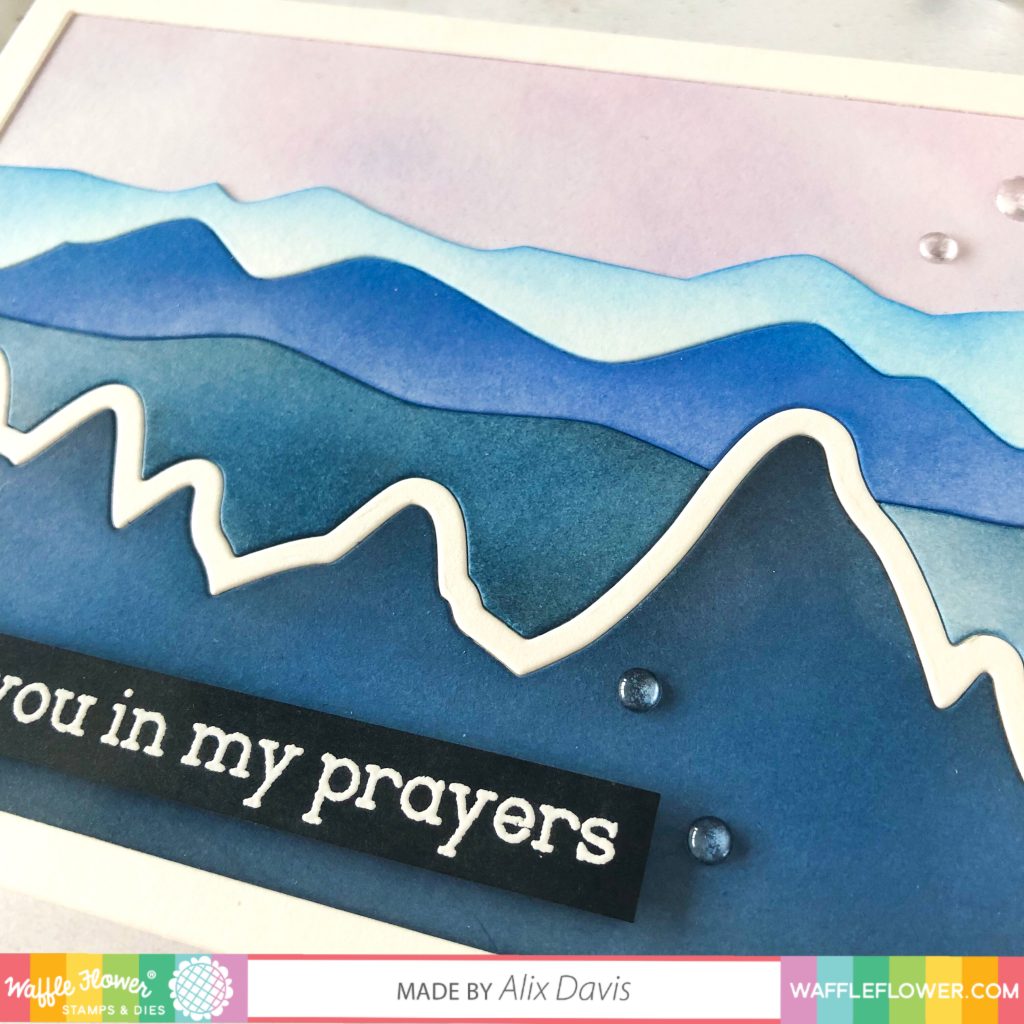
Watercolor painted Landscaping mountains is very trendy on Instagram as far as I knew. I always want to paint one for myself but it is not as simple as we see though. At least I had no courage to try yet. This Painted Landscape Stand alone die fulfilled my needs. I first prep the sky portion by slightly ink blending on upper portion of watercolor paper using Tim Holtz Distress oxide in Wilted Violet and Faded Jeans.

I grabbed another piece of A2 sized watercolor paper and cut it with Painted Landscape Die. I discard upper two layers of mountain die cuts to expose my prepped sky, then I ink blended the rest of layers using Tim Holtz Distress oxide ink in Salty Ocean, Blueprint Sketch. In order to create some intensified colors, I also used Distress ink in Fade Jeans and Black soot. I glued each pieces onto the background like playing puzzles. Then I embossed the sentiment “Keeping you in my prayers” from Here for you Stamp set with white embossing powder. I added clear enamel dots from Clean & Clear Enamel Dots to finish.
I hope you will find yourself inspired by my cards and I cannot wait to see what you could make!!!

Please Hop with us
Waffle Flower (Nina)
Amy Rysavy

HOP Prize
To celebrate the blog hop, Waffle Flower is giving away $25 gift certificates to THREE lucky winners. You can leave comment on my blog and along the hop by 11:59pm ET on 1/7/19 for your chances to win. Winners will be chosen at random from the comments left on any of the posts on this blog hop and will be announced on the Waffle Flower blog on 1/9/19.

Receive a FREE Up & Running Enamel Dots with orders at $50 or above. Limited 1 per customer; While supplies last; Valid through midnight 1/7/19.