Koala Greeting – Pretty Pink Posh

Oh Hello Hello!

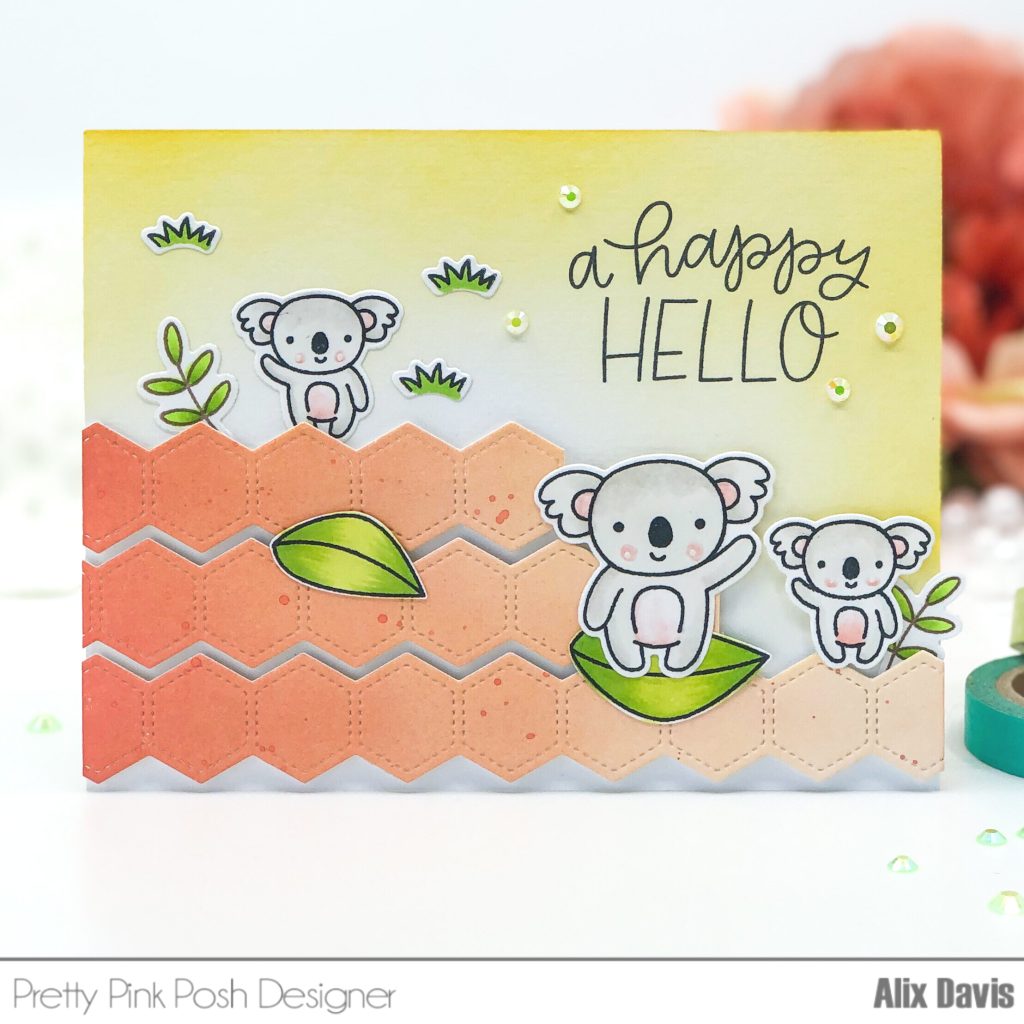
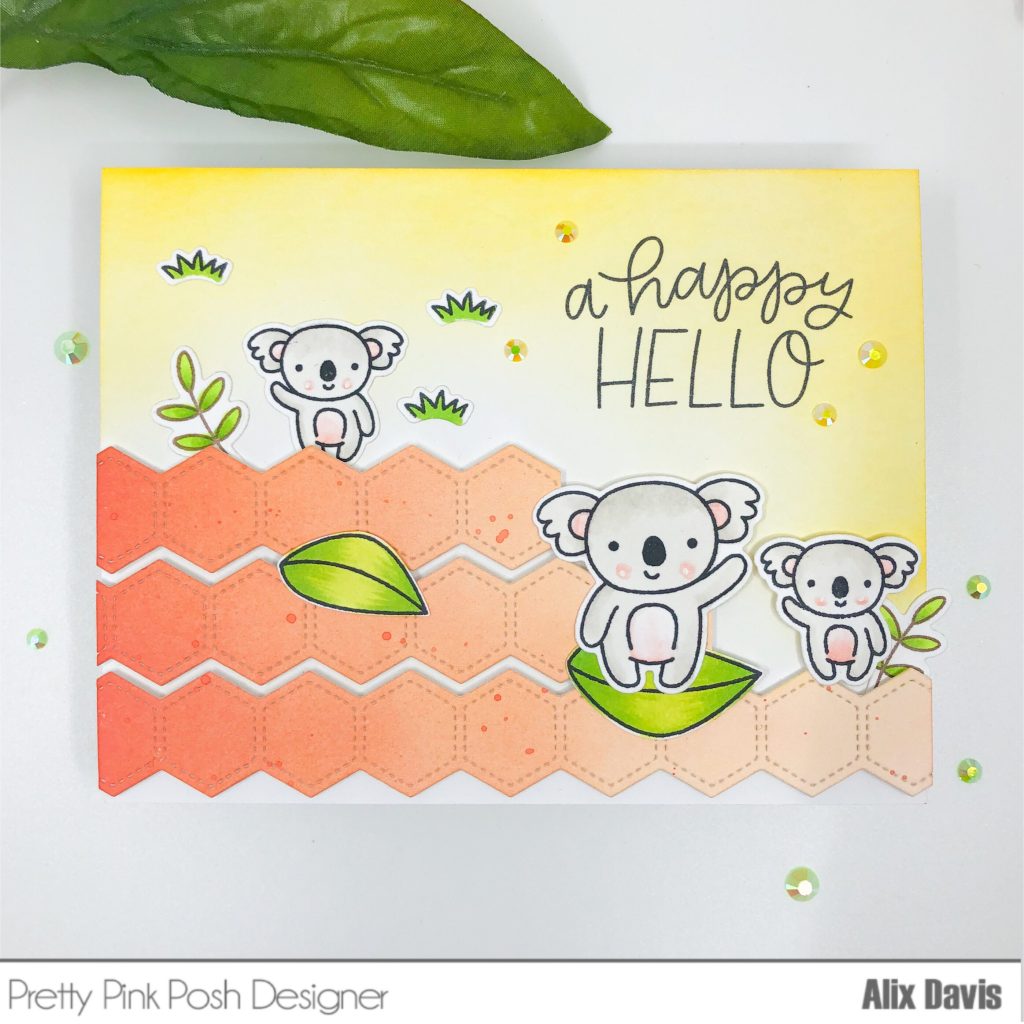
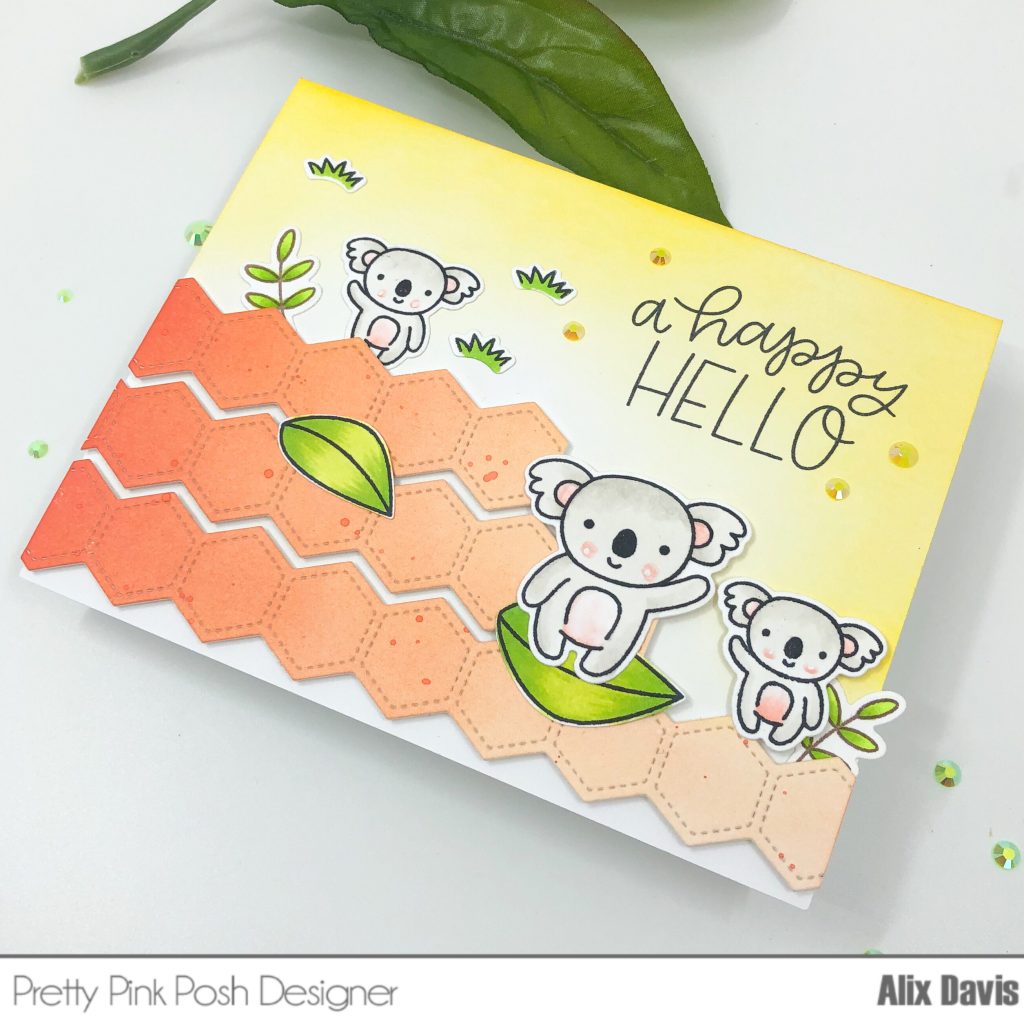
Do you all remember these Koala cuties from Pretty Pink Posh? It is time to have them out to play a little bit!

To start making this card, I ink blended on top part of  of A2 sized watercolor paper using Tim Holtz Distress oxide ink in Squeezed Lemonade. Then I ink blended on another piece of watercolor paper with Spiced Marmalade and Ripe Persimmon and cut them with Hexagon die from Pretty Pink Posh Stacked Edges 2. I chose three of hexagon strips and layered them onto my prepped background using Foam strips.

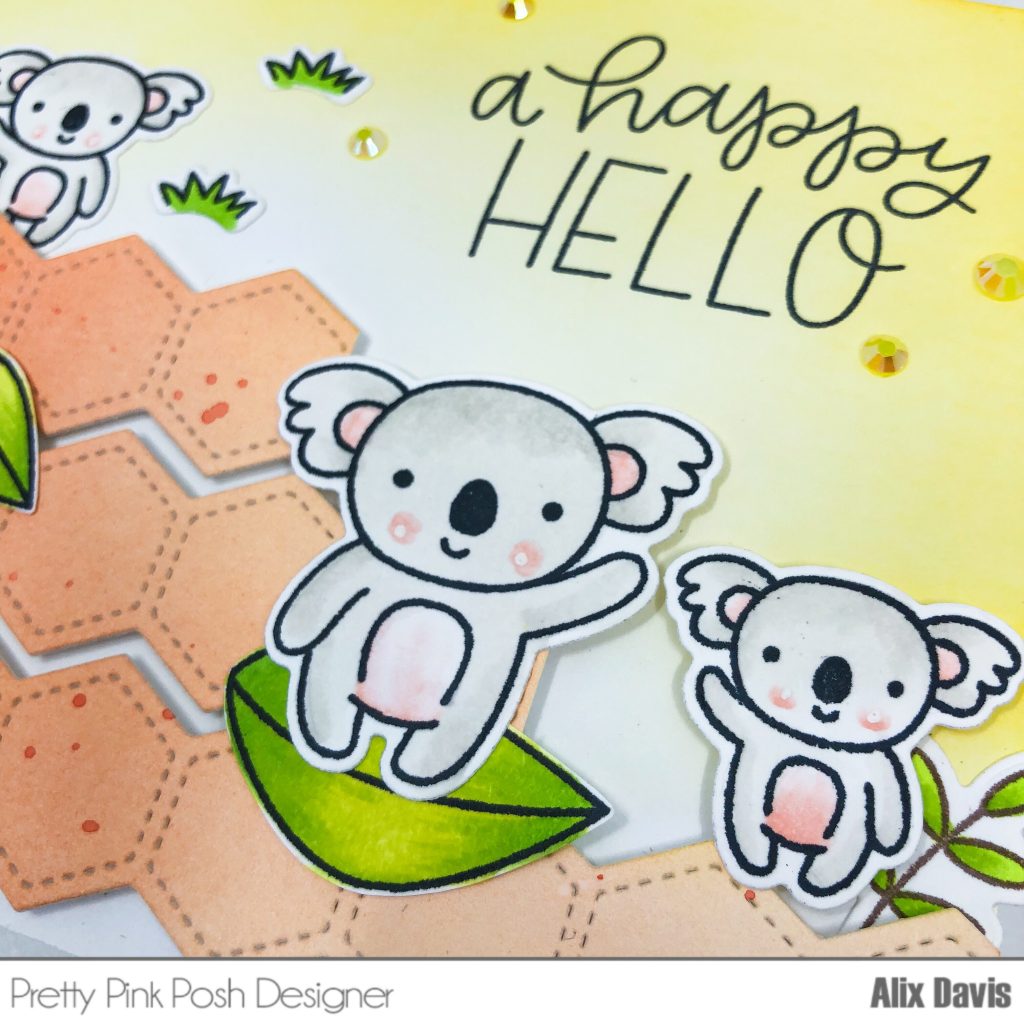
I stamped selected images from Pretty Pink Posh Koala Friends Stamp set and cut them with the Coordinating dies. Then I colored them with trusty copic markers. To create an interesting background, I also added the grass from Camping Friends Stamp set and the leaf branches form Bunny Friends stamp set.

After arranging all elements, I stamped the sentiment “a happy HELLO” from Koala Friends to upper right corner of my card and I embellished it with a few Jewels in Lemon Drop.

It’s Friday finally, so I hope you all will have great weekend! Xoxo…

Humming Bird Thank You Shaker Card – Pretty Pink Posh

Hi Everyone,

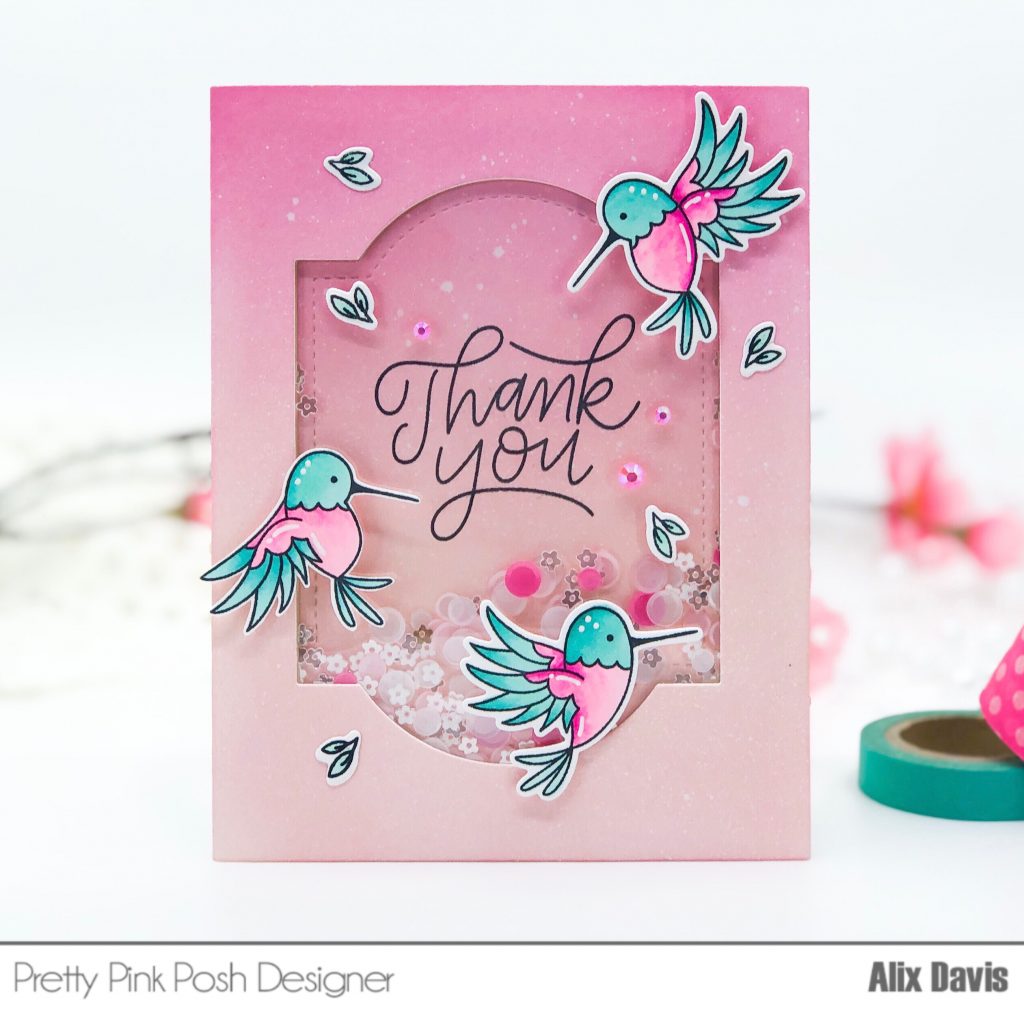
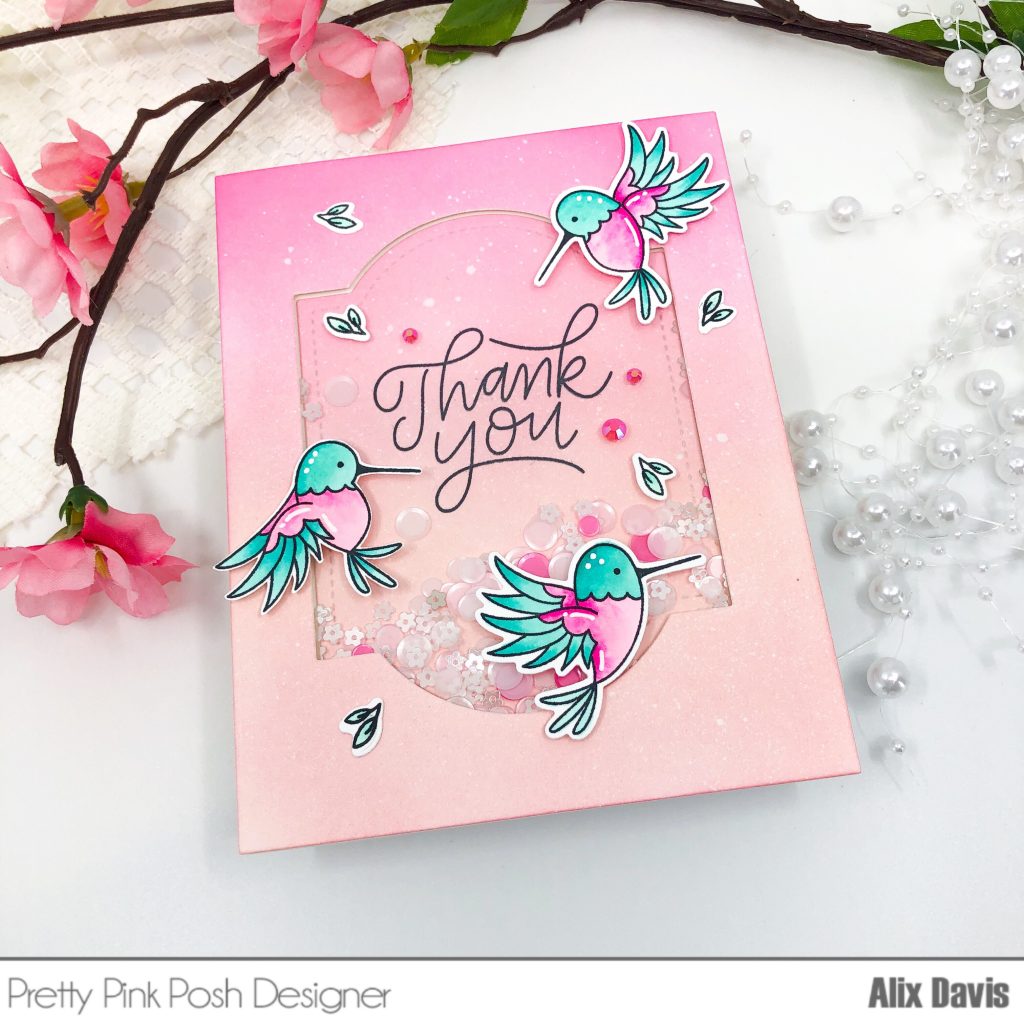
Welcome back to check out this card I just made. Valentine’s day is over but it is still going on in my heart. I always love to see pink with teal color combo. So I applied it onto this card.

To begin with, I ink blended the background on to a piece of A2 sized watercolor paper using Tim Holtz Distress oxide ink in Tattered Rose and Picked Raspberry.Then I lightly sprayed water over the background and dry it with a piece of paper towel.

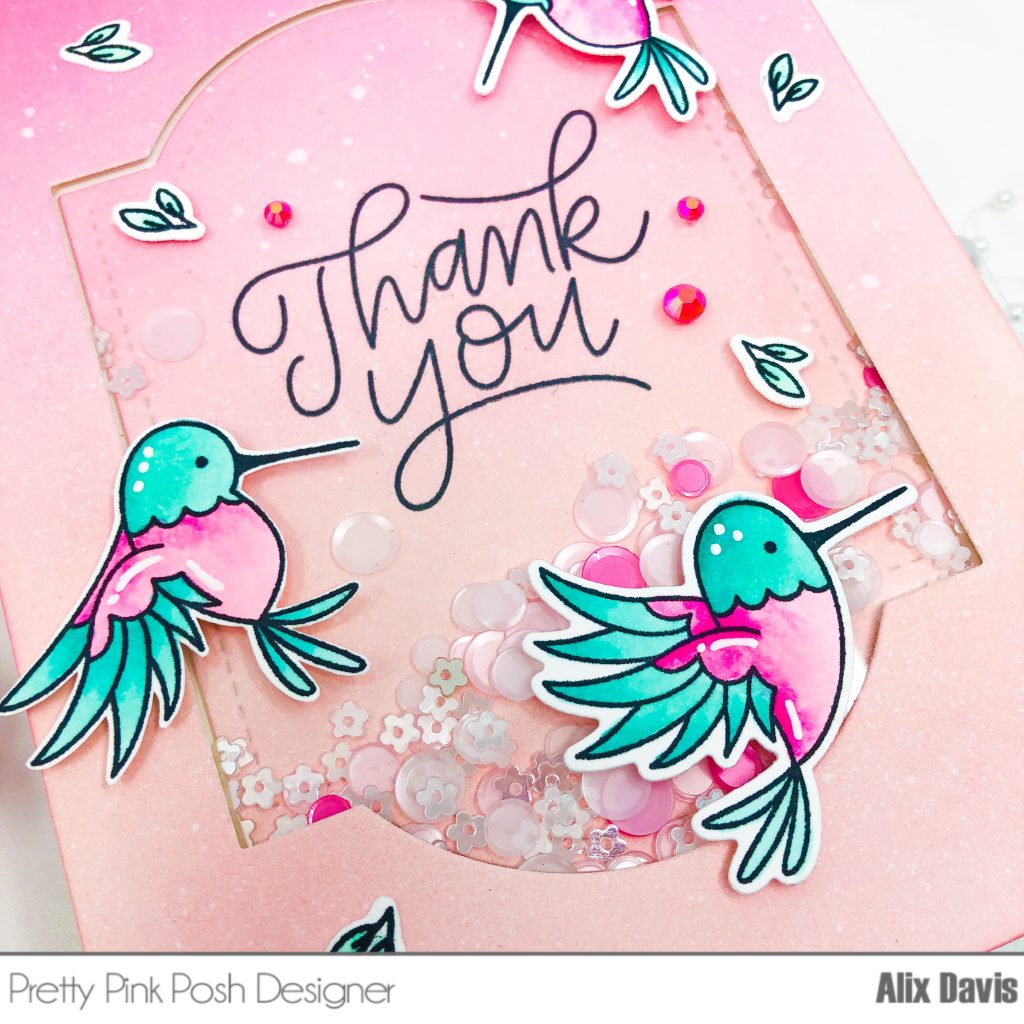
To create my shaker window, I cut the center of the background using Pretty Pink Posh Decorative Tag 2 Die and I added acetate paper underneath of top part of background. I stamped the sentiment “Thank you” from Pretty Pink Posh Everyday Greetings on to the bottom part of background. I poured Mini Sparkling Clear Flower Sequins and Valentine Confetti Mix and seal the window with Foam Strips.

I stamped the humming bird images from Pretty Pink Posh Hummingbird Thanks Stamp set and colored with copic markers. I arranged them onto the background after die cutting them with the Coordinating Dies. The card still looked a little empty, I added some leaf images from Camping Friend stamp set and cut with the Coordinating Dies. At last, I embellished the front window with a few jewels from Valentine Jewel Mix.

Did my card warm your heart? I hope you will have a warming Wednesday! Xoxo…

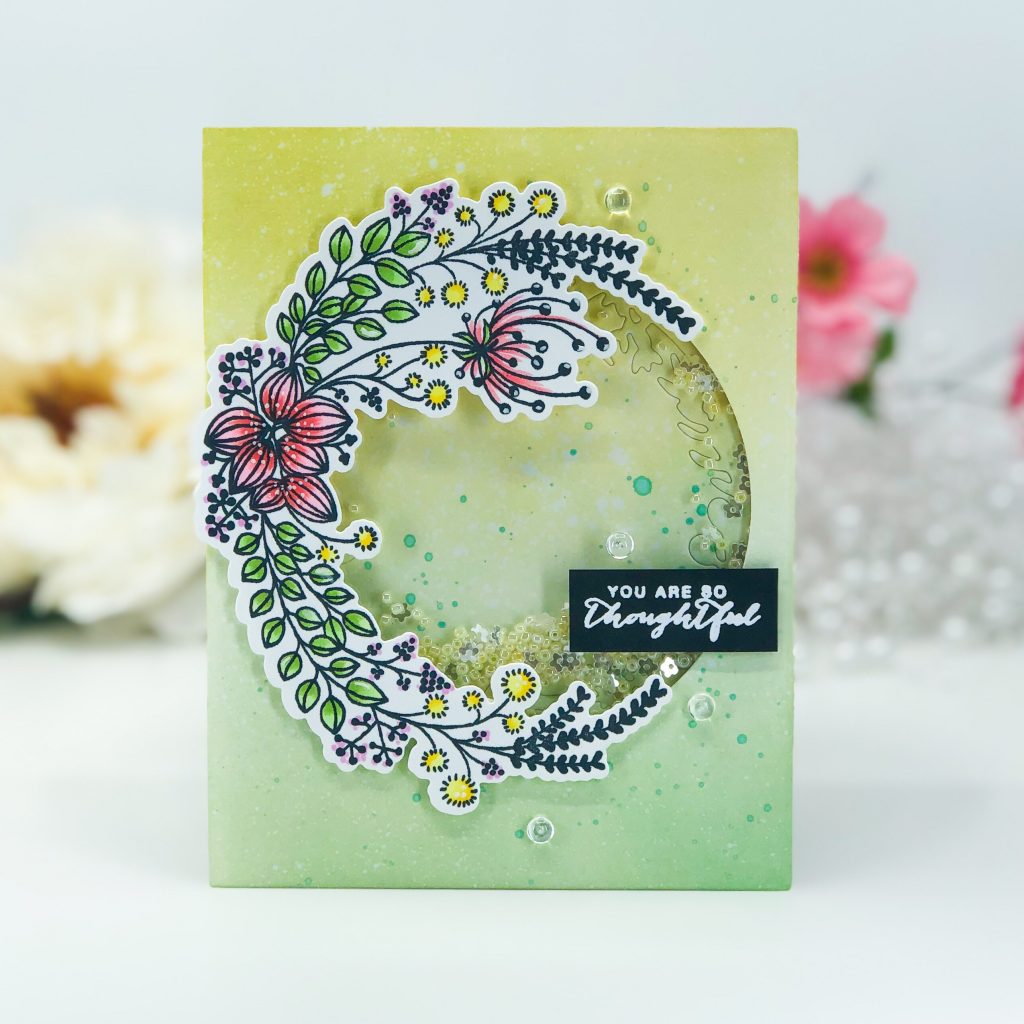
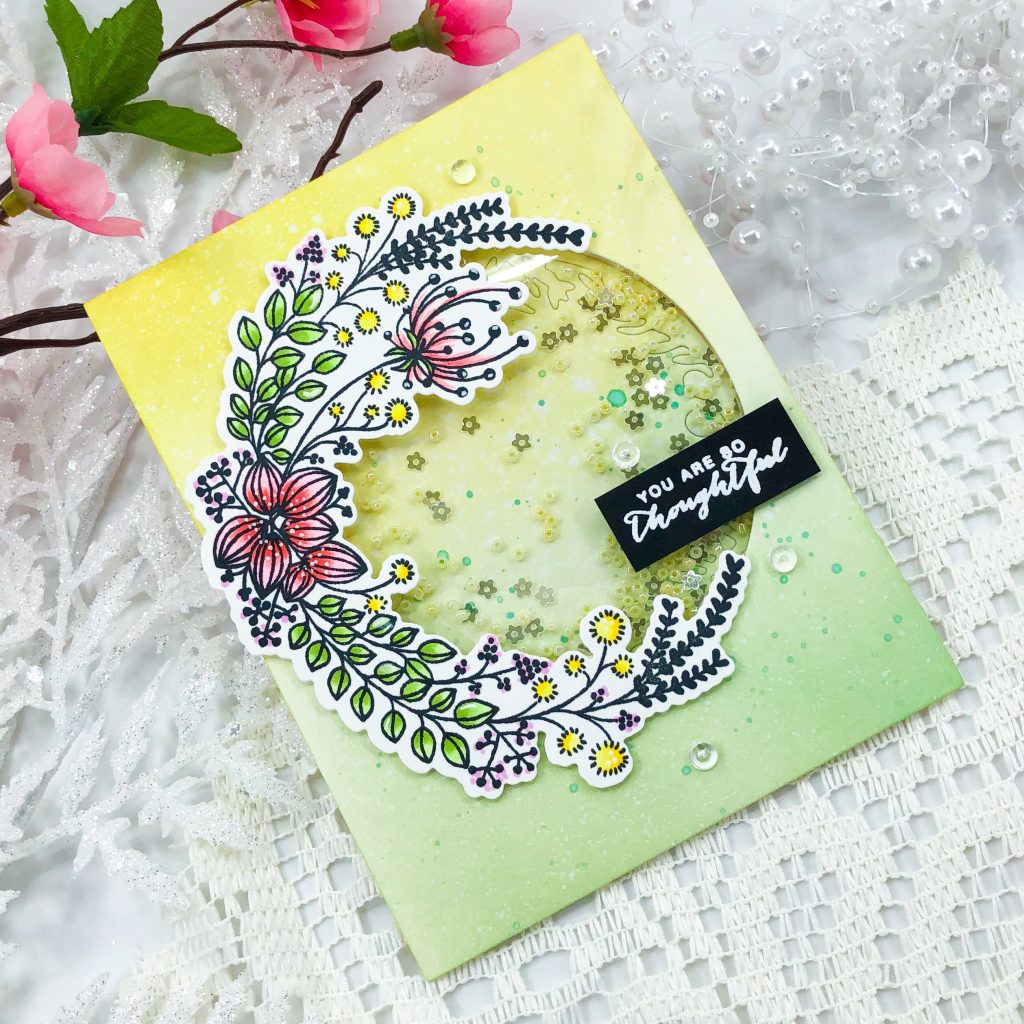
Thankful and Thoughtful Cards – Pinkfresh Studio

Happy President’s Day!

I am up on the Pinkfresh Studio Blog today.  Be sure and head there to say hi and take a look how I made them!

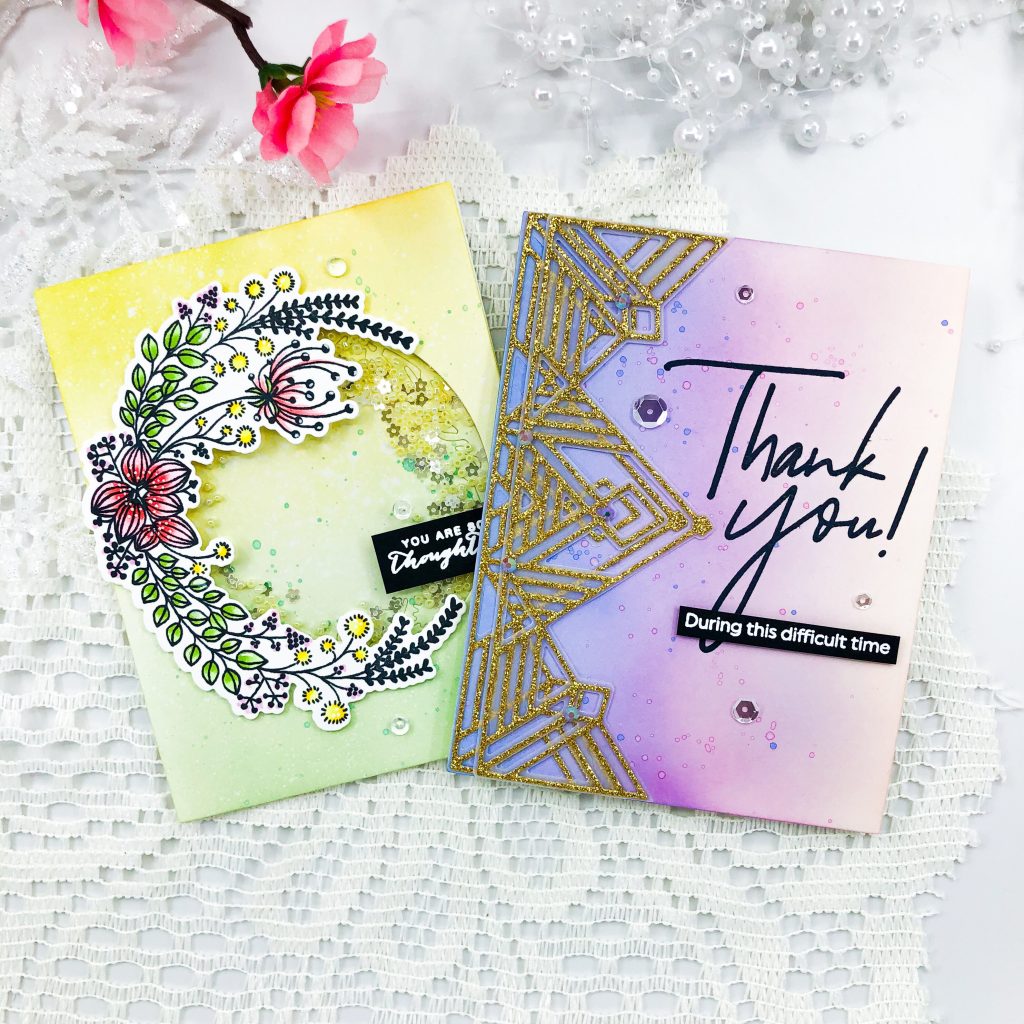
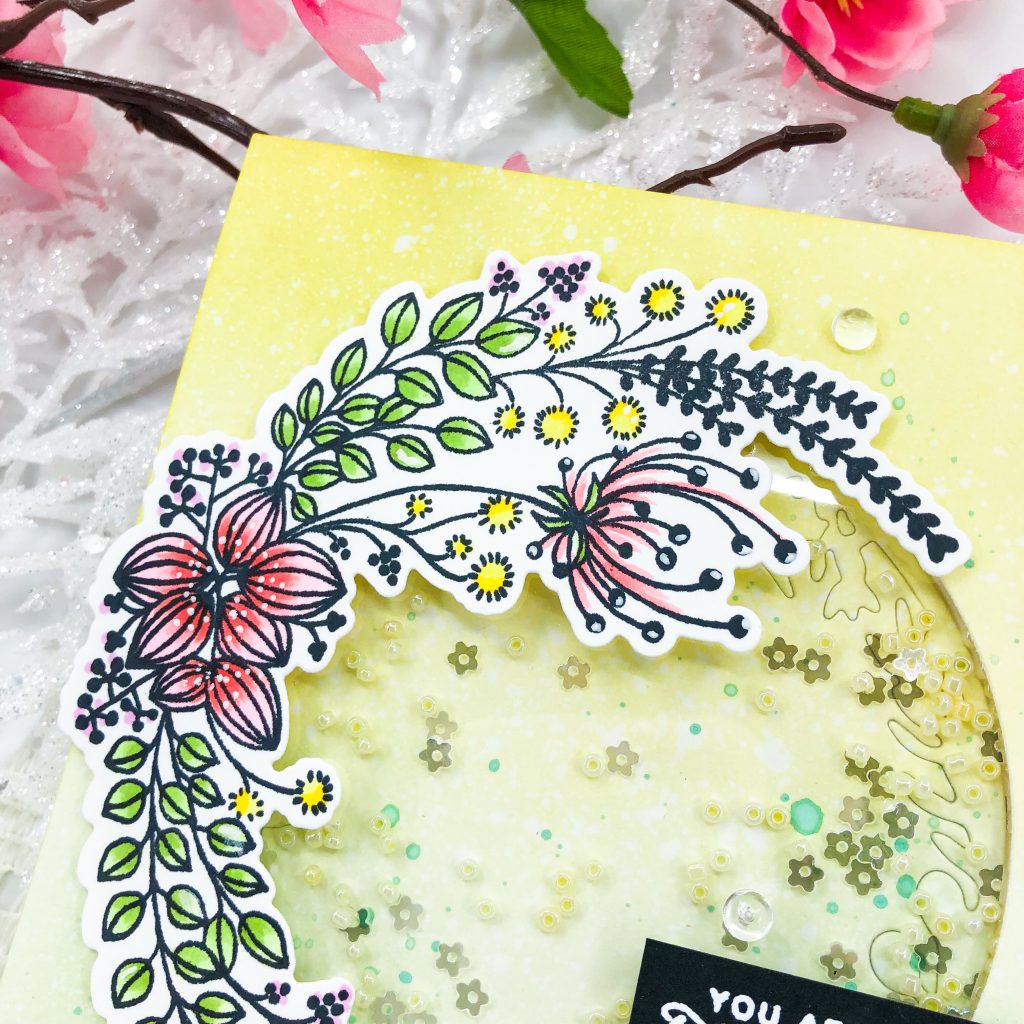
For the first card, I used Pinkfresh Studio Heart and Soul Stamp set and dies to create a refreshing Spring look shaker card.


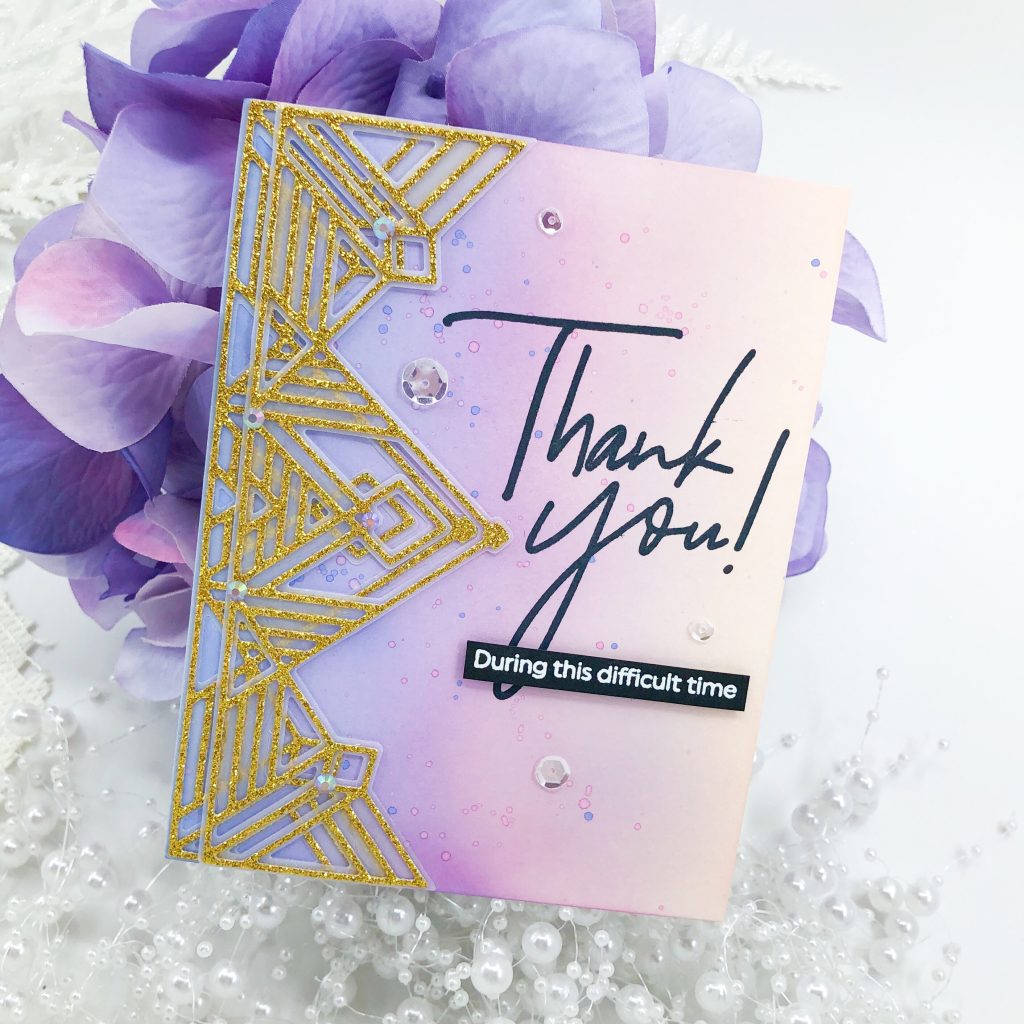
For my second card, I play with Pinkfresh Studio Gatsby Die with a little bit gold glitters and purple blending background.

See you at Pinkfresh Studio Blog. Ciao!

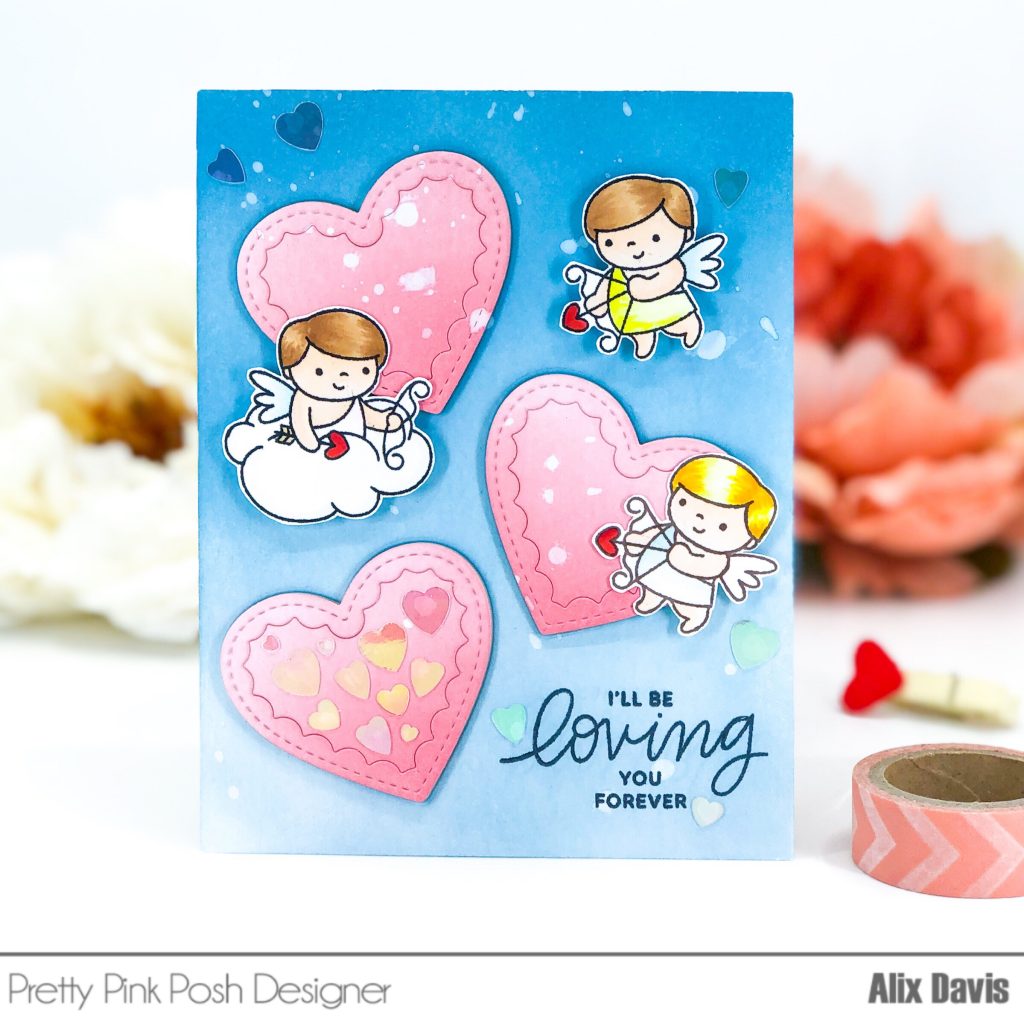
Happy Valentine’s Day-Pretty Pink Posh

Happy Valentine’s day to everyone!!!

I will be working full day today but I hope everything will go smooth and fast. That way I could spend the night with my family. I am not really a romantic person in my opinion. But I always try to make my Valentine’s day a little special, such as preparing a nice meal or getting a gift card for hubby. How about you???

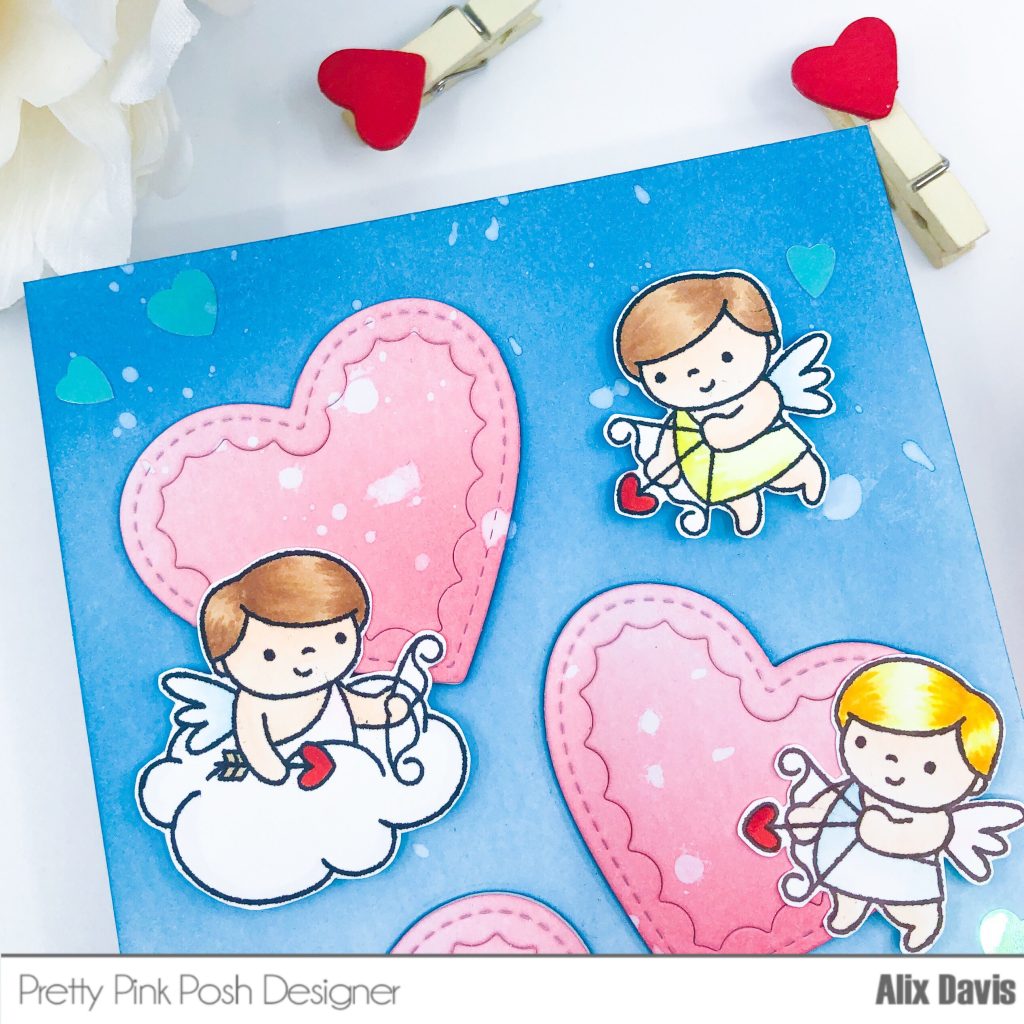
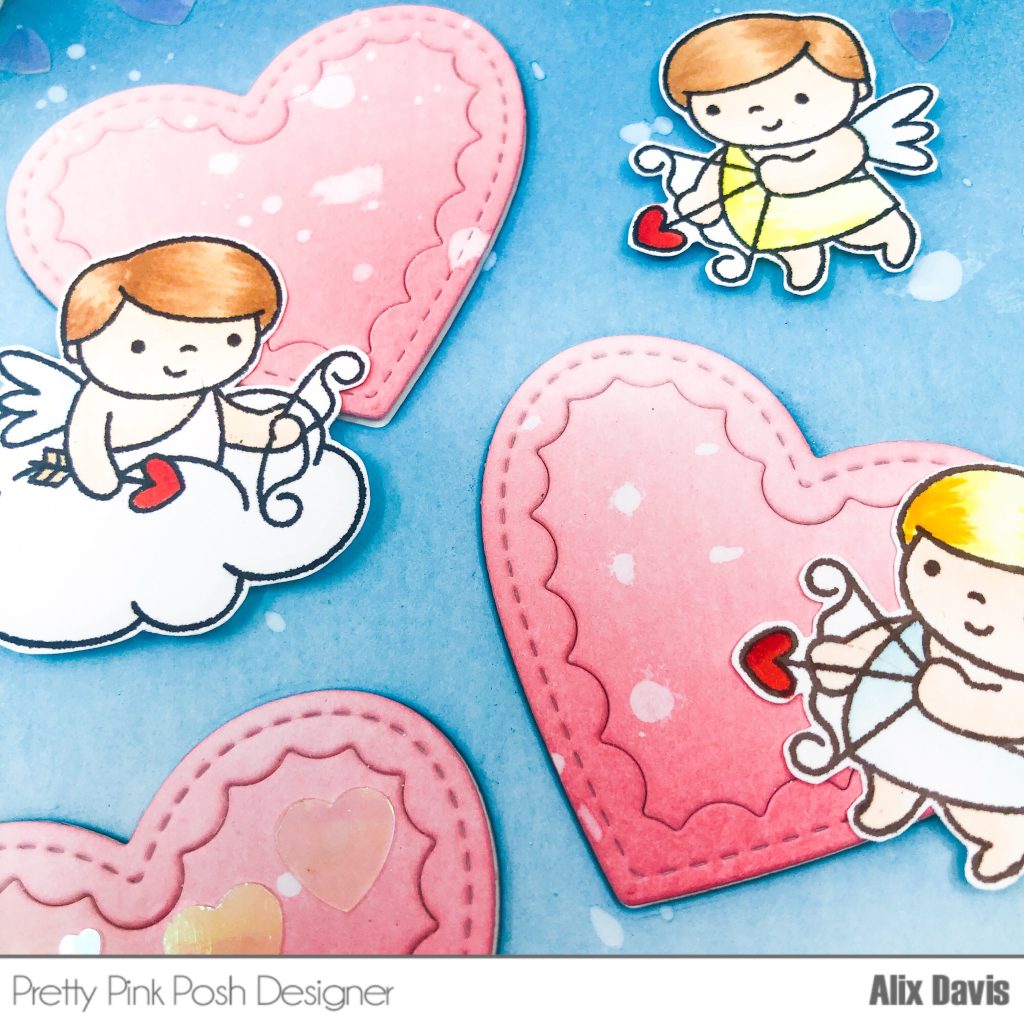
I stayed up a little bit late to make this Valentine’s Day card. To begin with, I cut out 3 hearts out of an A2 sized watercolor paper using Pretty Pink Posh Scallop Hearts Die. Then I ink blended the background using Tim Holtz Oxide ink in Broken China and the hearts using Worn Lipstick. I added Foam tapes to pop the hearts up.  I splattered water over the background to create some textures.

I stamped the images from Pretty Pink Posh Cupid Friends Stamp set onto Neenah Solar white 80lbs Card stock paper with Memento Tuxedo Black ink, then I colored them with copic markers. I fussy cut the images with my scissors but you could definitely use the coordinating dies to save time and energy. I attached them onto the background using Multi Medium Matte and Foam tapes.

At last, I stamped the sentiment from Pretty Pink Posh Love Sentiments Stamp set to the lower right corner and embellished the card with Pretty Pink Posh Iridescent Heart Mix.

So I am here hoping you will have a wonderful Valentine’s day! Let cupid arrow land on you! Xoxo…

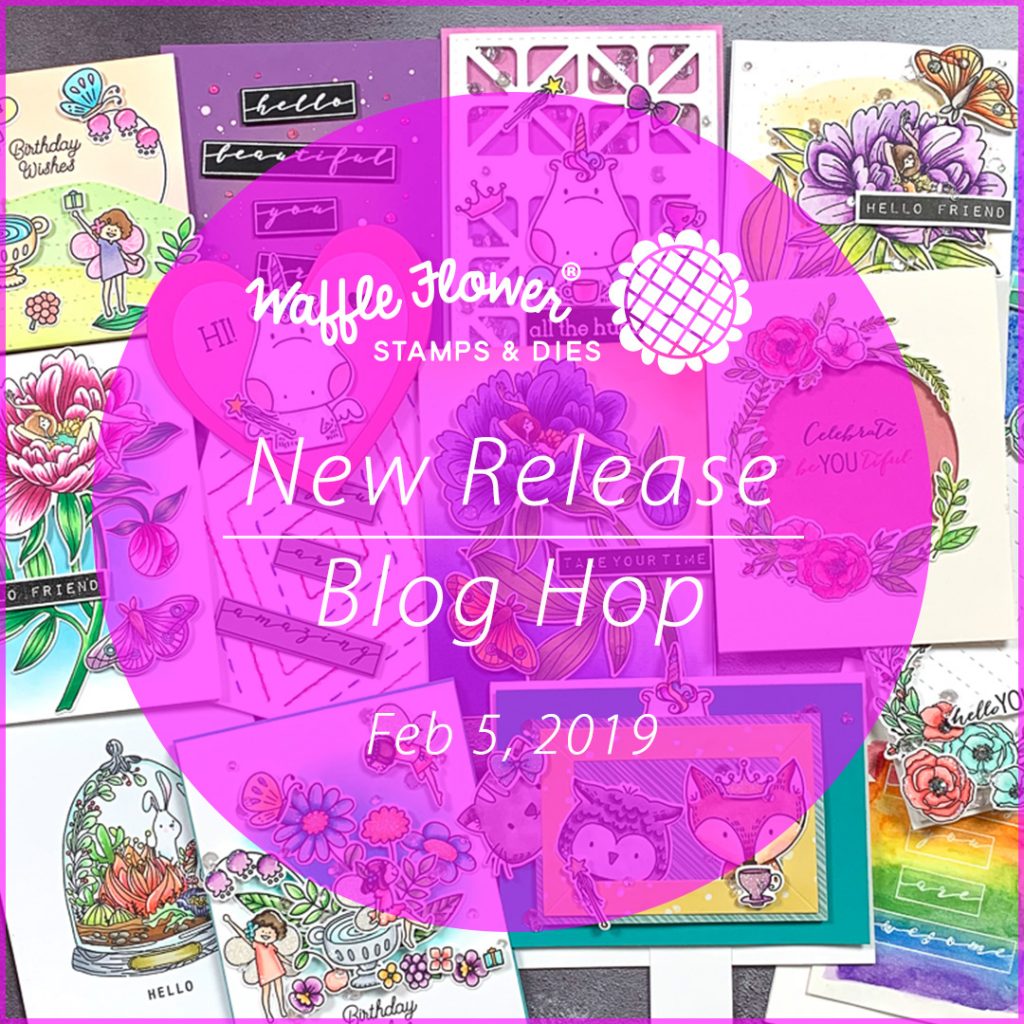
Waffle Flower 2019 February Release Blog Hop + Giveaway

Hello Everyone

Welcome to Waffle Flower 2019 February  Product Release Blog Hop. There are lots of pretty and cute products for you to play with.

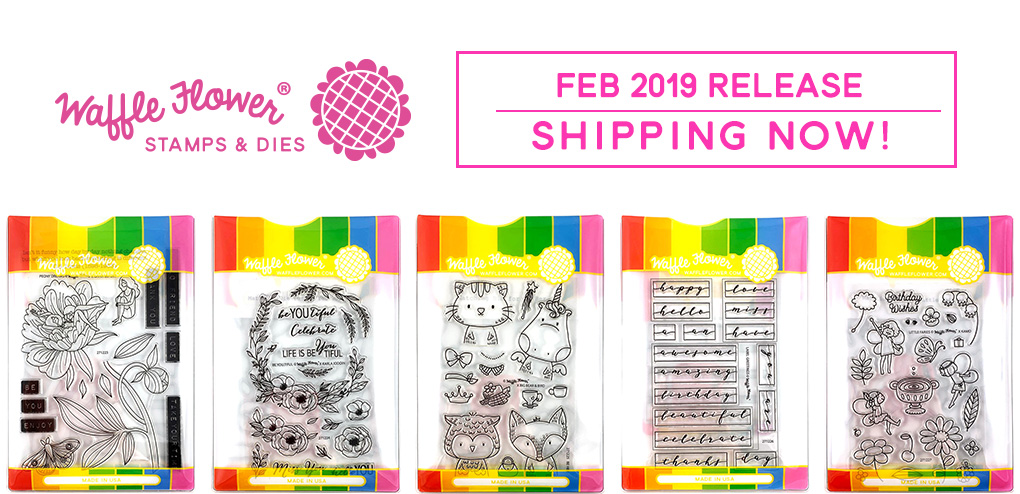
We have plenty of fun florals to color including a big, beautiful bloom and lovely girls relaxing in Peony Dreams (stampdiecombo) illustrated by our new artist, Oana Befort. We also have soft and delicate flowers in the Be.You.Tiful  stamp set (stampdiecombo) that make great wreaths and frames, illustrated by our new artist, Karla Jodoin. The Be Her stamp set (stampdiecombo) designed by Big Bear & Bird features four of the cutest animals and tons of accessories to adorn them. The scripty font of Label Greetings (stampdiecombo) is an elegant take on the popular label maker look and is a quick way to make perfect sentiment strips. The Little Fairies stamp set (stampdiecombo), illustrated by Kamo, has fairies, flowers and a fountain for creating sweet garden scenes. Tiny Terrarium, (stamp) our 3×4 set this month, includes sweet foliage and a darling bunny perfect for spring. And the Diamond Texture Die (die) (by cardmaker JJ Bolton) is one of a series of dies designed to give more interest and depth to your card backgrounds.

There are four cards I would like to show you. I featured Waffle Flower Be Her, Peony Dreams, Be You Tiful, Little Fairies, Label Greetings Stamp sets and Diamond Texture Die.

<Card 1>
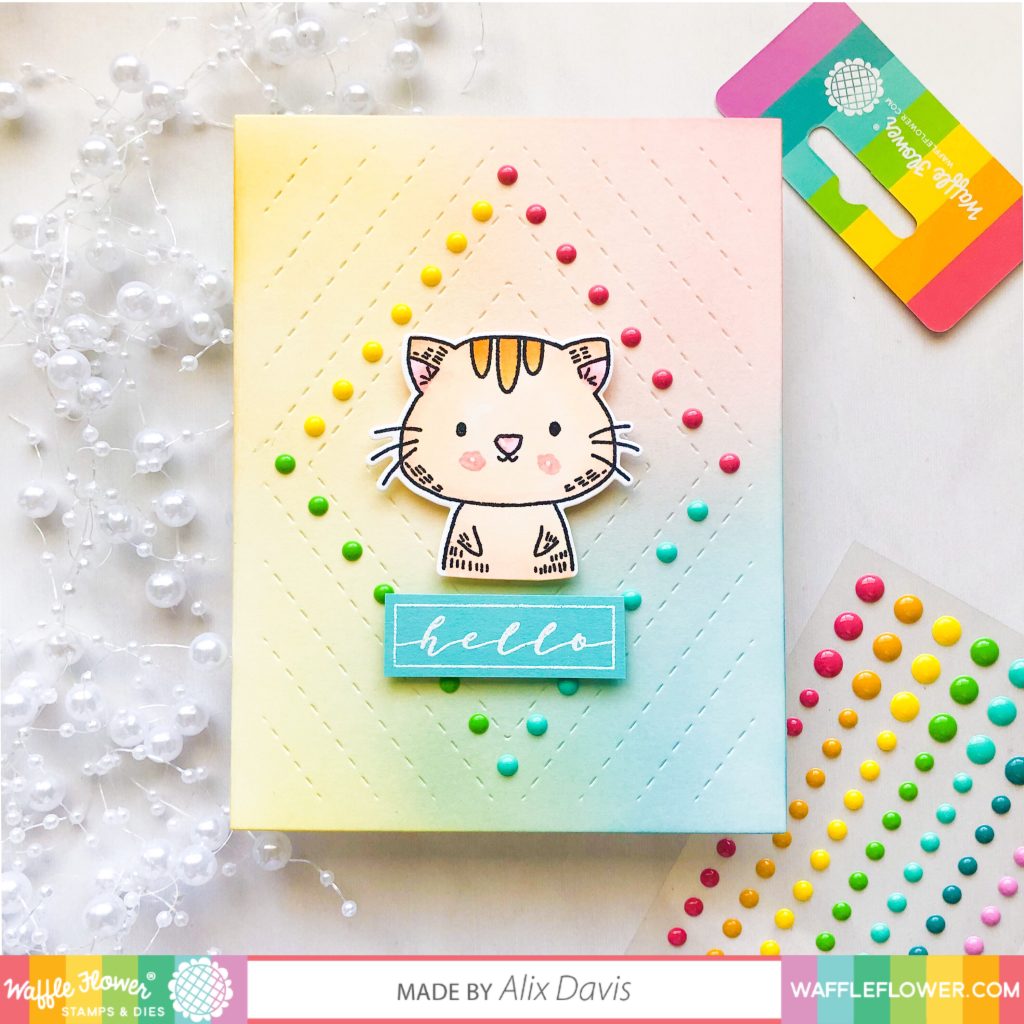
I love rainbows. The idea of creating a rainbow colored card came up to me. To begin with this card, I made stitched pattern on to an A2 sized watercolor paper using Diamond Texture Die. I ink blended the background using Tim Holtz Distress oxide ink in Squeezed Lemonade, Twisted Citron, Tumbled Glass and picked raspberry. In order to make it more pastel look, be sure to apply them softly. I pulled out Waffle Flower Enamel Dots in Up & Running to create the diamond shaped borders for my center piece.
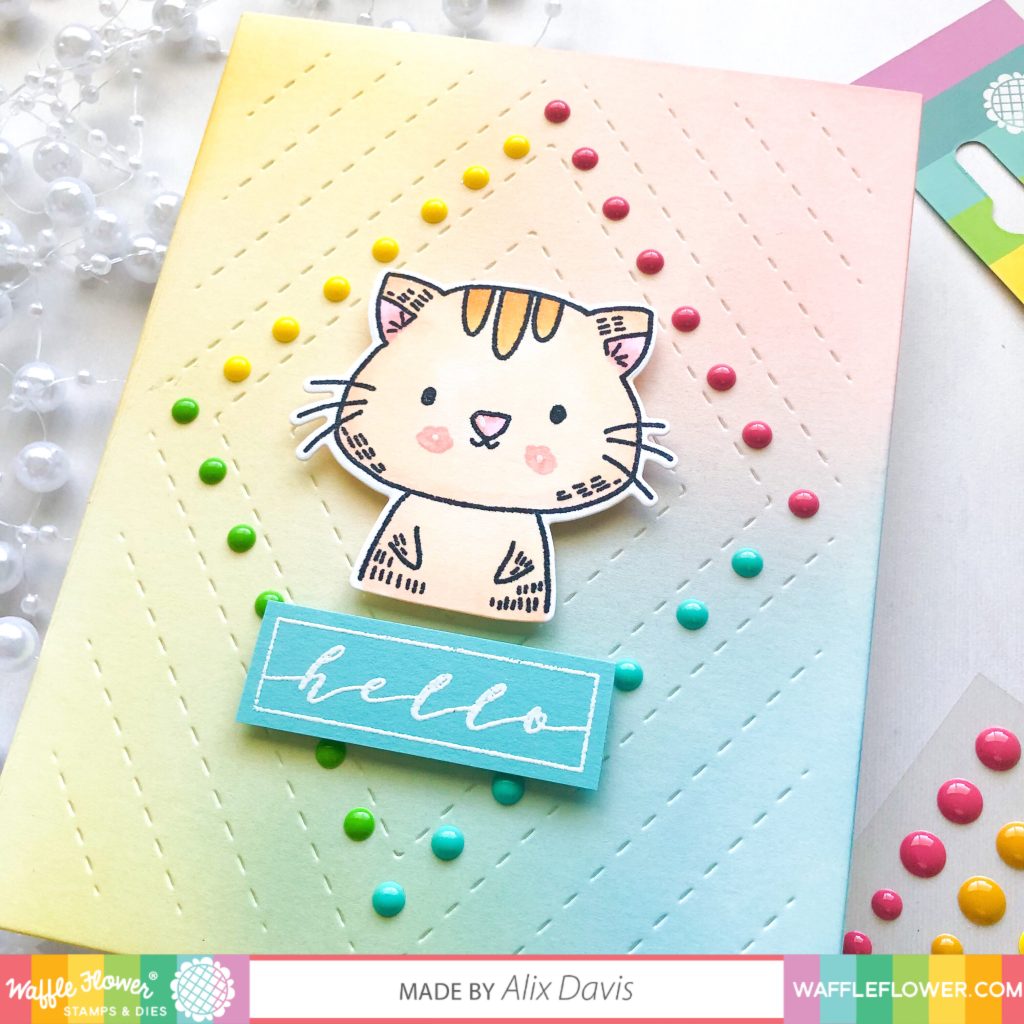
For my centerpiece, it is the cutest kitty cat from Waffle Flower Be her Stamp set which was illustrated by Big Bear and Bird. I stamped the image on to neenah solar white 80lbs card stock with Memento Tuxedo black in and die cut with the Coordinating Dies. The coloring part was simply done with copic markers. After adding a few dots using white gel pen on the cheeks of the kitty, it became so so adorable!
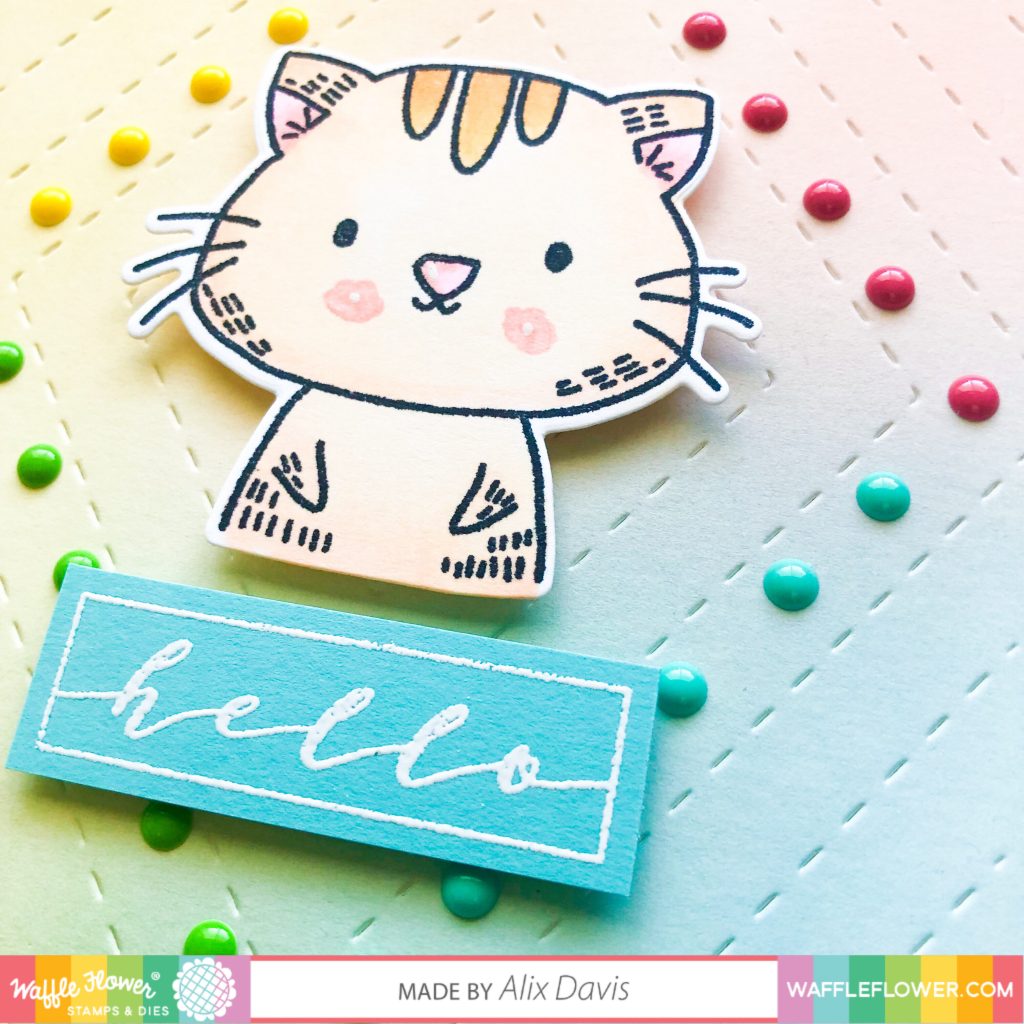
After I adhered the kitty to the center of the diamond shaped frame I created, I stamped the sentiment “Hello” from Waffle Flower Label Greetings Stamp set onto a piece of blue cardstock with Versamark clear ink and heat embossed with white embossing powder. I hand cut it to rectangle shape with scissors and attached it below the kitty.


<Card 2>
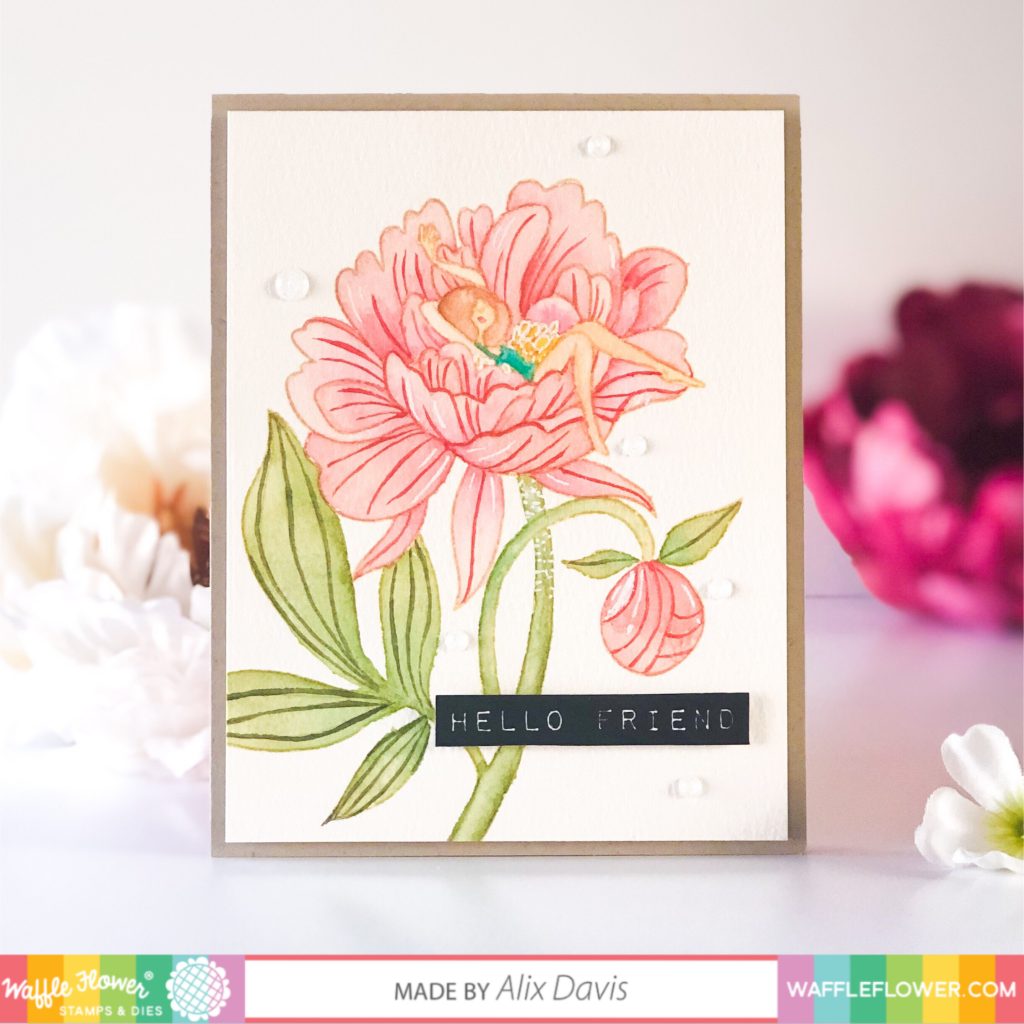
I was wowed by this Peony Dreams Stamp set that is illustrated by Oana Befort. I love the style of her creations, so I decided to some of techniques that were inspired by her original work. I inked the stamp images onto a piece of watercolor paper using Tim Hotlz Distress ink in Antique Linen. Then I colored them with random picked watercolor paints that were laid on my craft table. I added some details onto the stern and center of the flower using white gel pen as well.
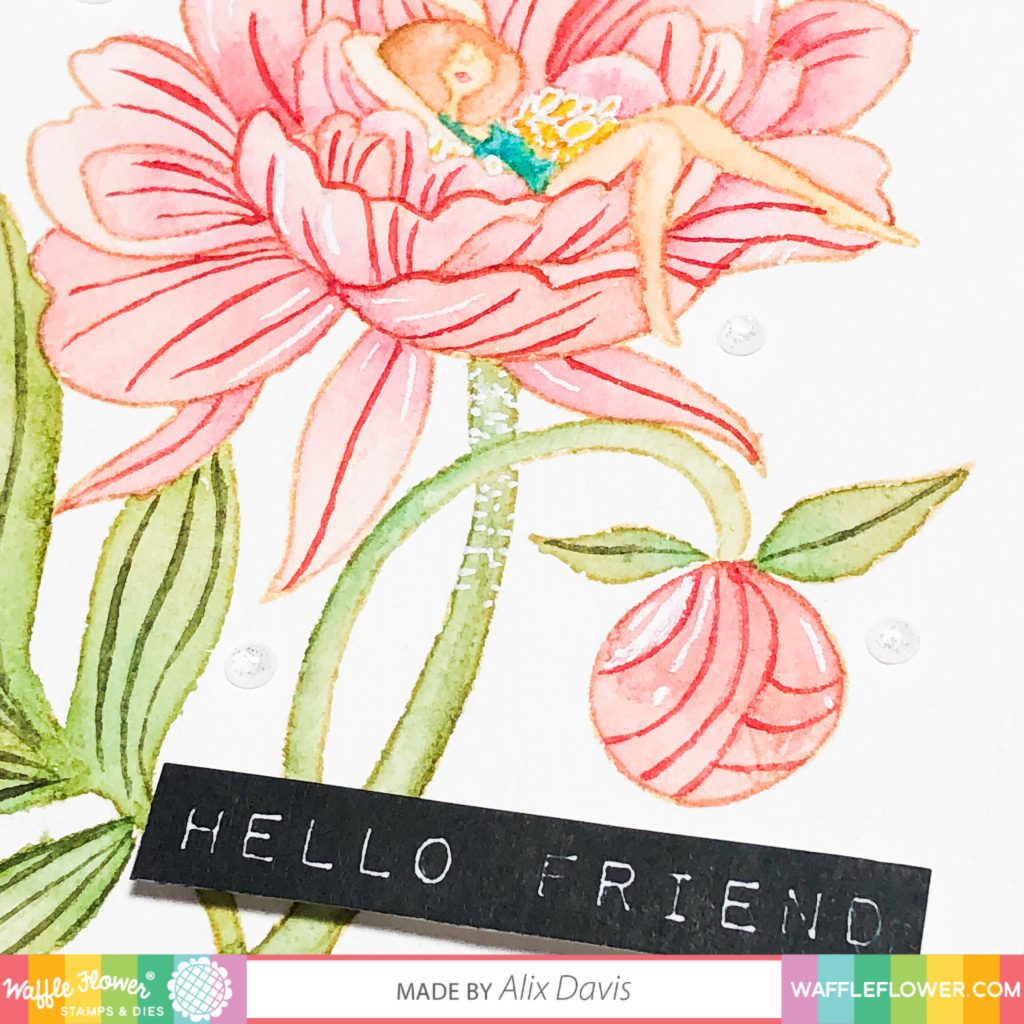
I cut the background paper to the size that is slightly smaller than A2 size and adhere it to the A2 sized front folded card base in craft color.  I stamped the sentiment onto white card stock paper with Versafine Oynx Black ink and hand cut it with my scissors. After I adhered the sentiment onto the background using Foam tape, I added Enamel dots in Stardust to finish my card. FYI, This stamp set does come with the Coordinating Dies for your projects.


<Card 3>
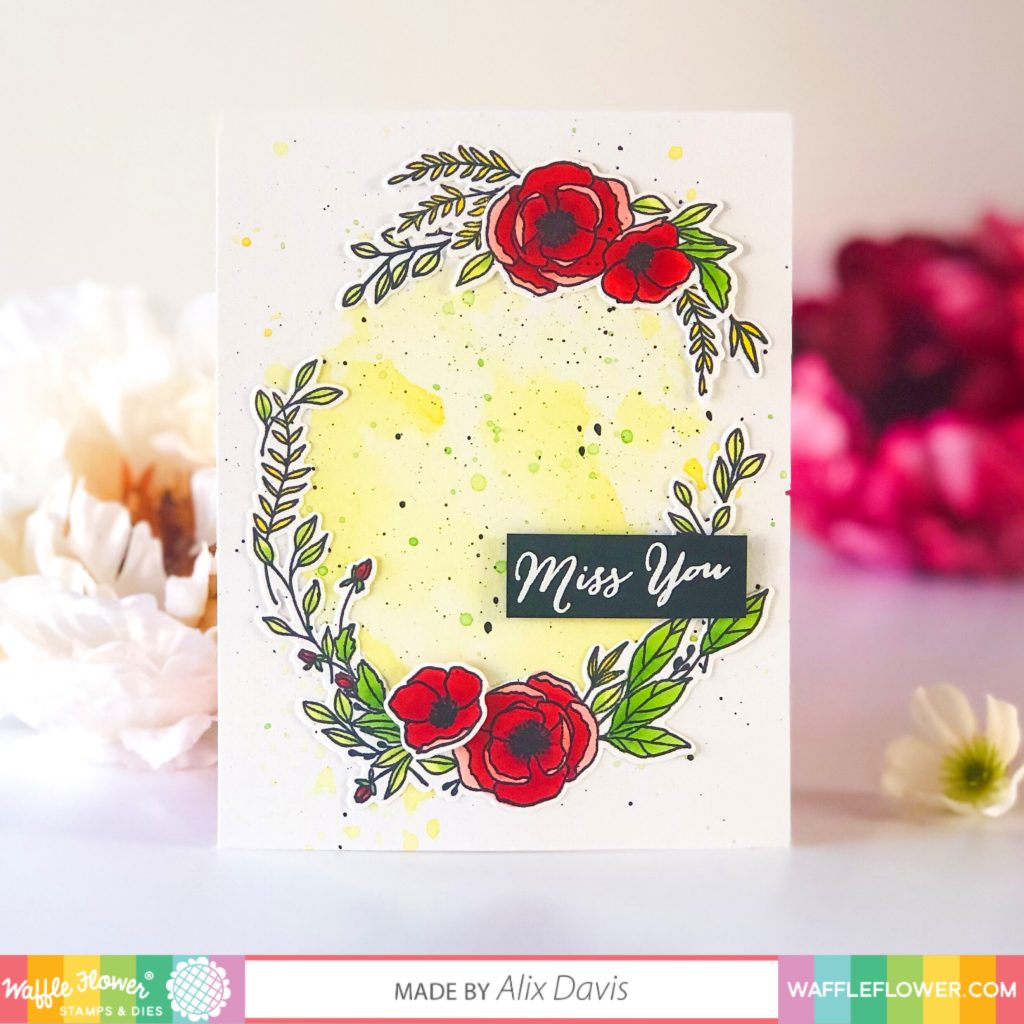
I quickly moved to my third card. I want my card to be bright and springing. Red and yellow were two tones that were great to achieve my goal. First of all, I colored my images from Waffle Flower Be You Tiful Stamp set and cut with it’s Coordinating Dies. Then I colored them with Copic markers.
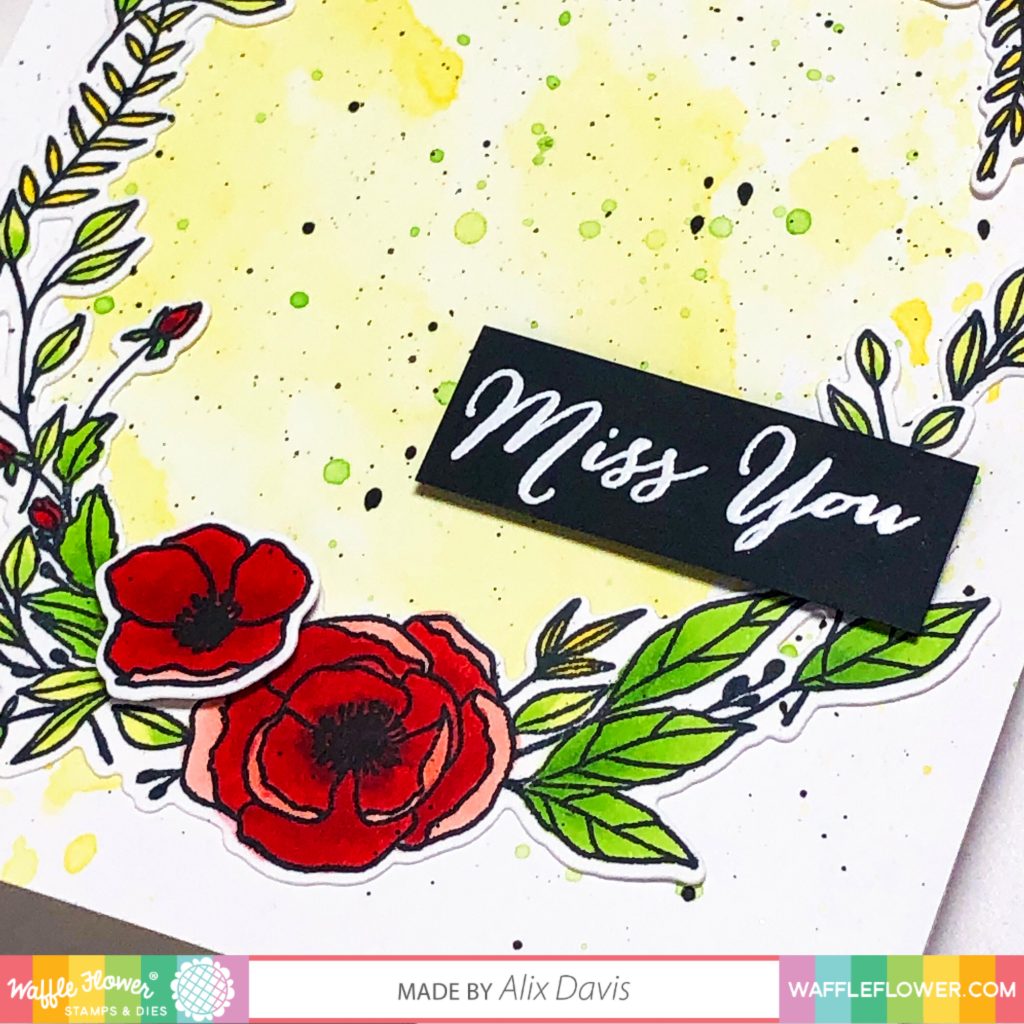
I ink smudged onto the A2 sized watercolor paper using Tim Holtz Distress ink in Squeezed Lemonade and Twisted Citron. Once its dry, I splattered Black ink to create some artsy effect. I arranged my colored images onto the background, the I stamped the sentiment “Miss you” from the same Stamp set onto a piece of black cardstock with Versamark clear ink and heat embossed with white embossing powder. I popped the sentiment to the background using Foam tape. Believe or not, it only took me about 45 minutes to make this card.

<Card 4>
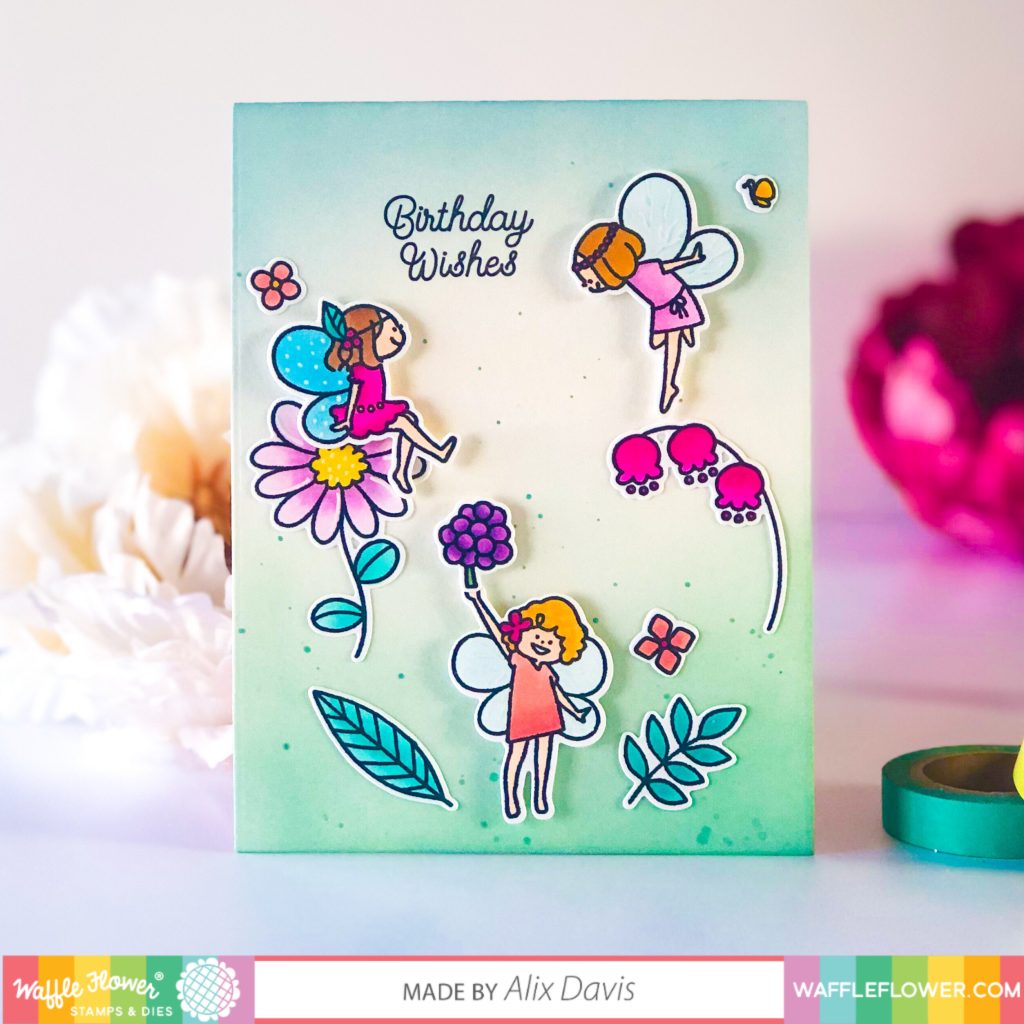
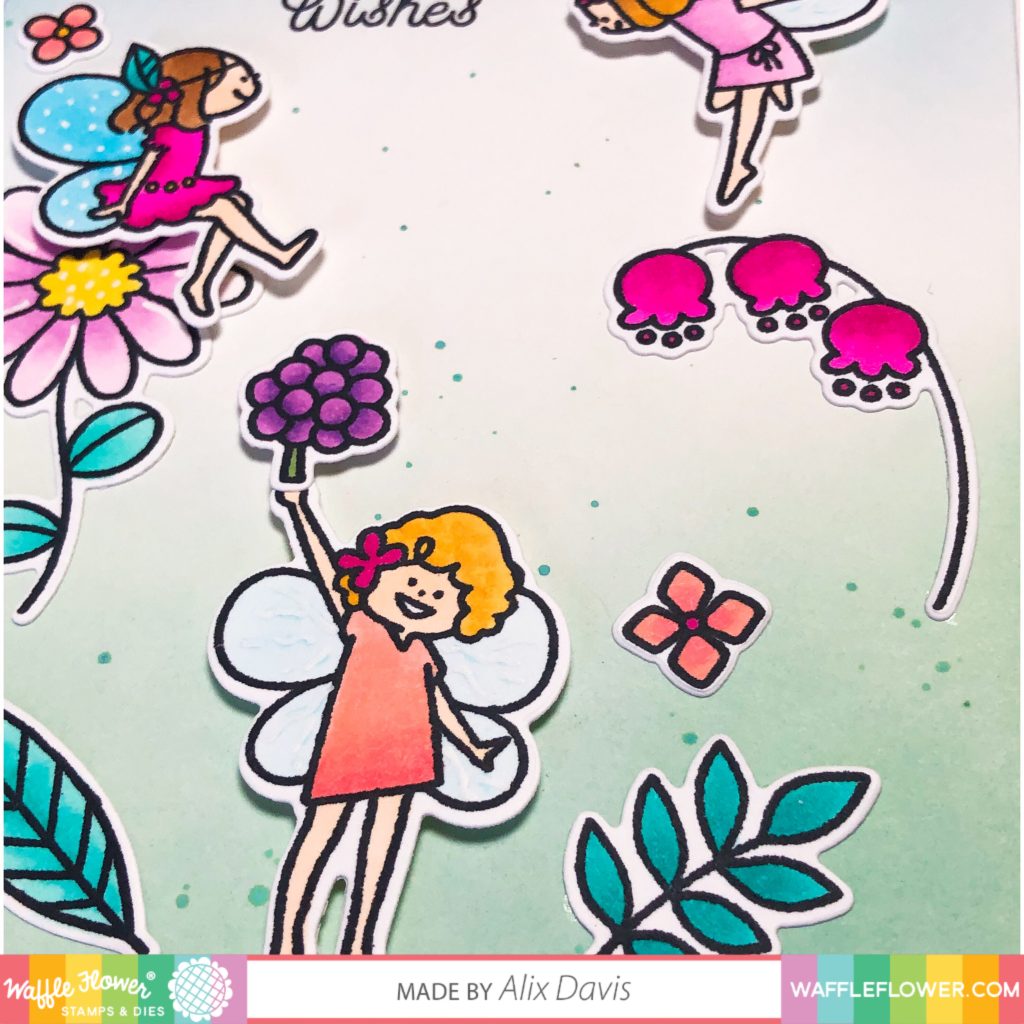
Now we come to the last card. Oh fairy oh fairy. Everyone loves fairies right?! Waffle Flower Little Fairies Stamp set fulfill my childhood dream. I love there are so many elements to build a scene. And they are all good to mix and match with other stamp set as well. I started to create the background, I ink blended the bottom part with Tim Holtz distress oxide in Cracked Pistachio and lucky clover and the top part with Tumbled Glass and Salty Ocean. I splattered mixture of ink and water over the background and let it aside to dry。

I stamped all images onto Neenah Solar white 80lbs cardstock paper with Memento Tuxedo Black ink, then die cut them using the Coordinating Dies. I colored all fairies and accessories using Copic markers. I arranged them onto the background I created using Multi Medium Matte and Foam tapes and stamped the sentiment “Birthday Wishes”  to the upper portion of my card.
Now you have it. A quick peek of all cards I created to tease you from this wonderful collections. Be sure to be inspired by other creative designers!

Please Hop with us 

Waffle Flower (Nina)  
Amy Rysavy
Hop Prize

To celebrate the blog hop, Waffle Flower is giving away $25 gift certificates to THREE lucky winners. You can leave comment on my blog and along the hop by 11:59pm ET on 2/7/19 for your chances to win. Winners will be chosen at random from the comments left on any of the posts on this blog hop and will be announced on the Waffle Flower blog on 2/11/19.
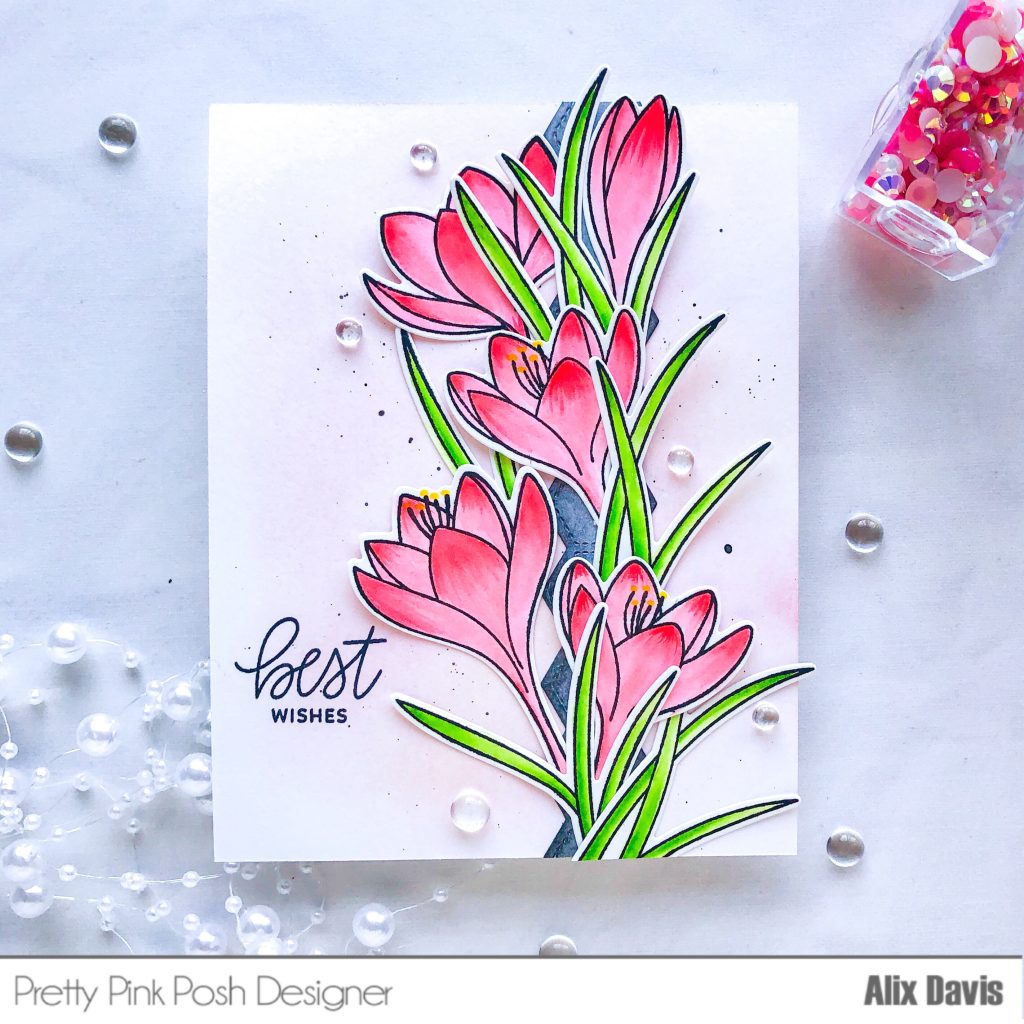
Best Wishes-Pretty Pink Posh

Oh Hello everyone,

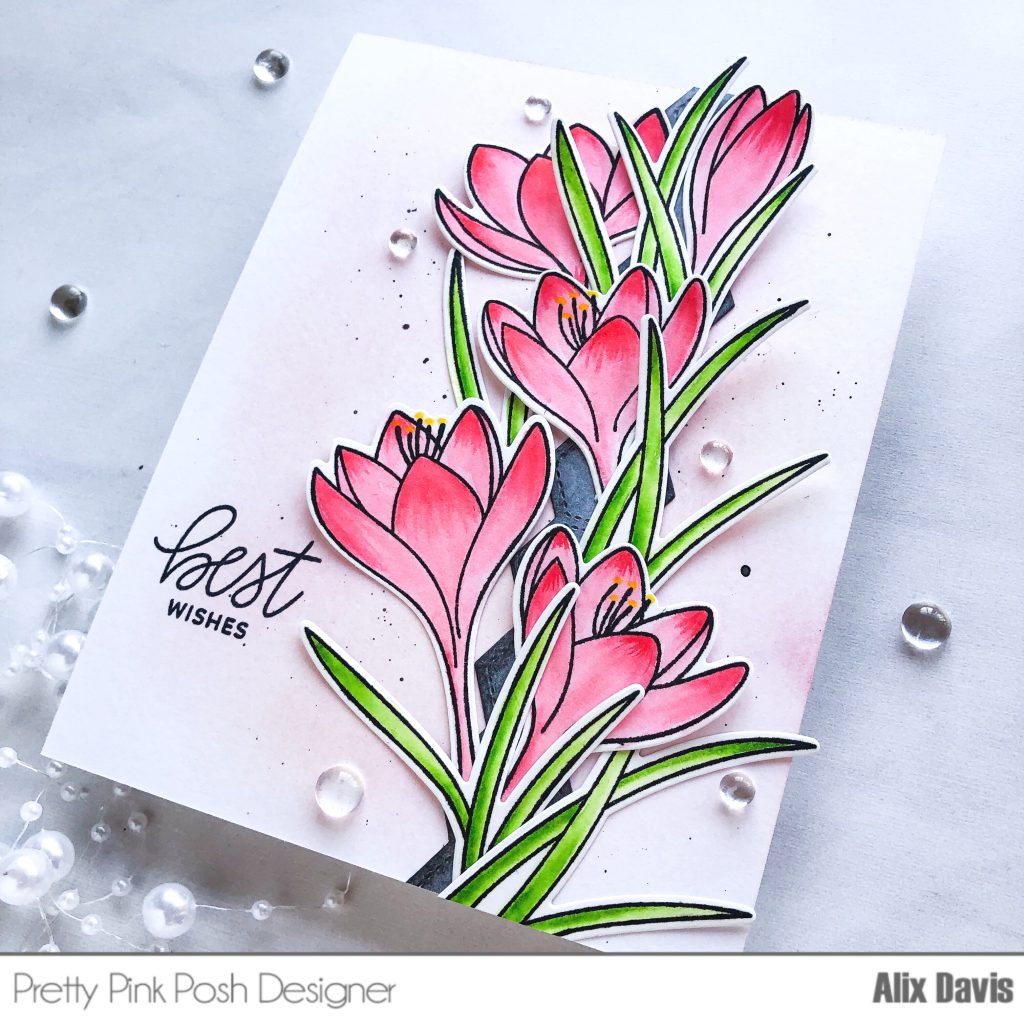
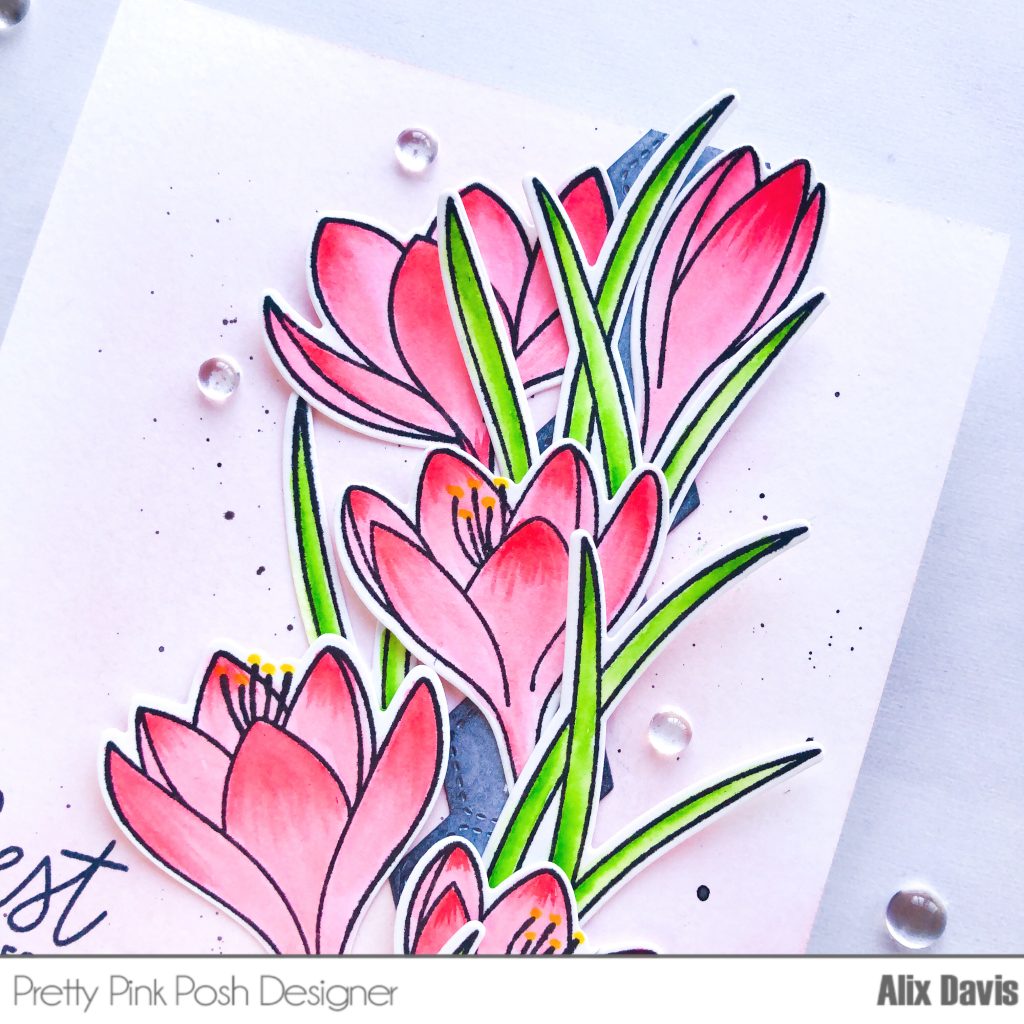
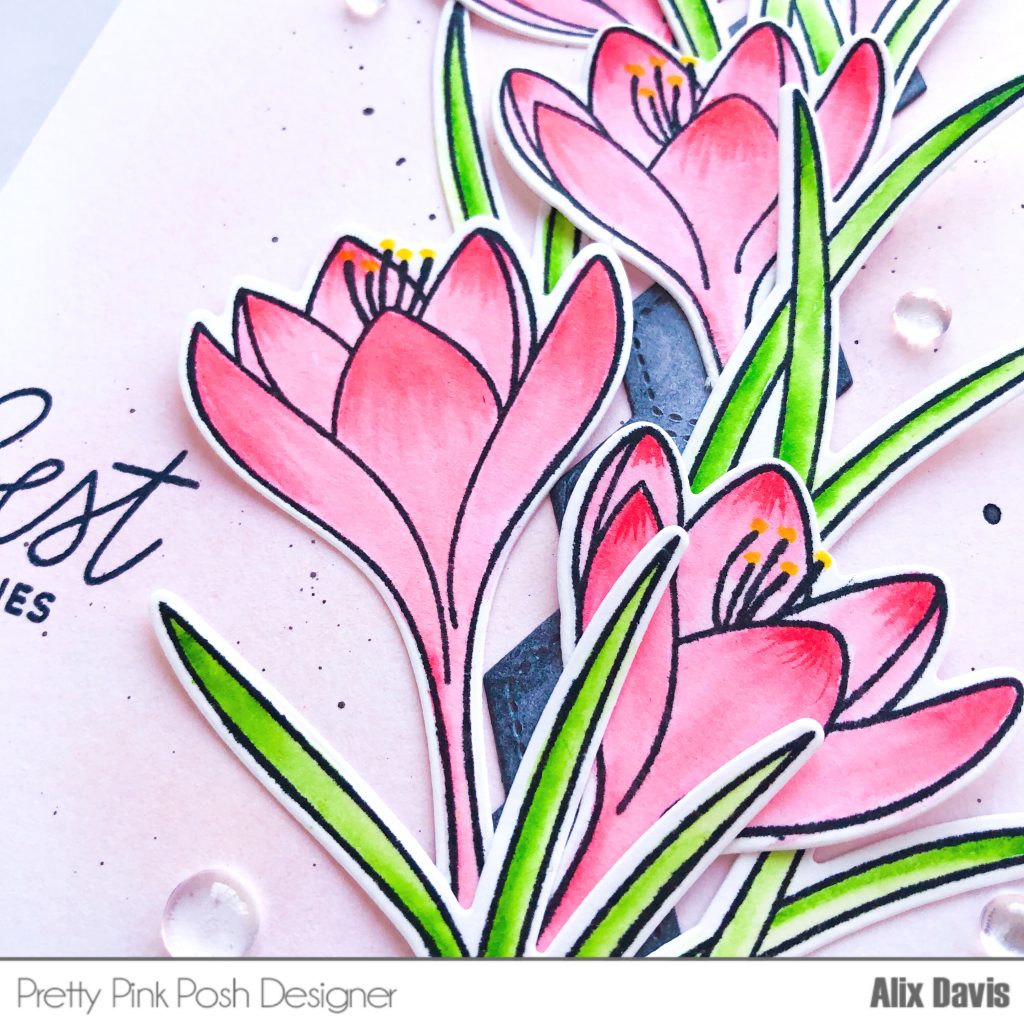
Have you ever been in a situation that you could not stop doing some things you fell in love with? I just cannot have enough of Pretty Pink Posh Crocus Flowers Stamp set. So I made one more card.

To make this card. I first stamped the images from Pretty Pink Posh Crocus Flowers Stamp set with Zig Clean Color Real Brush Markers (021 for flowers and 041 for leaves) die cut them with the Coordinating Dies.

I ink blended onto a piece of A2 sized watercolor paper using Tim Holtz Distress oxide in Worn Lipstick in very very light touch, just enough to make white background not so boring. Then I splattered some black ink to make my background looking more artsy. While waiting the ink to dry, I cut a strip of hexagon from Pretty Pink Posh Stacked Edges 2 Dies and colored it dark grey with Tim Holtz Distress oxide in Black soot. After adhered this hexagon strip onto the card, I arranged my flowers and leaves using  Multi Medium Matte

I stamped the sentiment “Best Wishes” from Pretty Pink Posh Everyday Greetings stamp set to the lower left corner and I embellished the card with Pretty Pink Posh 4mm Clear Droplets.

Alright.  There you have it. The third card I make using the same stamp set. So which card do you like the most?

Creating Floral Birthday Card-Pretty Pink Posh

Hello Crafty Friends!

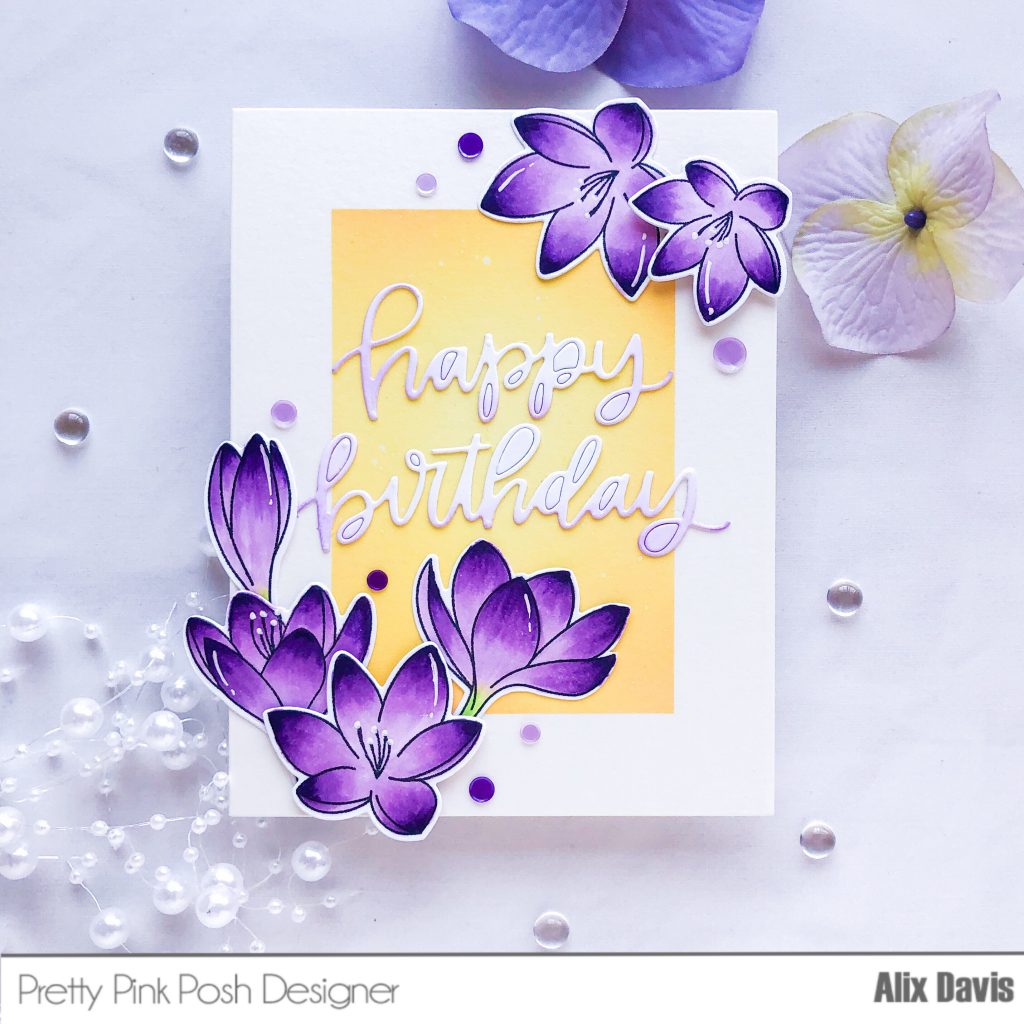
The weather in the location I am living has been very nice. It made me dream about spring when everything blooms.

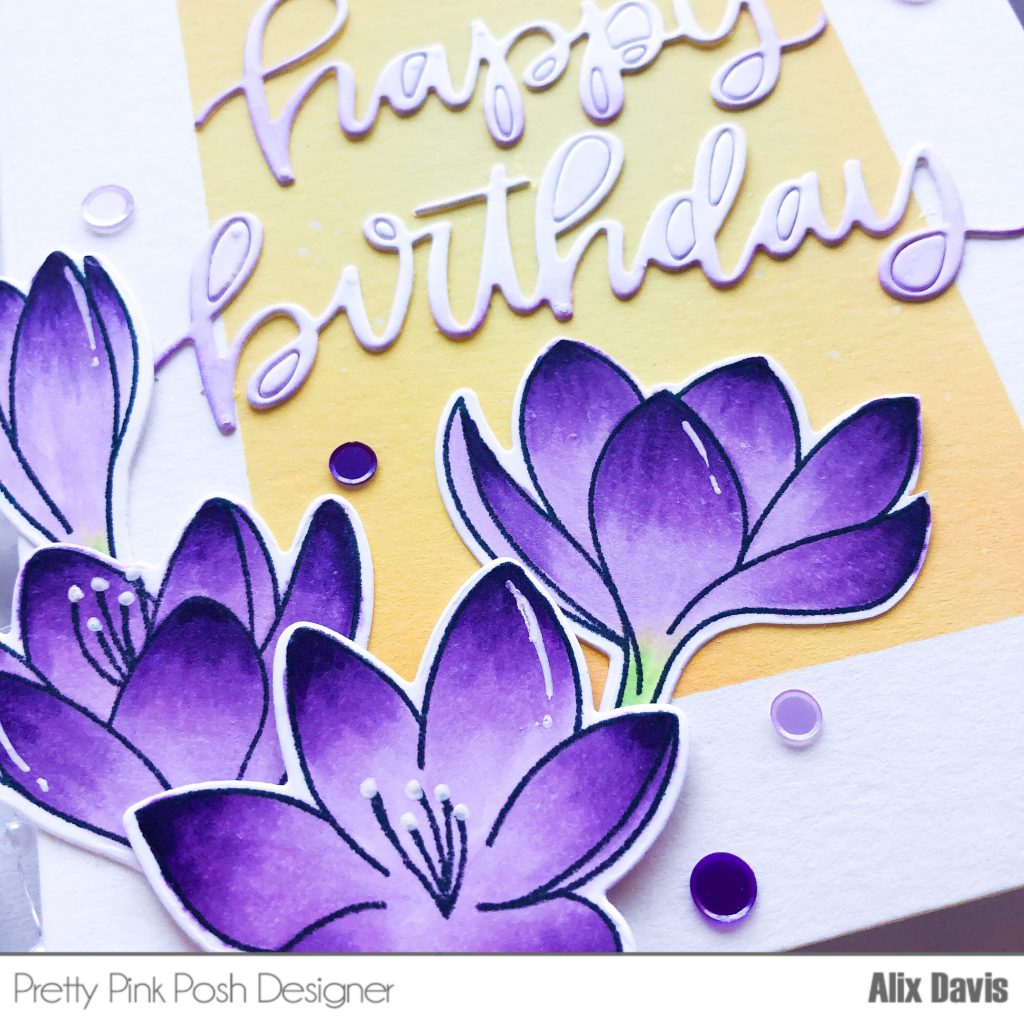
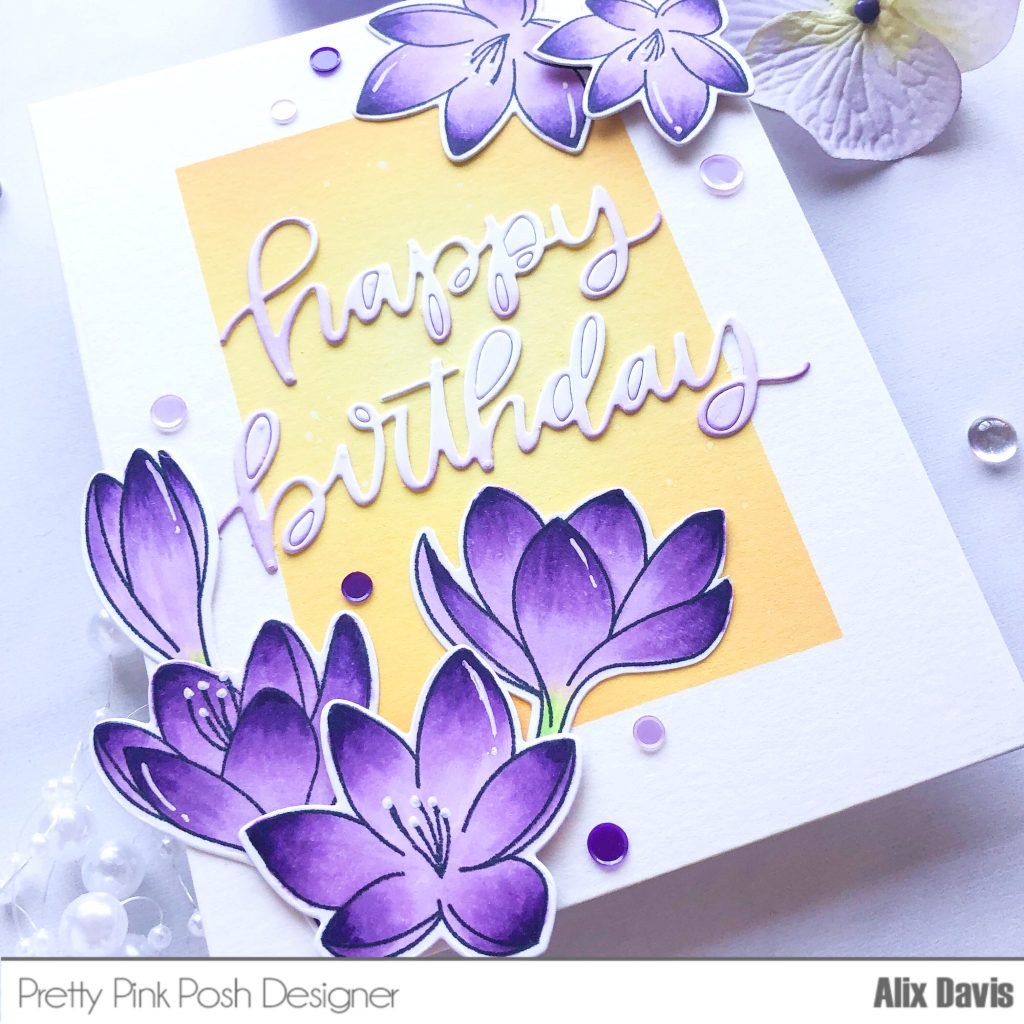
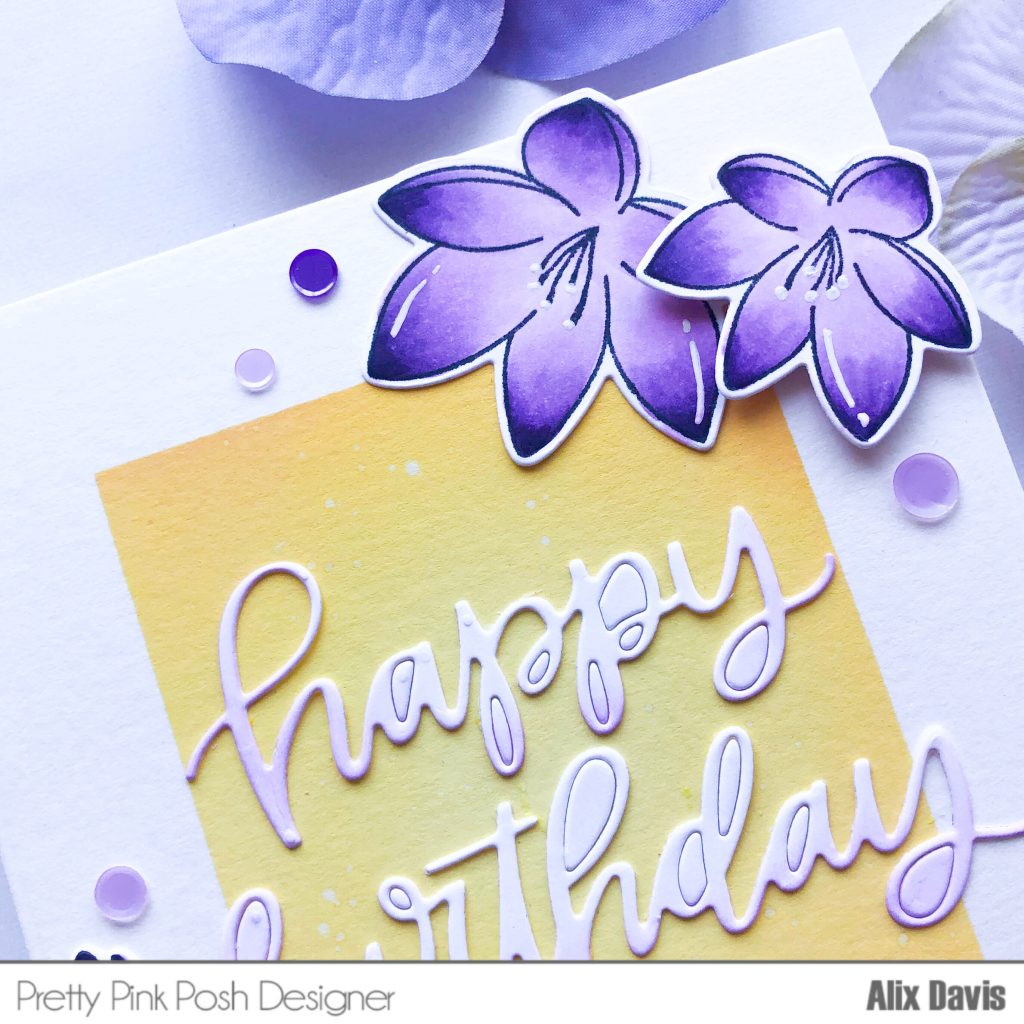
To make this card. I first stamped the images from Pretty Pink Posh Crocus Flowers Stamp set with copic markers (V01,V09 and V15 for the flowers; YG23,YG17 for the stems) die cut them with the Coordinating Dies. I used Uni-ball White gel pen to draw some details on the flower petals.

I then die cut “Happy Birthday” with Pretty Pink Posh Happy Birthday Script Die out of a piece of 100 lbs white card stock. I light handed ink blended the edge of the die cut using Tim Holtz Distress oxide in Wilted Violet.

To prepare the background. I decided to go for simple layout. I used 1 inch wide washi tape masking the edge of the card base, then ink blended un masked area using Tim Holtz Distress oxide in Squeezed Lemonade, Mustard Seed and Spiced Marmalade. I splattered a few water drops over ink blended area to create the cool effect when it dried.

I arranged die cuts and colored images using Multi Medium Matte and Foam tapes onto the background and added Pretty Pink Posh Sugar Plum confetti mix to have the final touch.

I will have another card coming up on Friday to show another way using this gorgeous stamp set. Stick around!

All My Love-Pretty Pink Posh

Happy Monday!

My weekend was pretty relaxed (Thank Goodness!). I made some cards and organized my craft room a little. I also went out to hang out with my girlies catching up with our lives’ updates. How about your weekend?

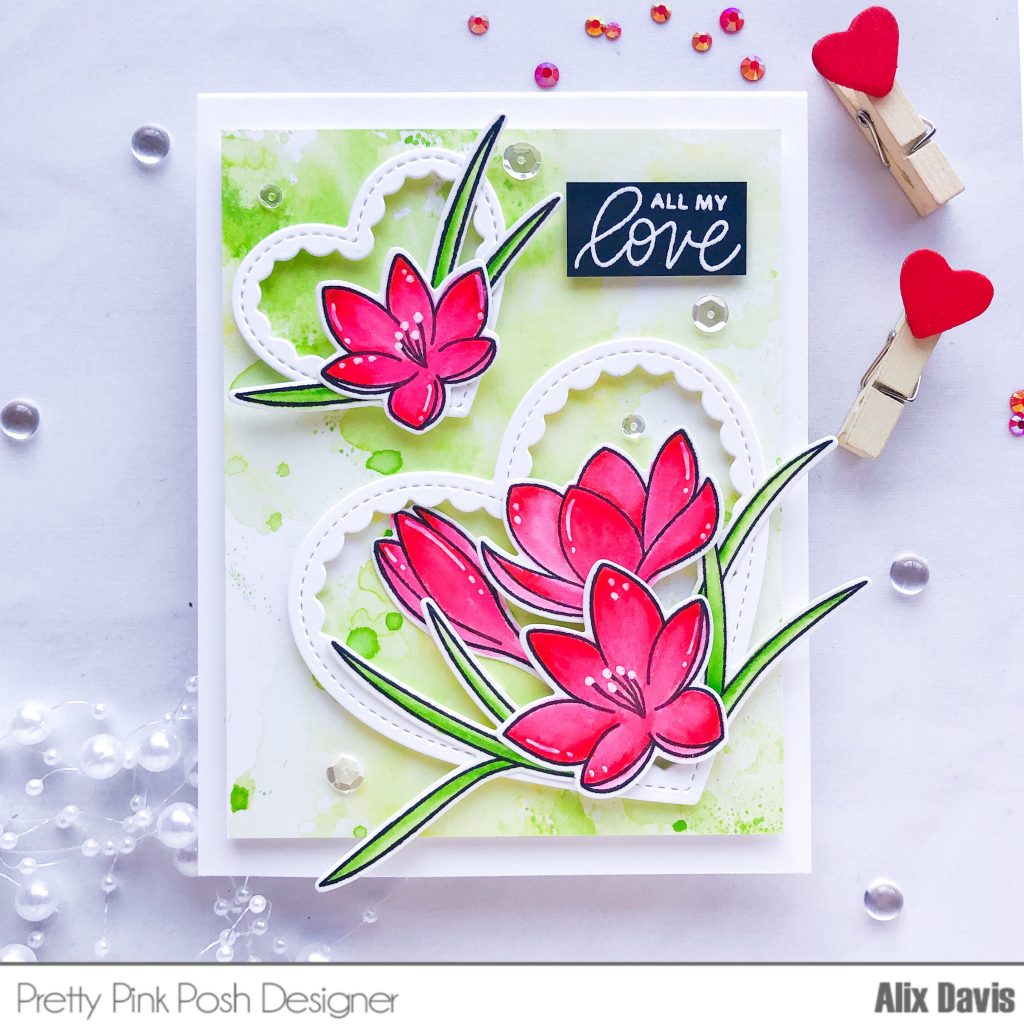
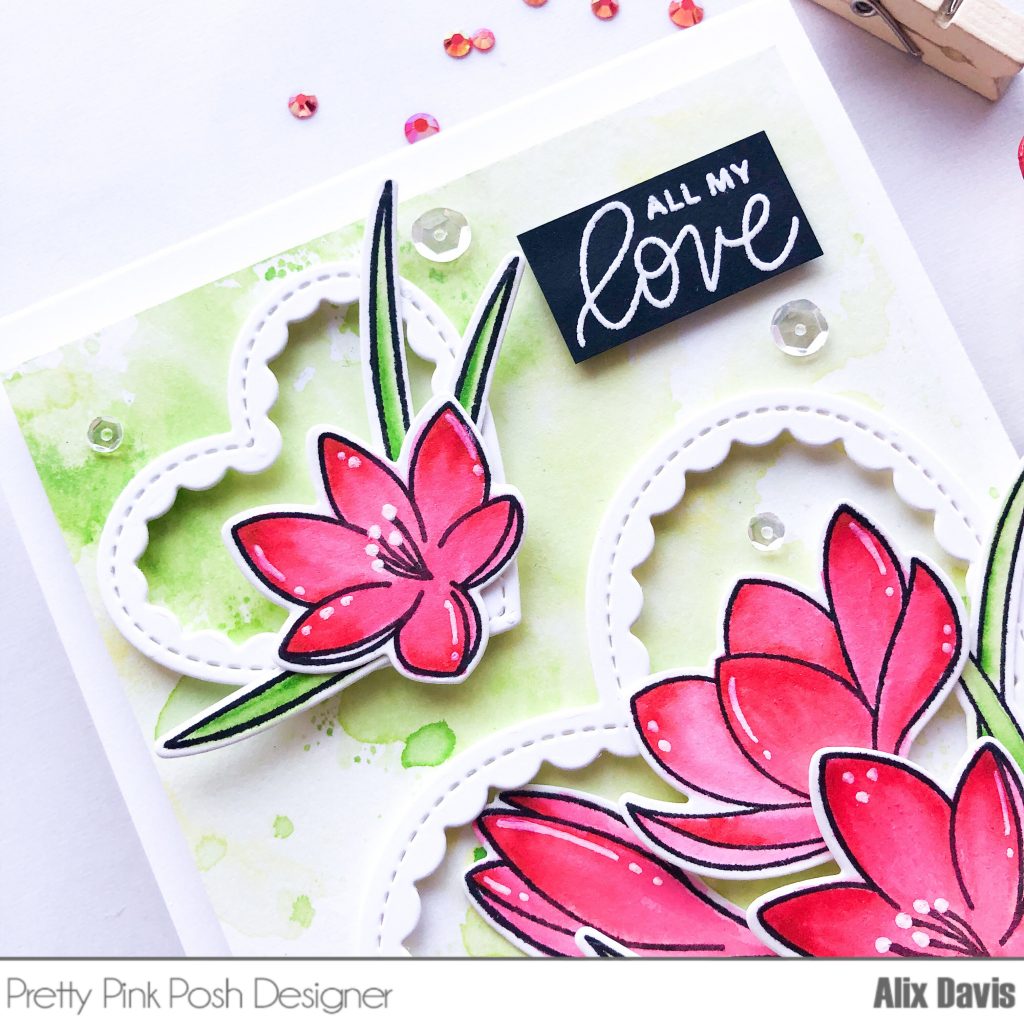
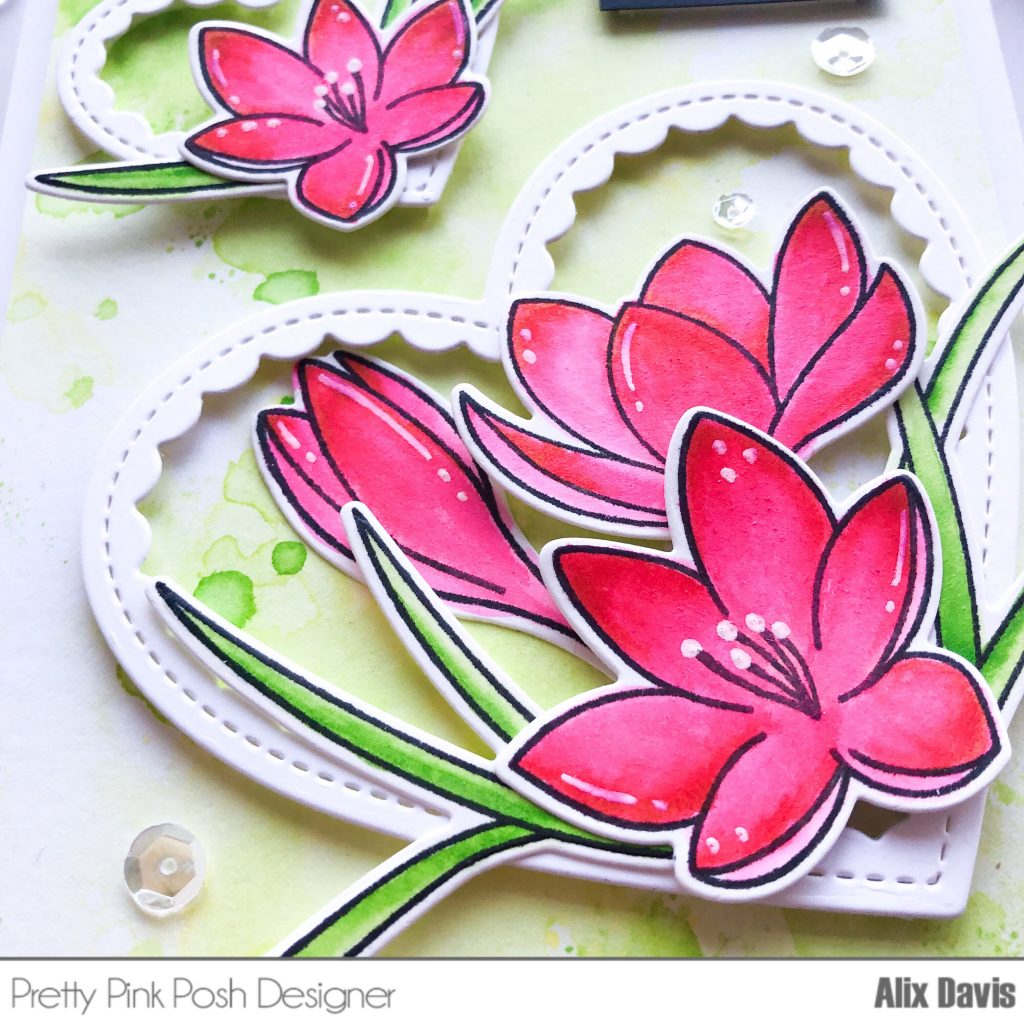
Today I am showing you one of cards I made during this weekend. I tried to think “outside of box” for my color selection for crocus flowers. If I google search Crocus, it shows in purple or yellow usually. But who says we have to follow the rules in our art world?! I think it would look good in red with these stamps. I went for what I think it could be and made that happen today.

To prepare my background, I chose a watercolor panel that was slightly smaller than A2 size, then ink smudged it using Tim Holtz distress ink in Twisted  Citron and Squeezed Lemonade (Please note I didn’t use oxide ink because I wanted it to be more vibrant) Once it’s done, I let it set aside to dry. 

I started to stamp all images from Pretty Pink Posh Crocus Flowers Stamp set with Versafine Onyx black ink onto Bristol smooth paper and die cut them using Crocus Flowers Coordinating Dies. Then I colored them using Zig Clean color Real brush markers (022 for flowers and 041 for leaves). I added some details onto the flower petals using Uni-ball white gel pen.

I die cut big and small scallop hearts with Pretty Pink Posh Scallop Hearts Dies out of a piece of 100lbs white card stock and adhered them onto the background using foam strips. Then I arranged all images around the heart frames I created using Multi Medium Matte and foam tapes. I stamped “All My Love” from Pretty Pink Posh Love Sentiments Stamp set onto Black cardstock using VersaMark Clear ink and heat embossed with white embossing powder. I hand cut it into rectangle shape and attached it onto upper right corner of the panel using foam tapes.

At last, I added Pretty Pink Posh 4mm Sparkling clear sequins and 3mm Sparkling clear sequins to embellish the background.  I attached the whole panel onto an A2 sized vertical folded with card base to finish my project.

Hope everyone will have a great day! I can not wait to share more projects with you soon!

Everything about You fills My heart with Joy-My Favorite Things

Happy Tuesday!

I just came back from Creativation 2019 in Phoenix, AZ yesterday with jam packed ideas and inspirations. I got to meet lots of crafty friends there and enjoyed every single minute! If you will have a chance to attend the Creativation next year, you will be completely wowed!

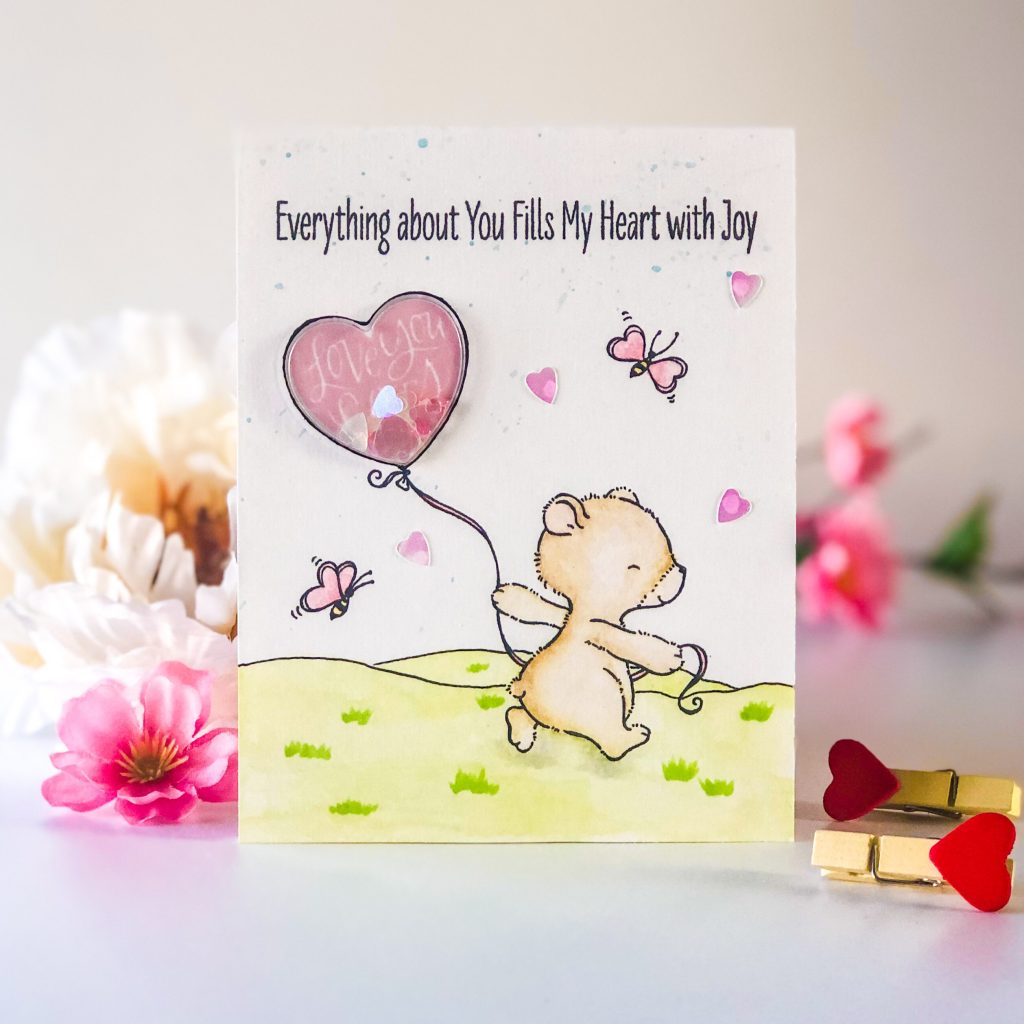
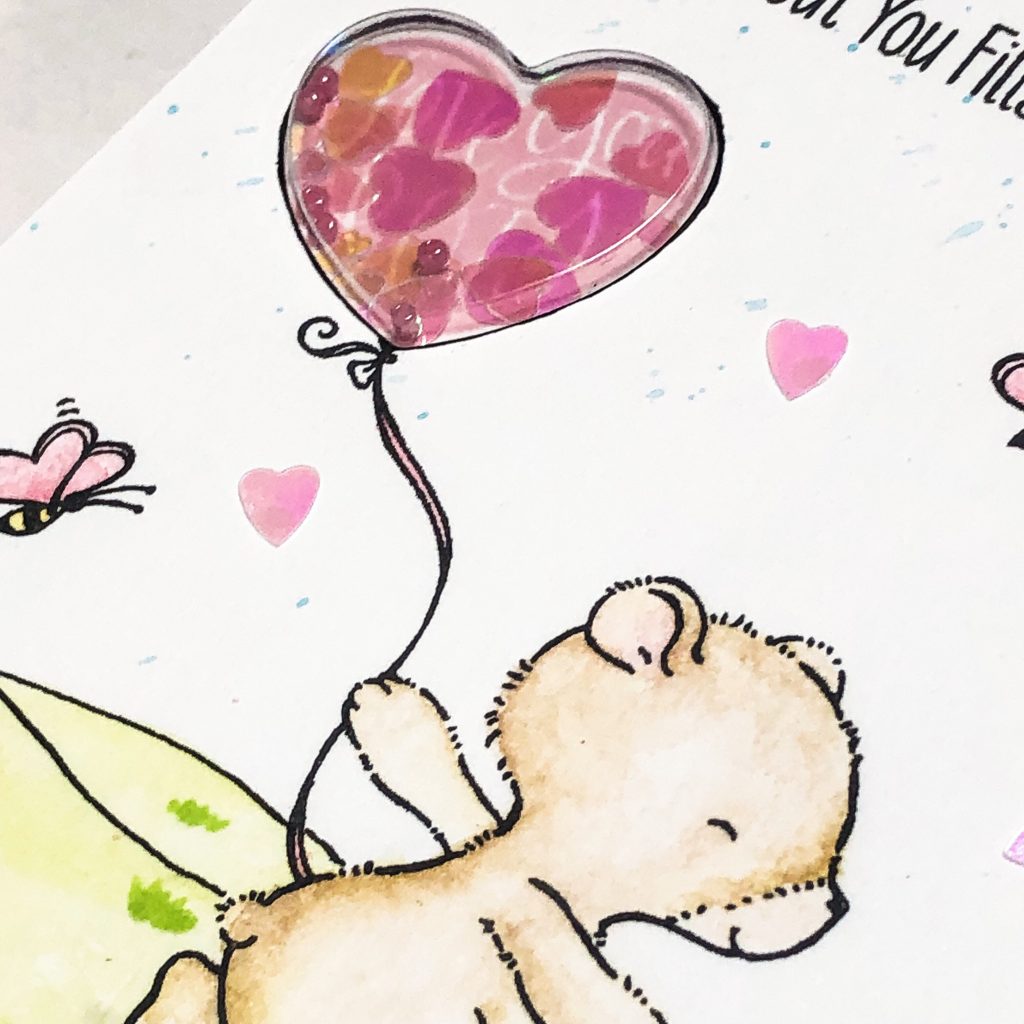
Today I want to show you a card that I made using products from My Favorite Things Heart Art Card Kit combined with My Favorite Things Joyful Heart Bears Stamp set. I always adore  Stacey Yacula’s illustrations and somehow never get my hands on them. I am so glad I could try use color some SY images this time. Stacey’s illustrations suits storybook style coloring very well so I decided to give it a try.

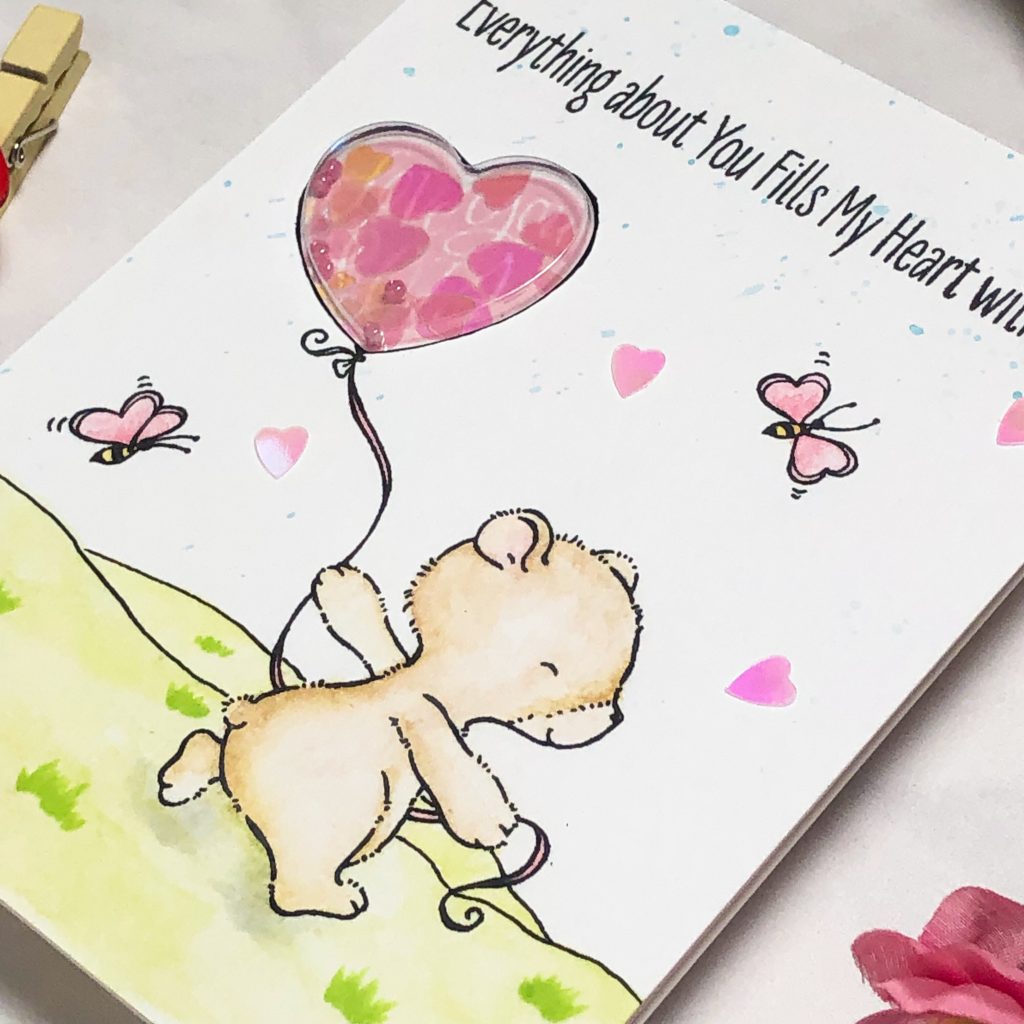
To start this card, I stamped the bear holding heart balloon image from Joyful Heart Bears Stamp set using Versafine Oynx black ink onto an A2 sized watercolor paper, I also stamped the accessory bees and sentiment from the same stamp set. In case you didn’t pay attention, those bees have heart shaped wings which are stinking cute! After the ink dried, I hand drew the hill using an archival ink pen for the bear to stand on.I colored all images with zig clean color real brush markers and created some grass with copic markers.  I splattered some light blue ink over white portion of the background to make it more interesting.

Instead of coloring the balloon, I cut the balloon part with Mini Heart Shaker W&F die to create an opening, then I cut one heart pouch from Heart Trio Shaker Pouches (Each piece comes with 3 heart pouches connected but it was very easy to cut with the scissors) For making the background of the balloon, I stamped an image from Heart Art Stamp set with a light pink dye ink onto the white card base. In order to make it match, I used the heart opening as a guide when I stamp it. I attached the pouch by popping it from back side of heart window and added some glue to establish it. I poured some Pretty Pink Posh Iridecent Heart confettis to the pouch and closed it with some more glue. I also attached a few heart onto the background as embellishments.

Please note: Heart Trio Shaker Pouches and Heart Art Stamp set are within the Heart Art Card Kit


Hope this card melts your heart! Be sure to check out all the products HERE! Have a beautiful day!

Floral and Shaker Card- Pinkfresh Studio

Hi Crafty Friends!

I’m on the Pinkfresh Studio Blog today.  Be sure and head there to check out how I created my two fun and different styled cards today!

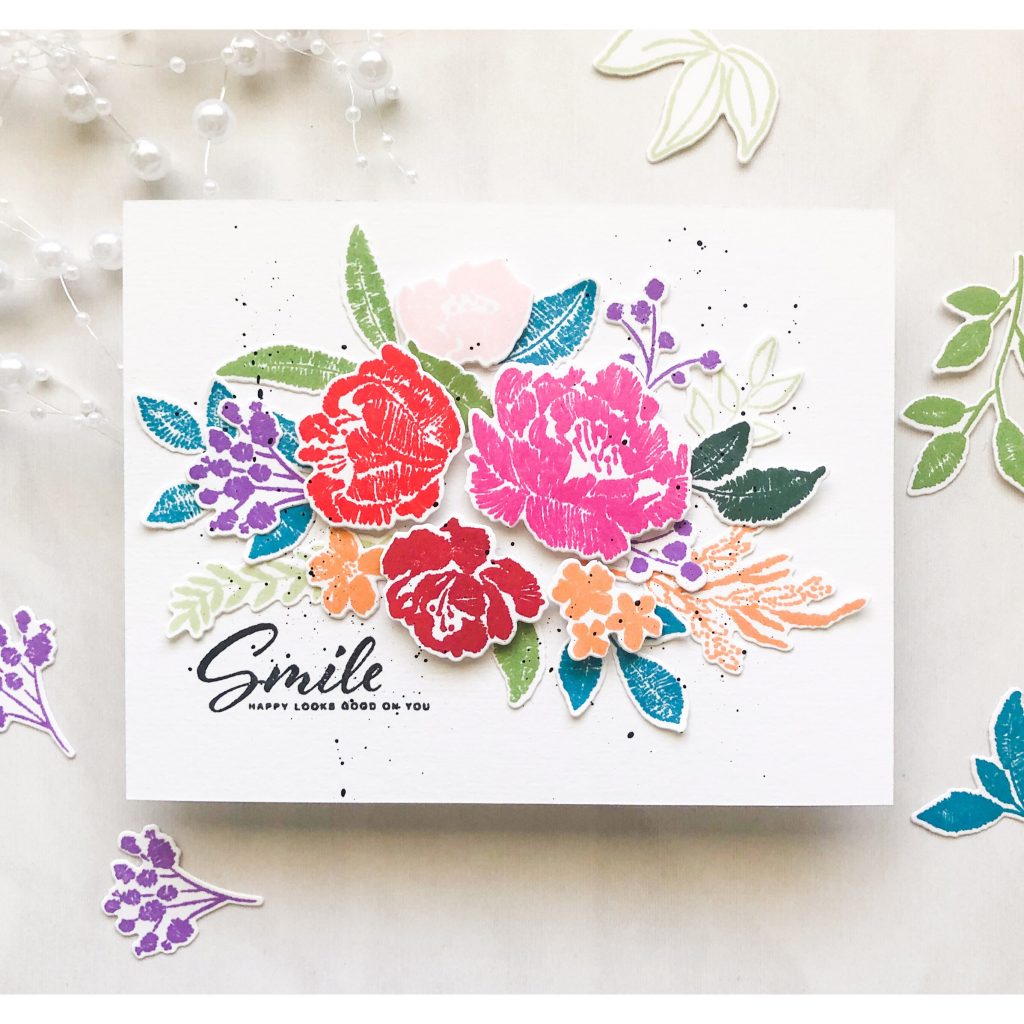
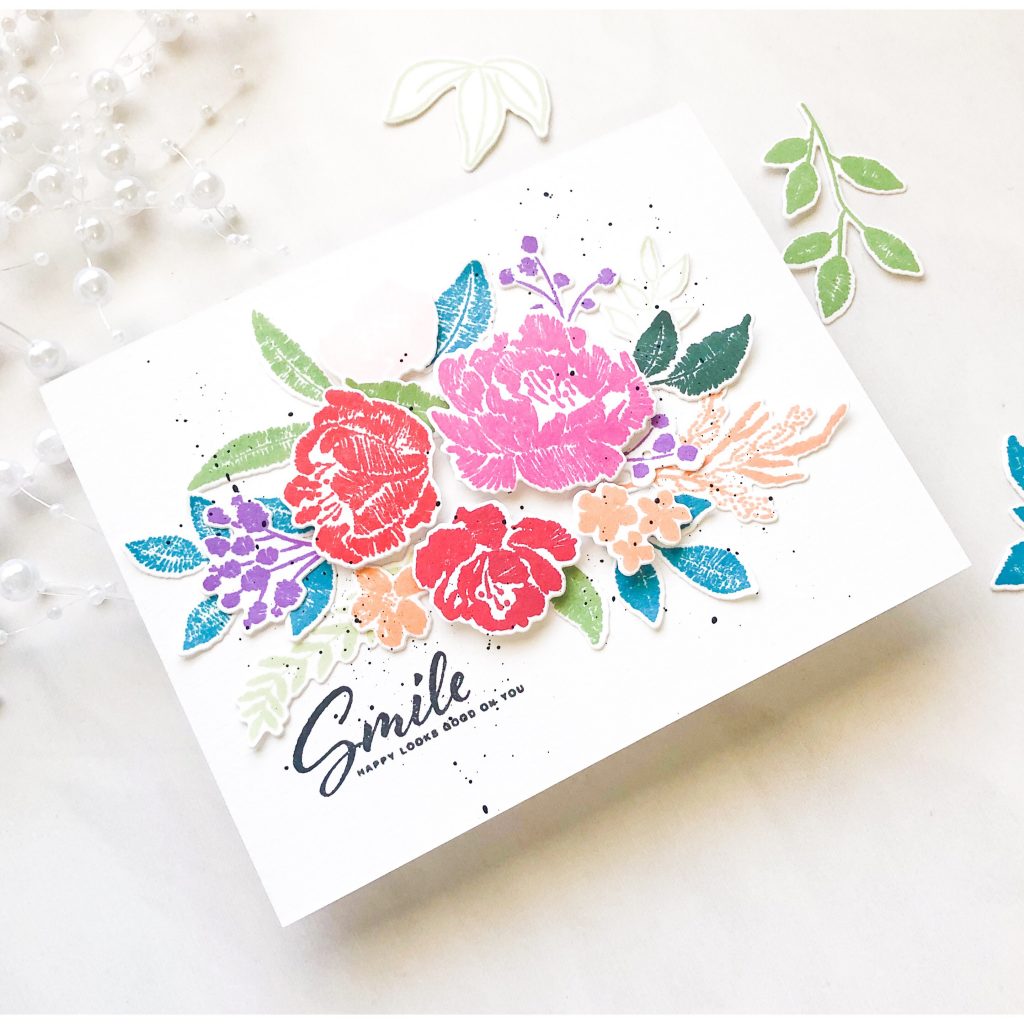
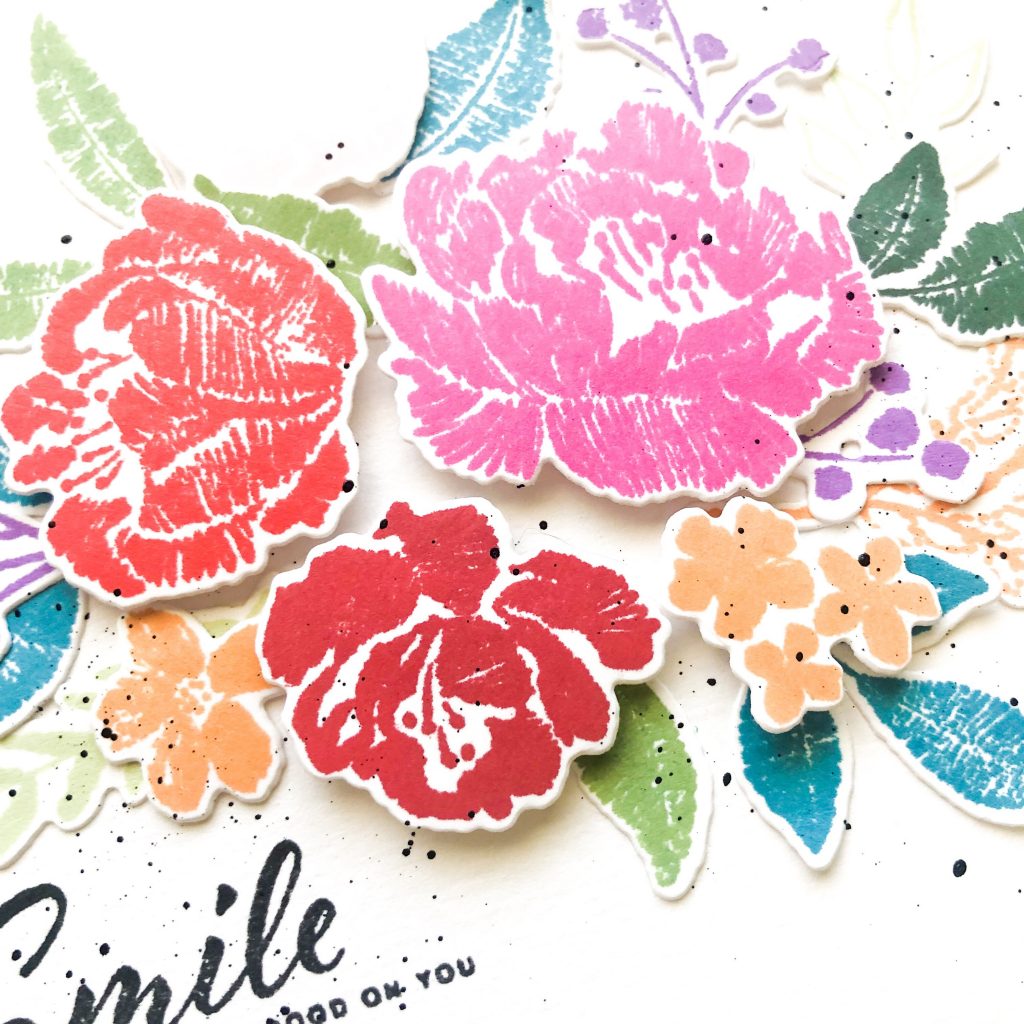
For this floral card, I used Embroidered Blossoms Stamp set and Coordinating Dies to create this collage of colorful bouquet.


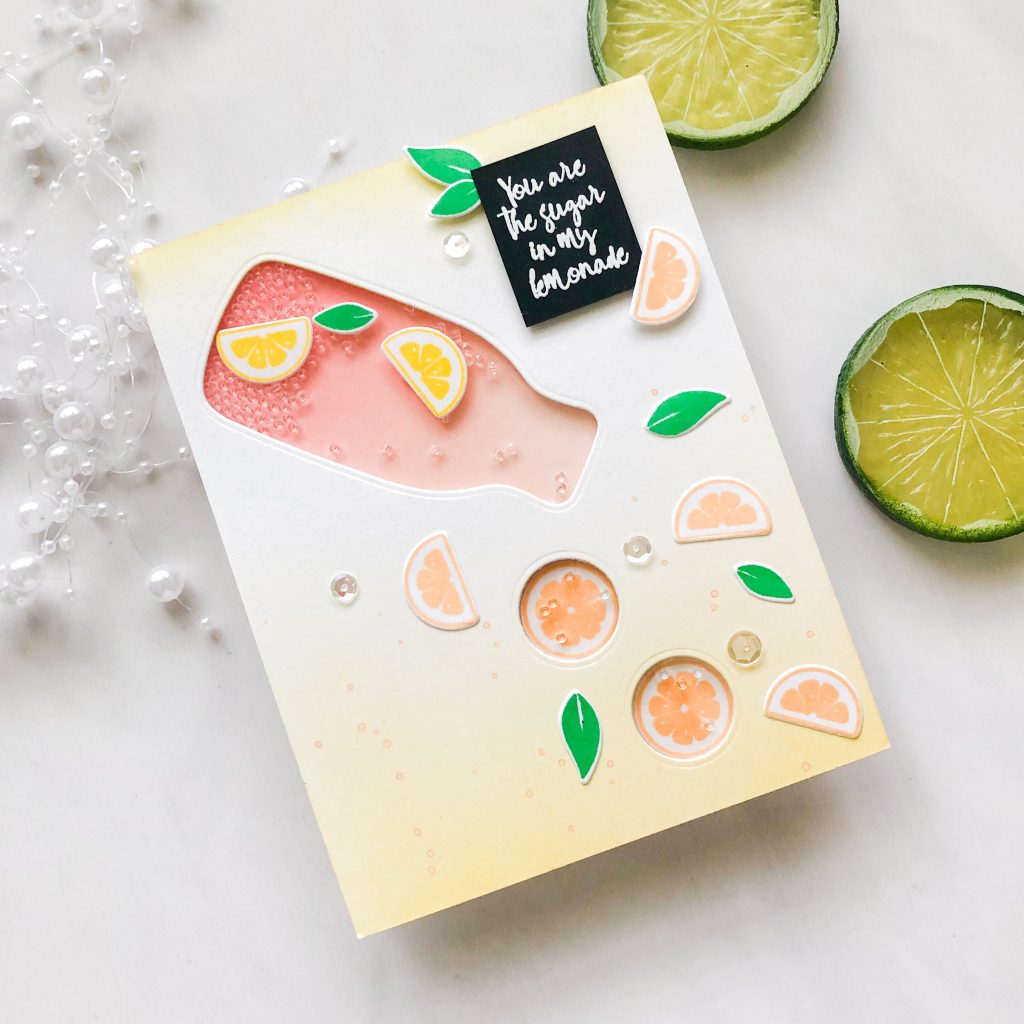
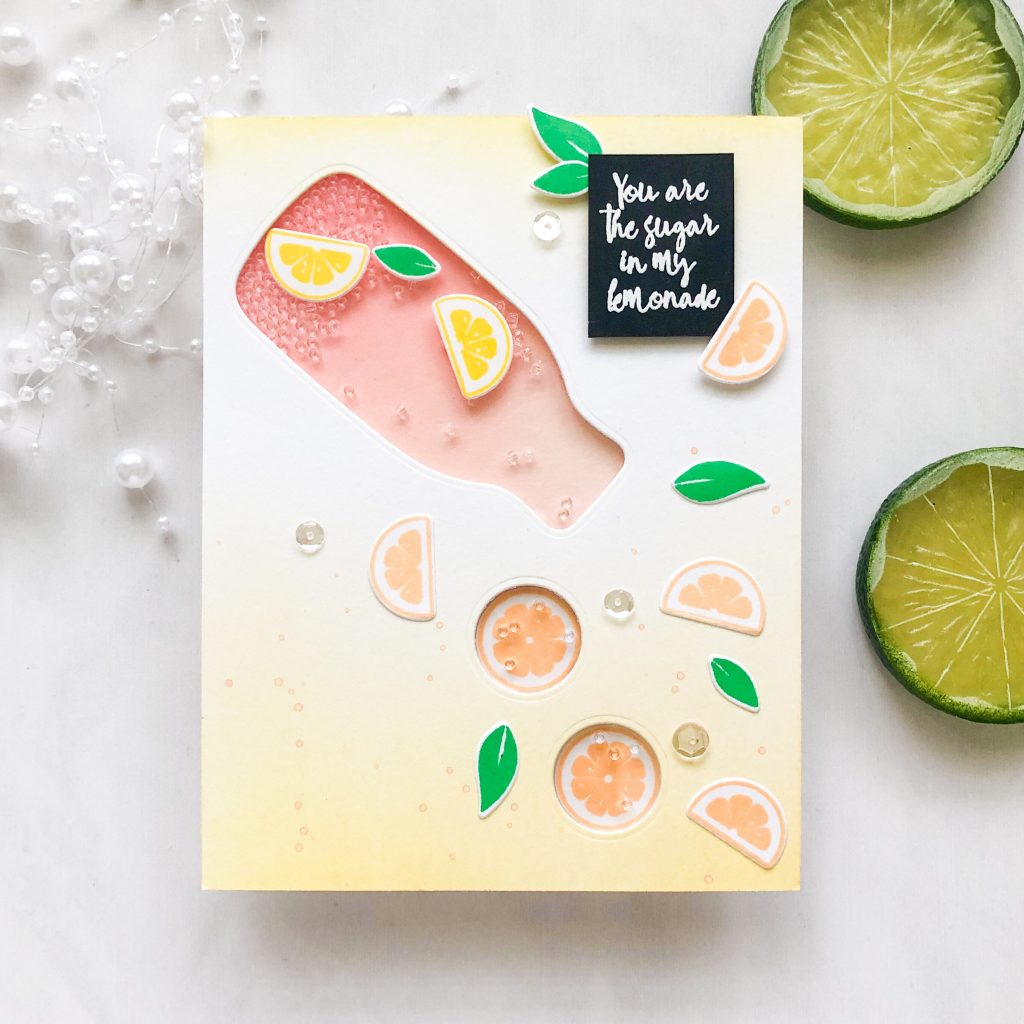
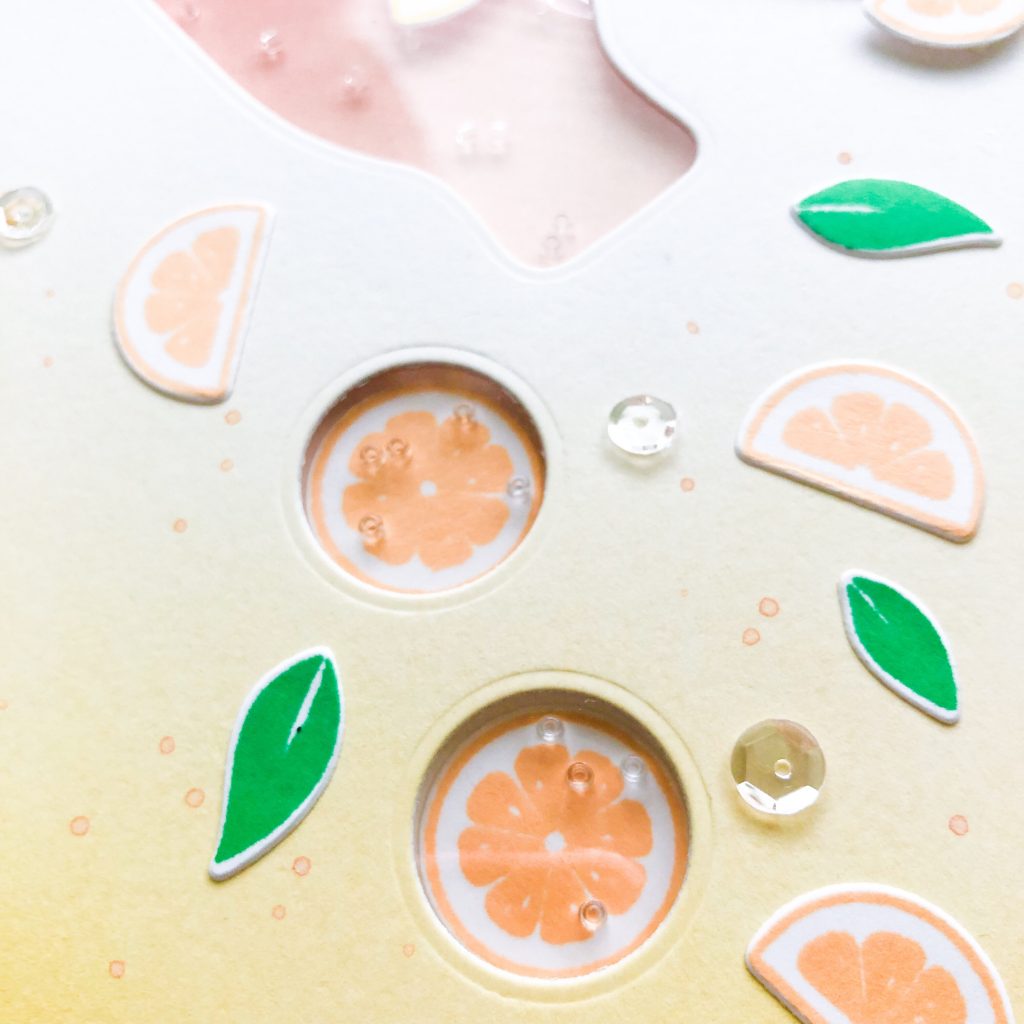
For my this card, I used Sweet Lemonade Stamp set and Coordinating Dies to create a refreshing shaker card.

Be sure to head over to the Pinkfresh Studio Blog to read about the details and see more photos!