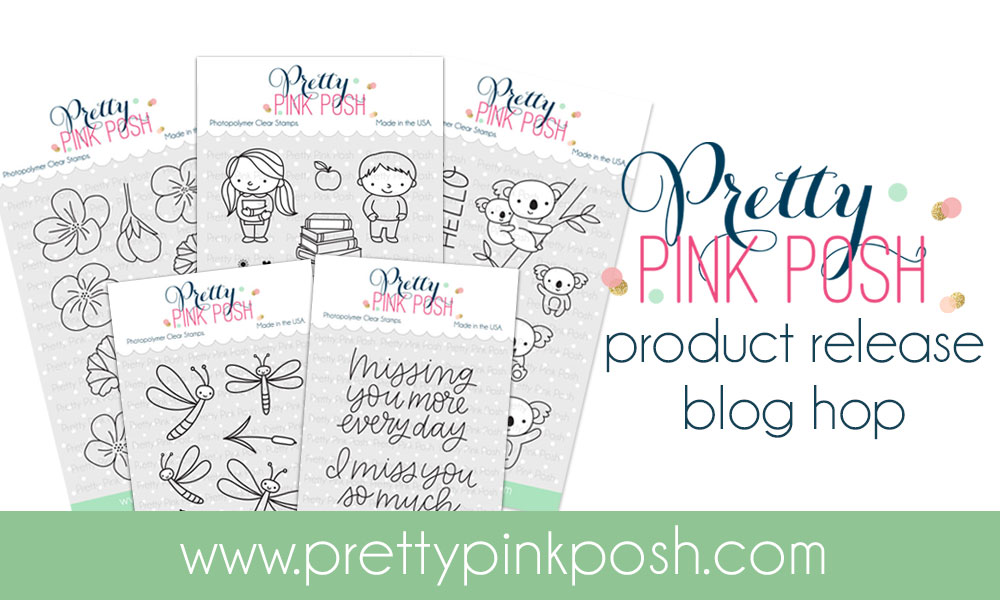
Welcome everyone to Pretty Pink Posh June 2018 release Blog Hop! I am so glad to be invited to join this fun event. This release includes so many great stamps and also some brand new seed beads in amazing colors which I’m sure you’re all going to love!
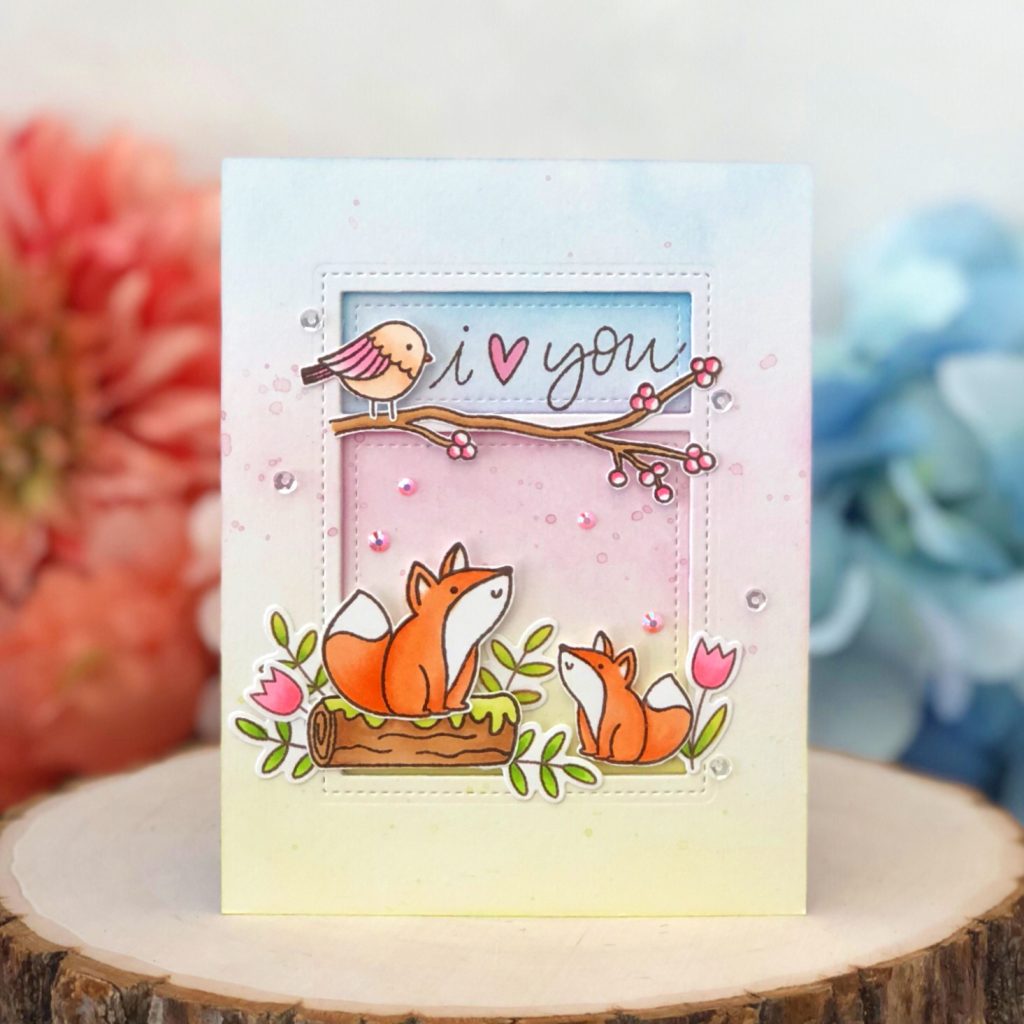
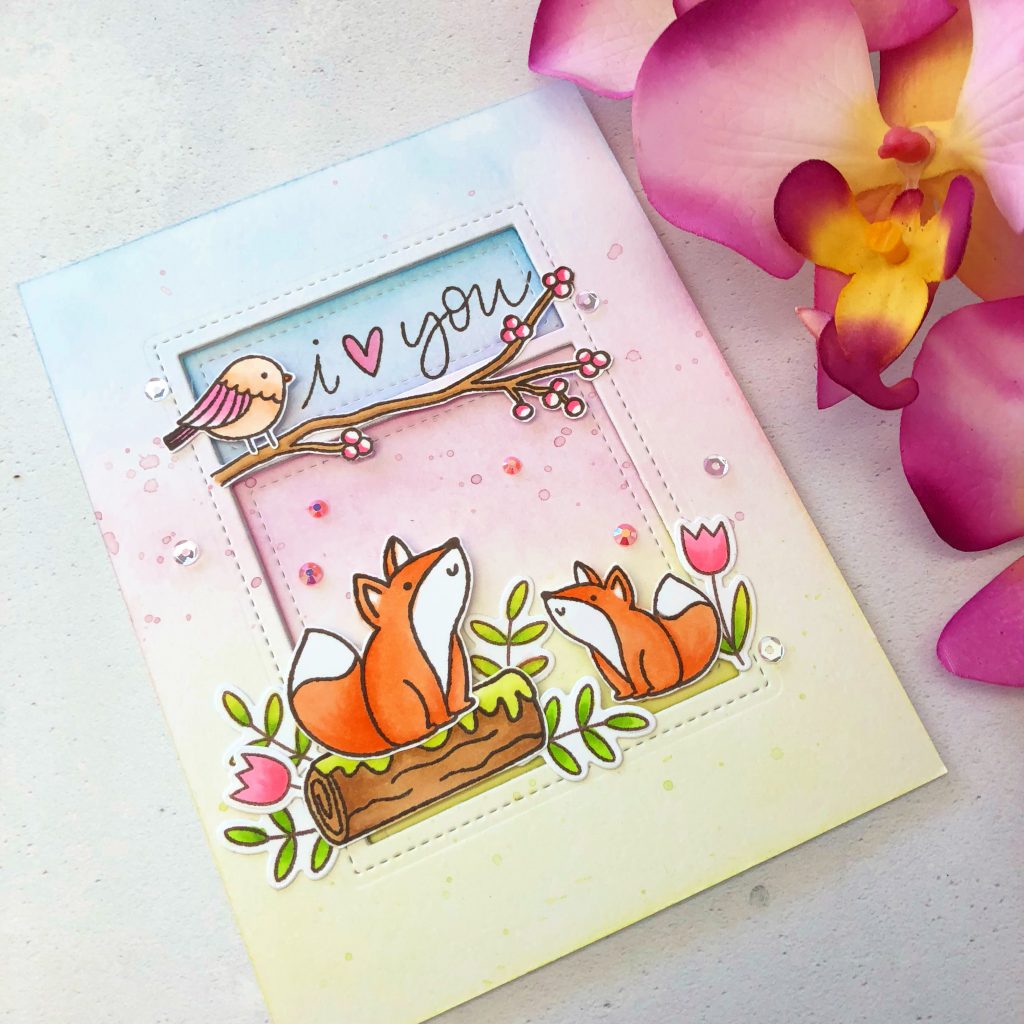
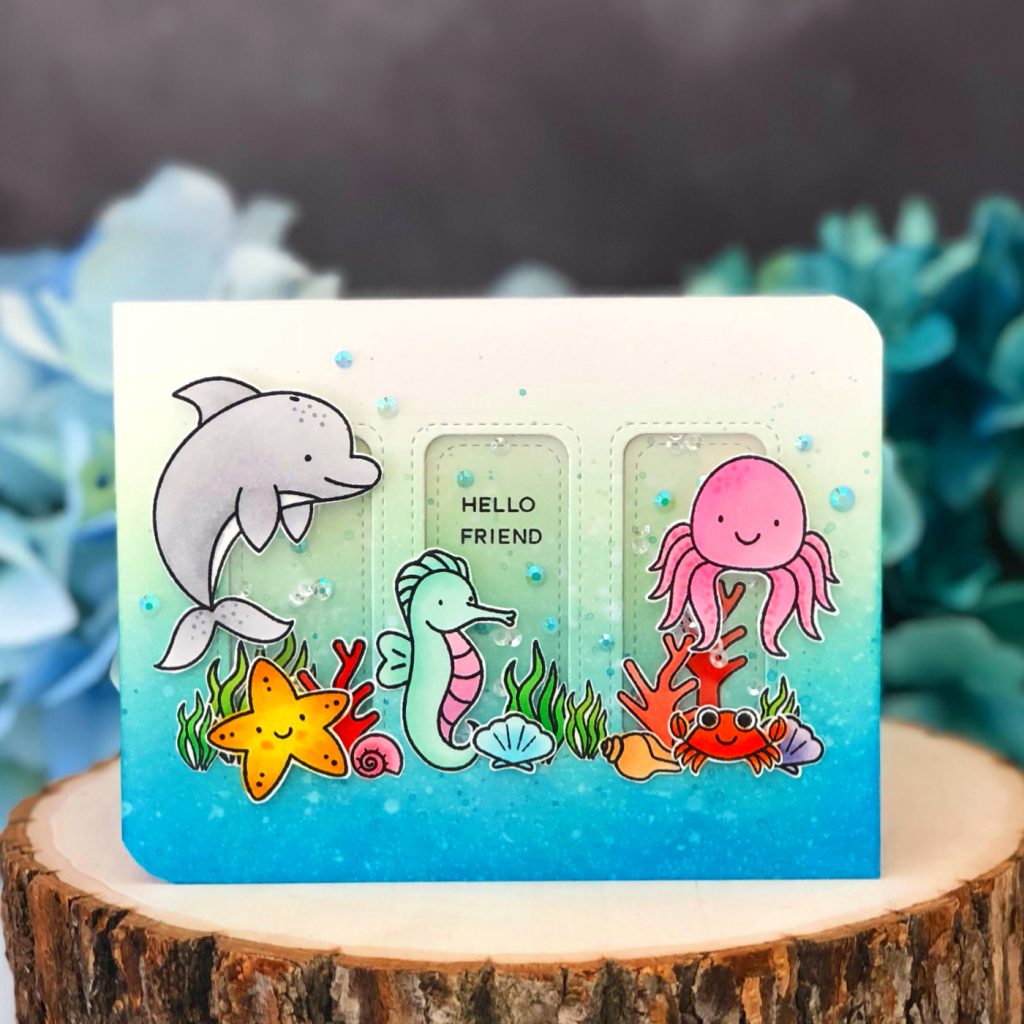
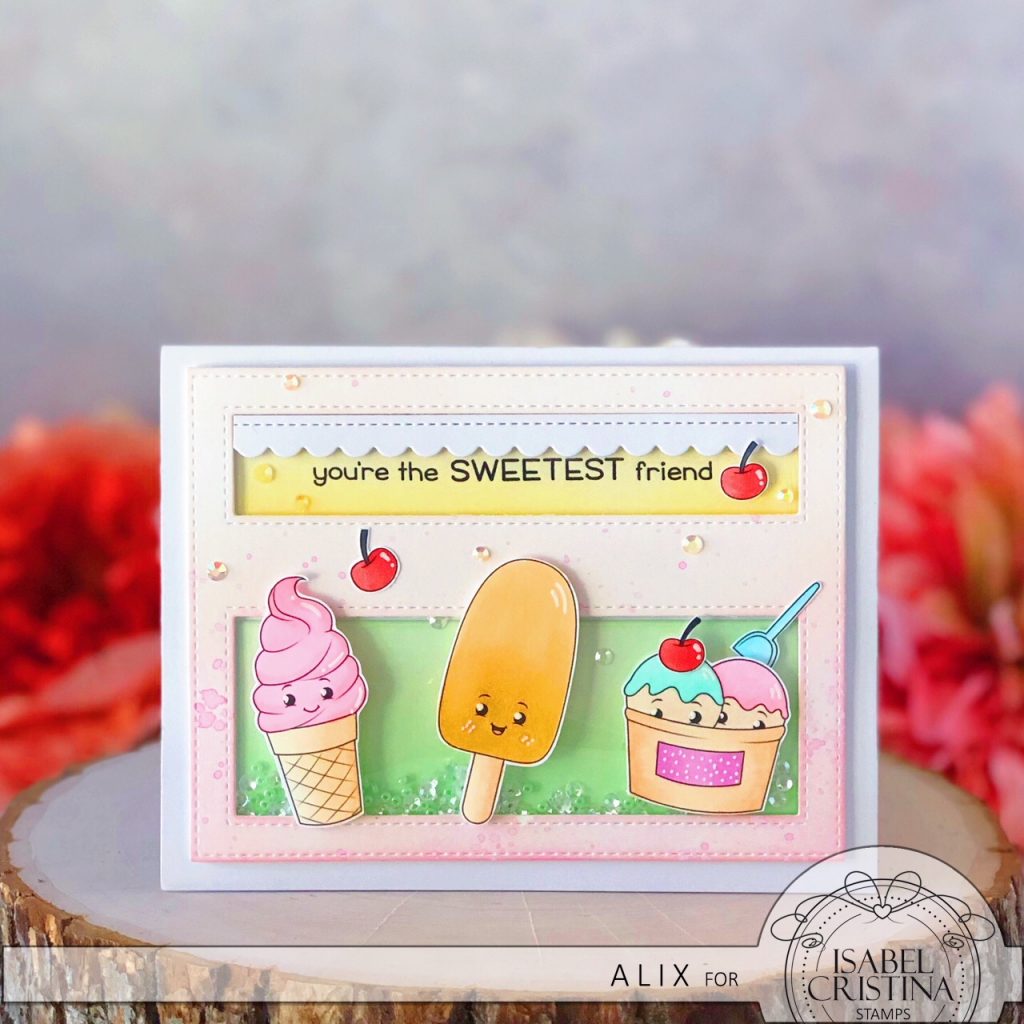
I created two cards for this blog hop. For the first card, I created a shaker card. I started off with stamping out all images from Darling Dragonflies Stamp set. I stamped them onto some Neenah Solar White Cardstock and colored them in with Copic Markers. Once they were all colored I used the coordinating dies to cut them out.
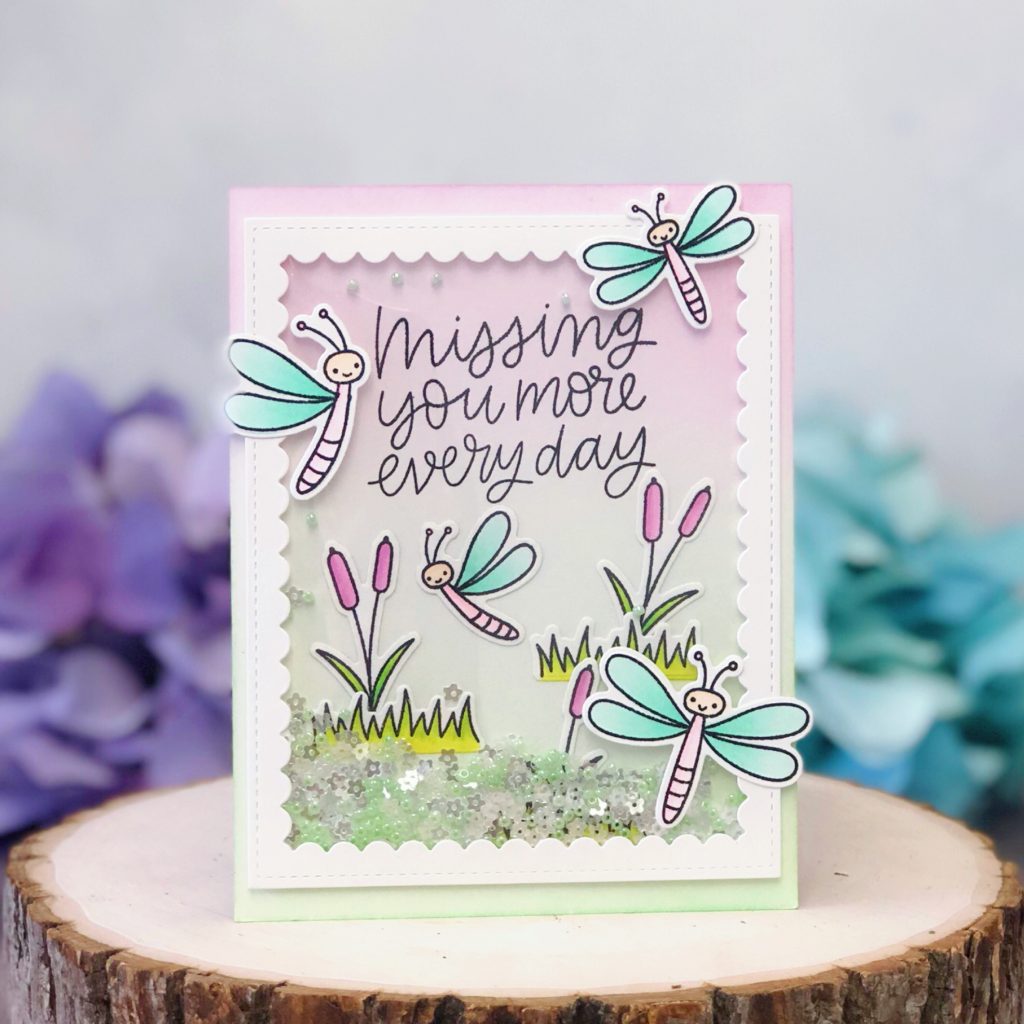
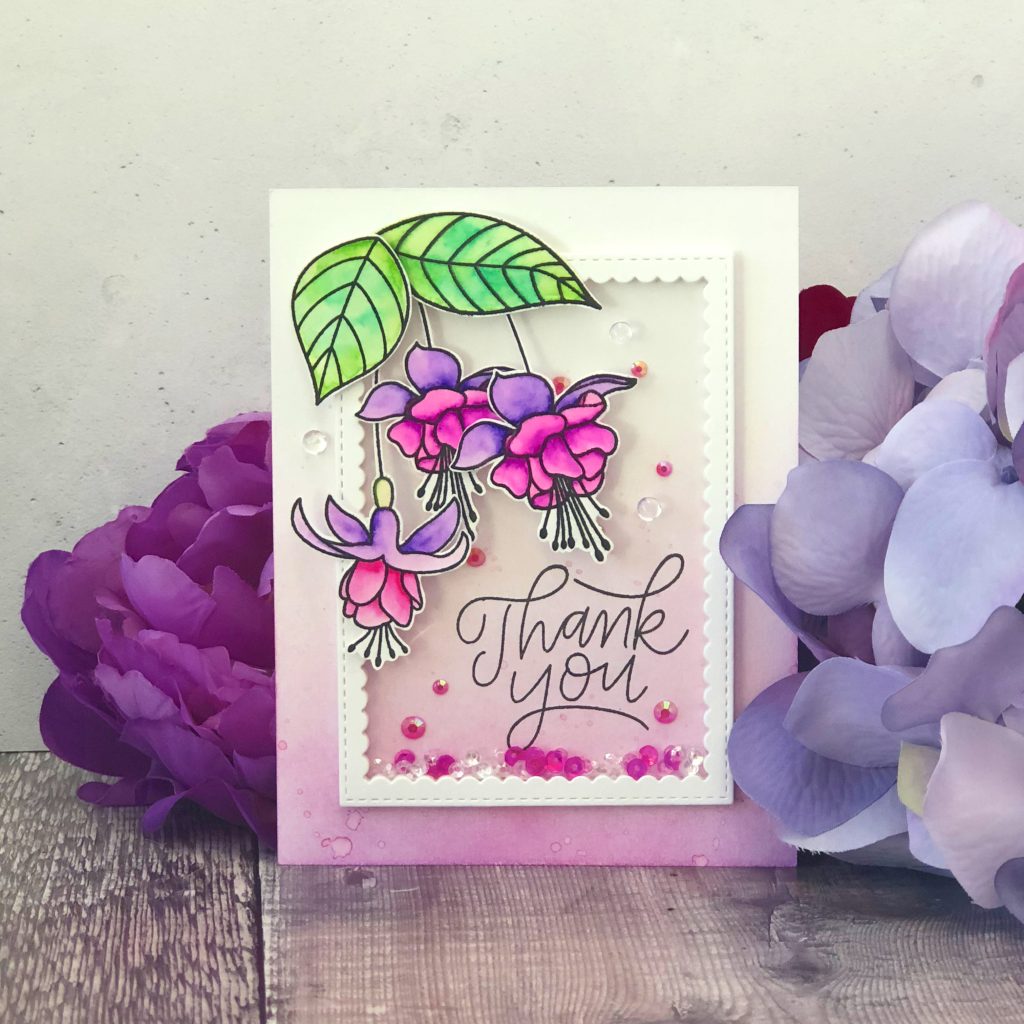
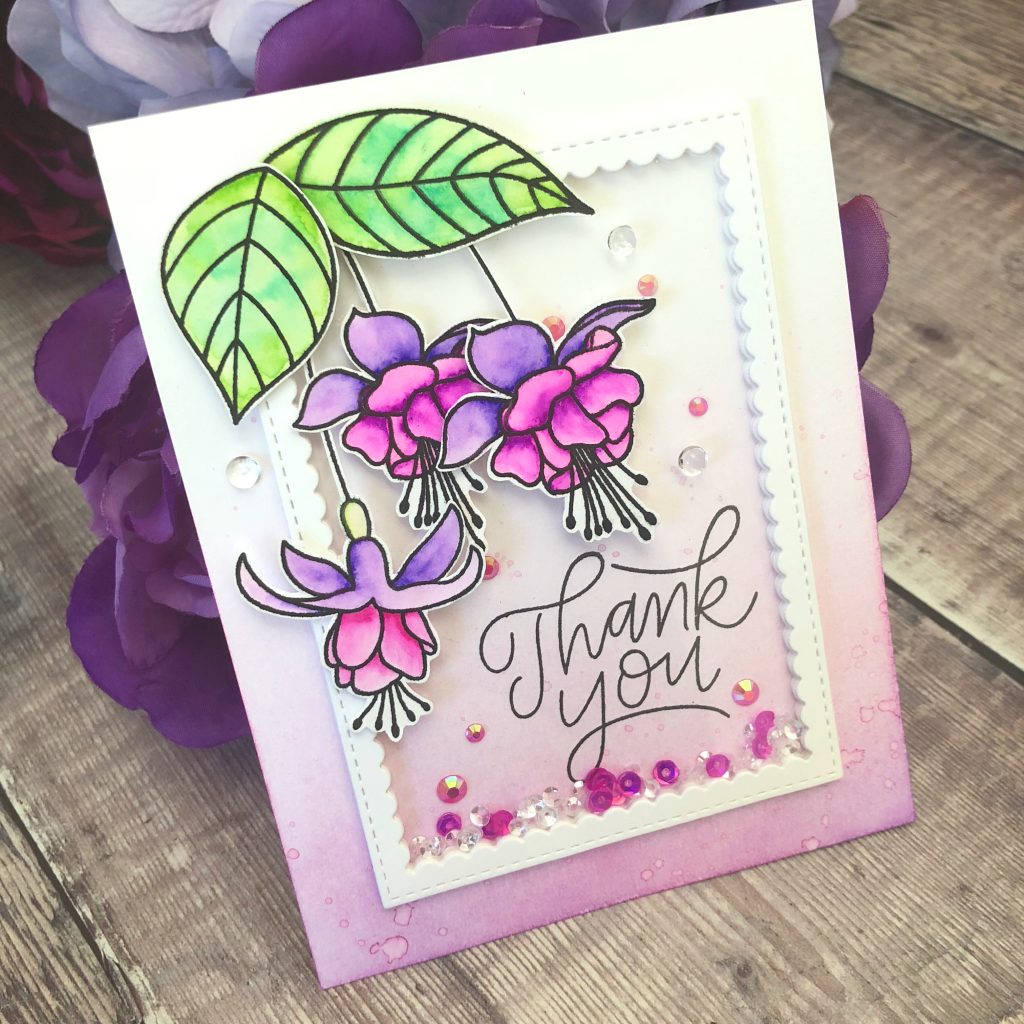
To create the background, I ink blended distress oxide in Cracked Pistachio and Seedless Preserves onto a piece of Tim Holtz Distress watercolor paper with very light pressure to build pastel colors. Then I stamped the sentiment from Pretty Pink Posh Simple Sayings: Miss You stamp set using Memento Tuxedo Black ink. I arranged some of colored images on the background as well.
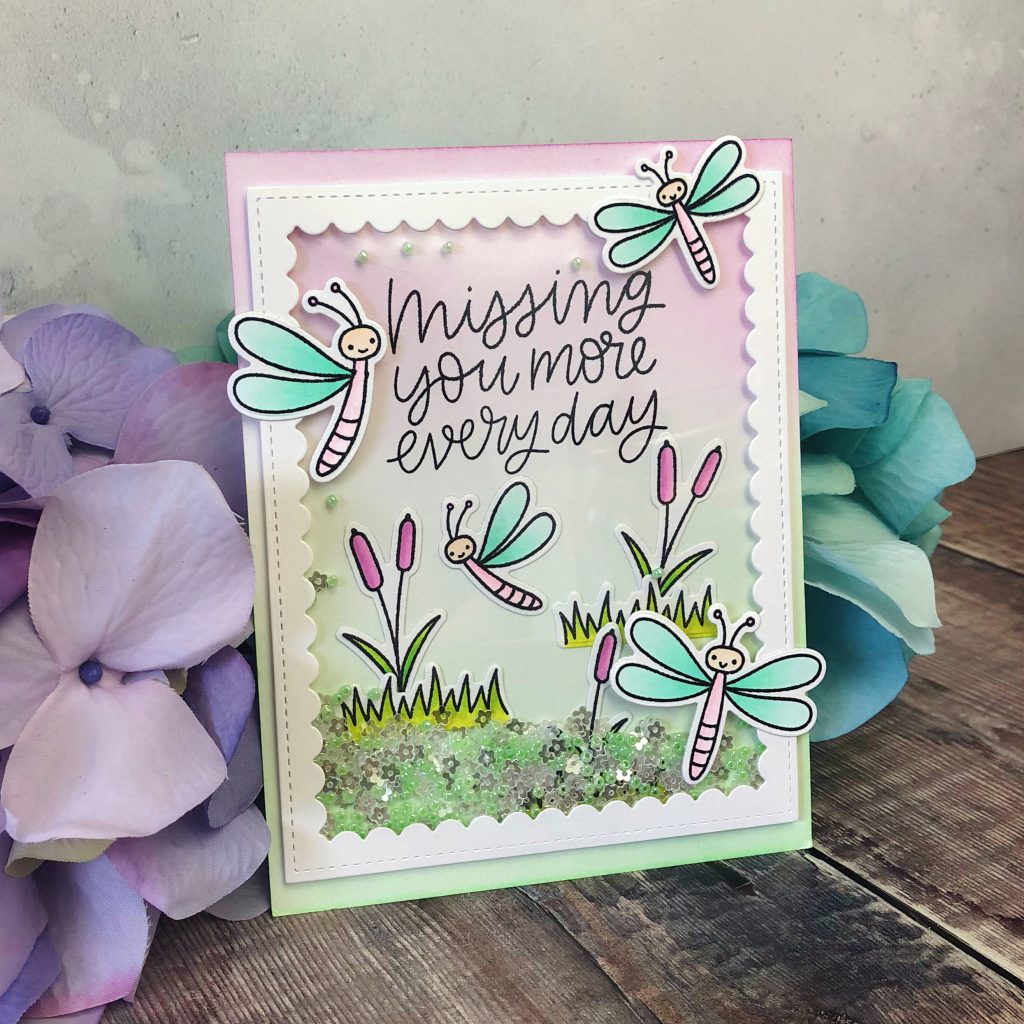
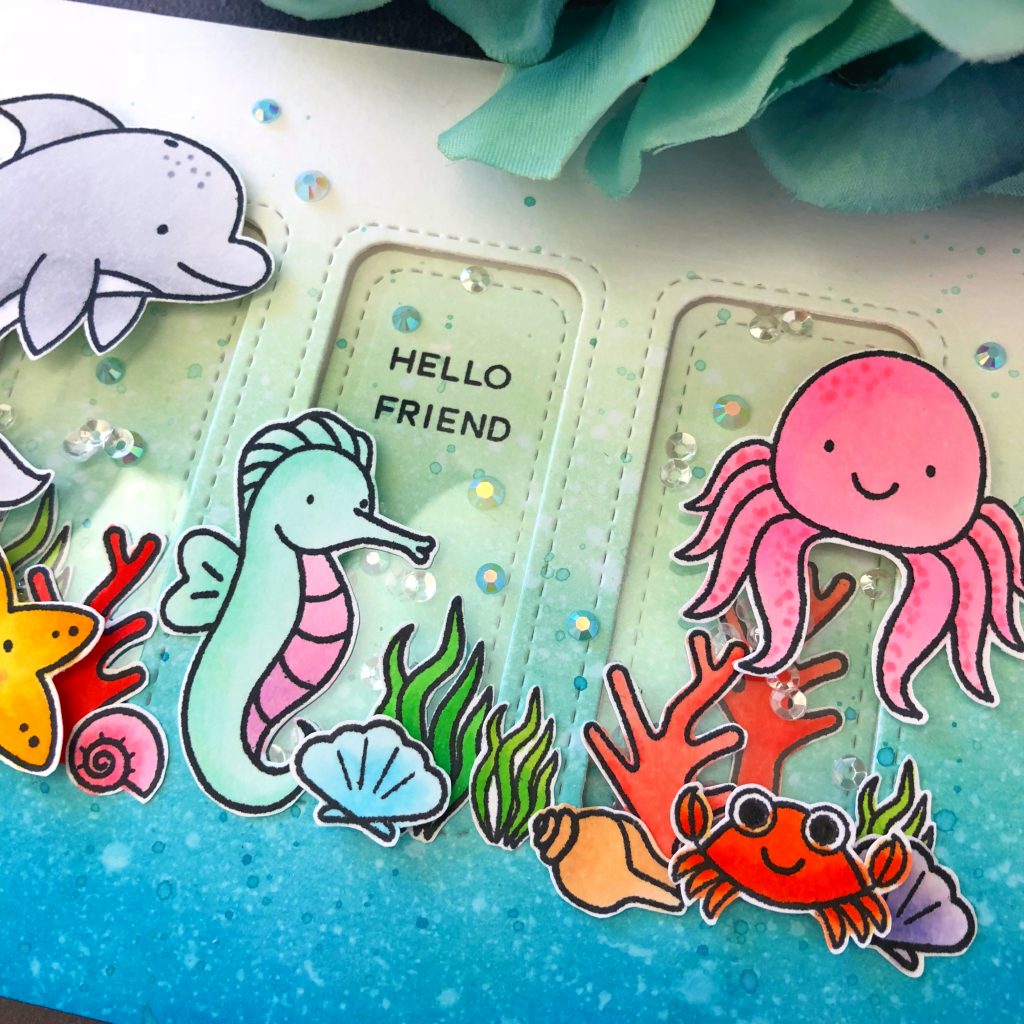
To create the shaker window, I cut the frame using the Scallop Frame Die , then I glued a piece of acetate paper underneath. Before I closed up the top, I poured some Mini Sparkling Clear Flower Sequins and Seed beads in Green Spring When its ready, I attached the window onto the background panel with some Foam tape.
Lastly, I adhered other cute dragonflies onto the top of the window and adhered my panel onto a white card base.
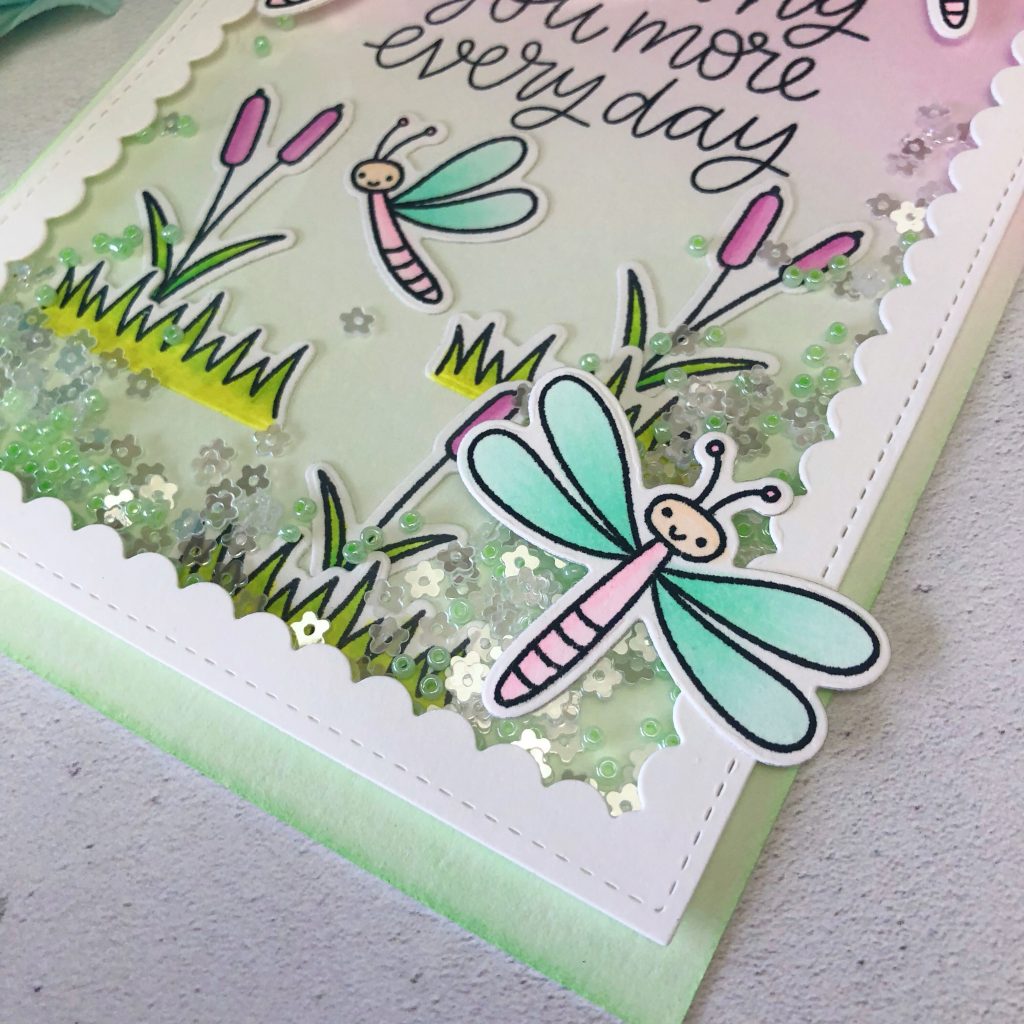
Here are Copic coloring references for this card:
Dragon Flies:
Faces- E0000, E00
Bodies- RV000, RV10
Wings- G0000, G00
Grass: YG21, YG03
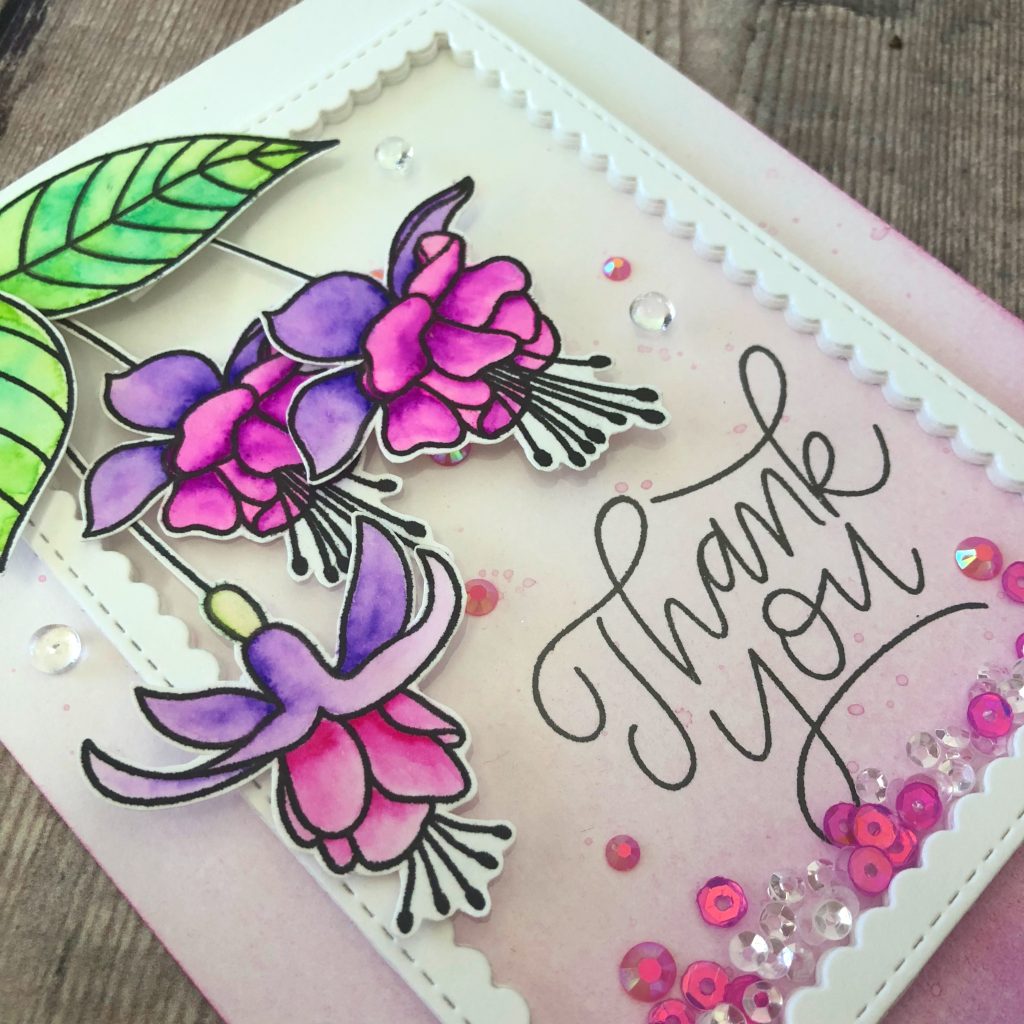
Plants:
Leaves- YG03, G03
Flower- RV52, RV63
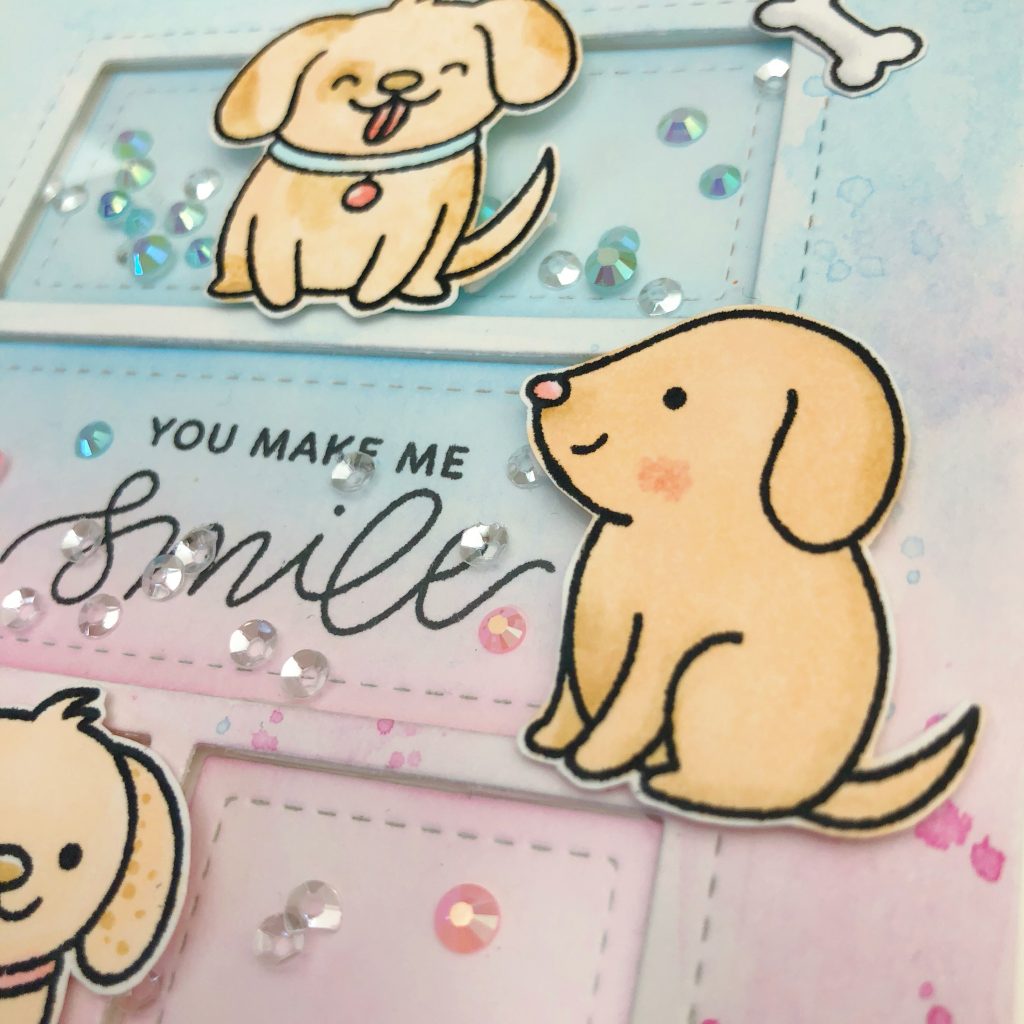
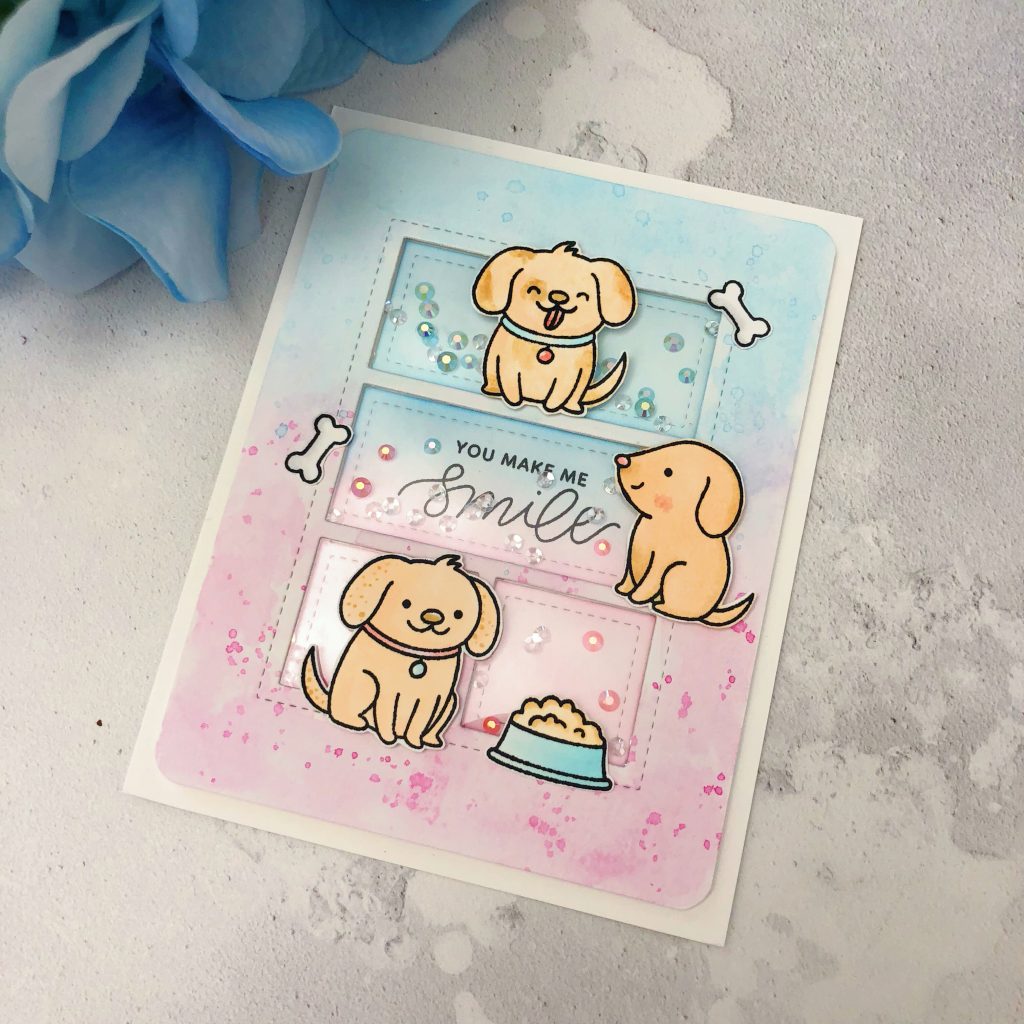
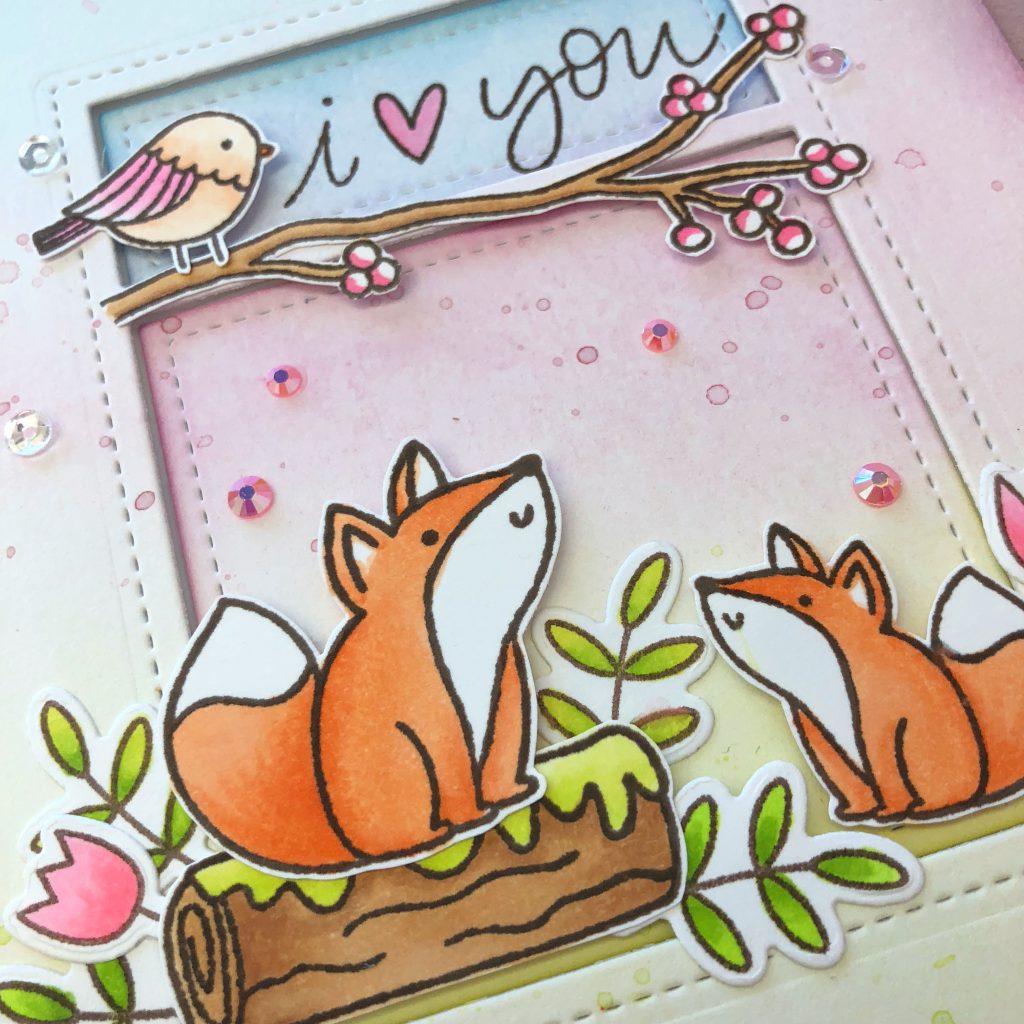
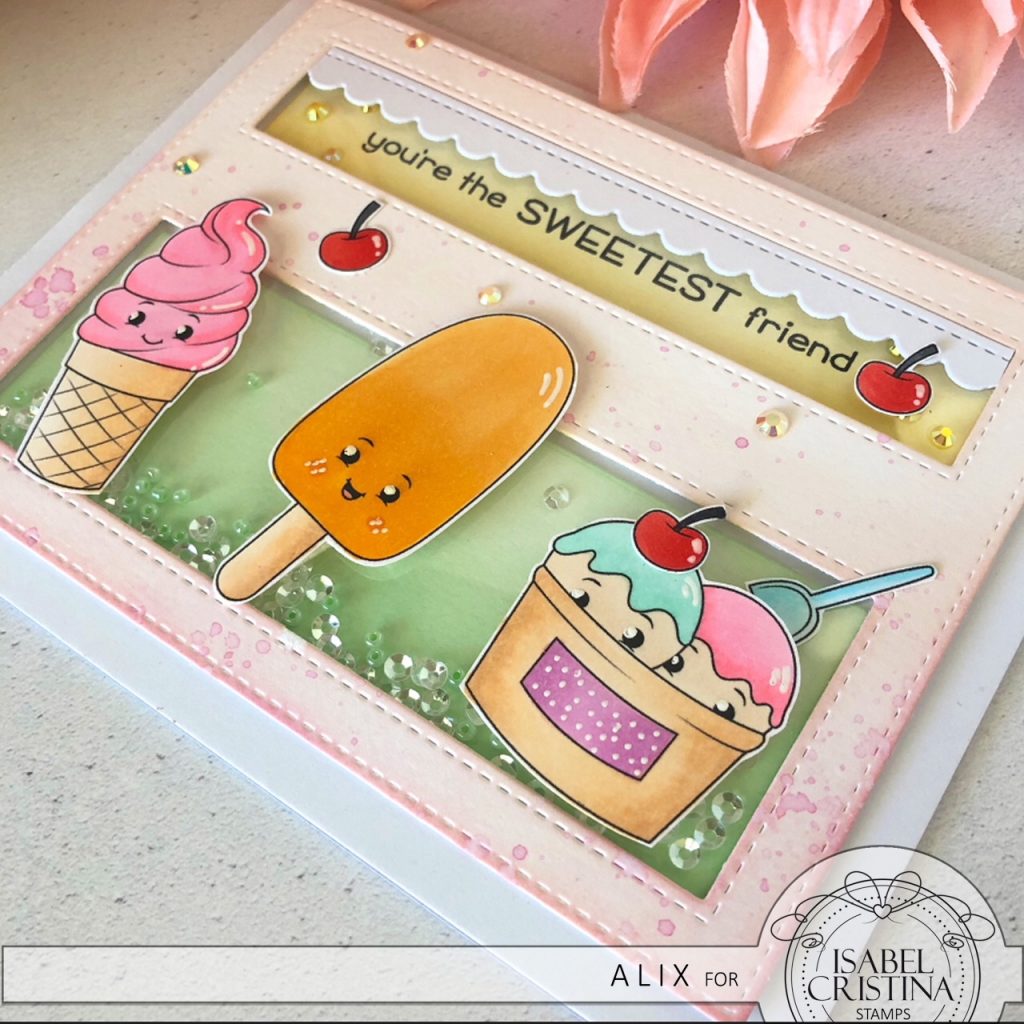
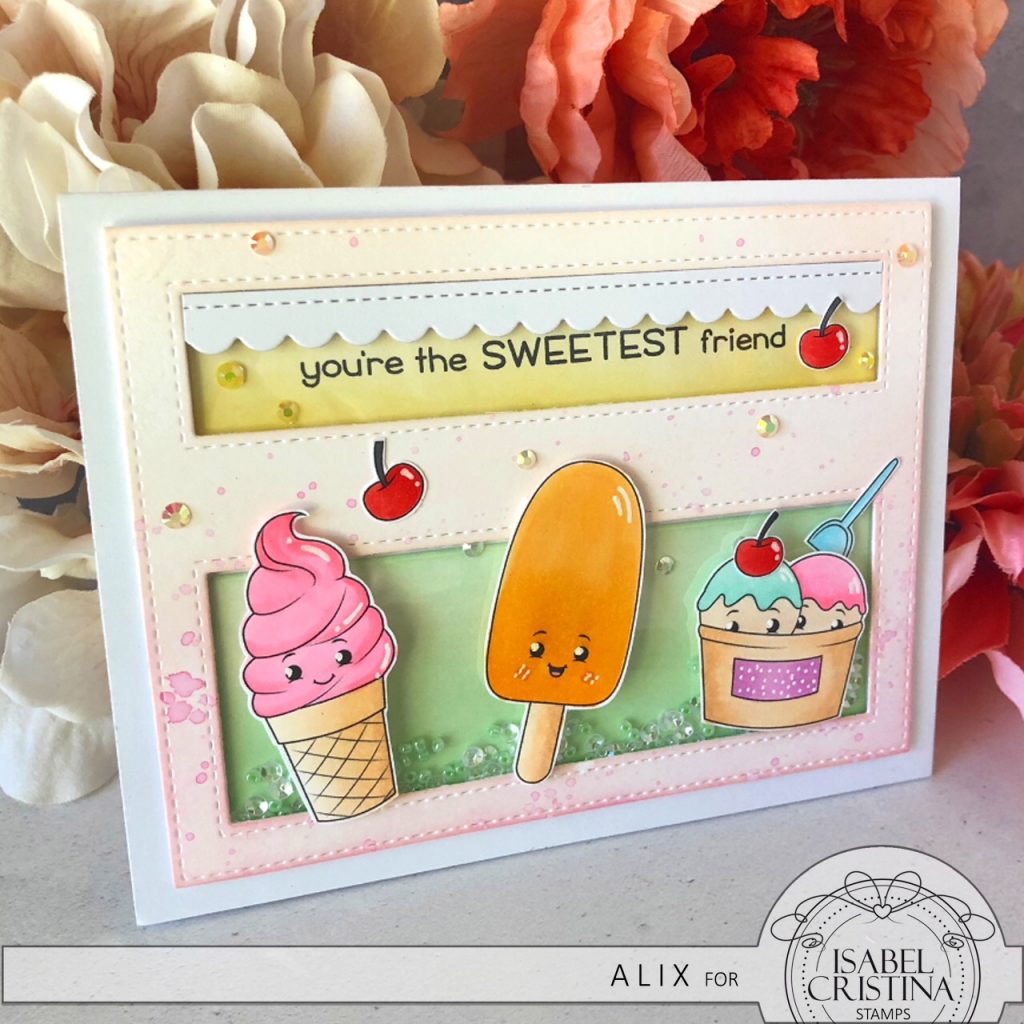
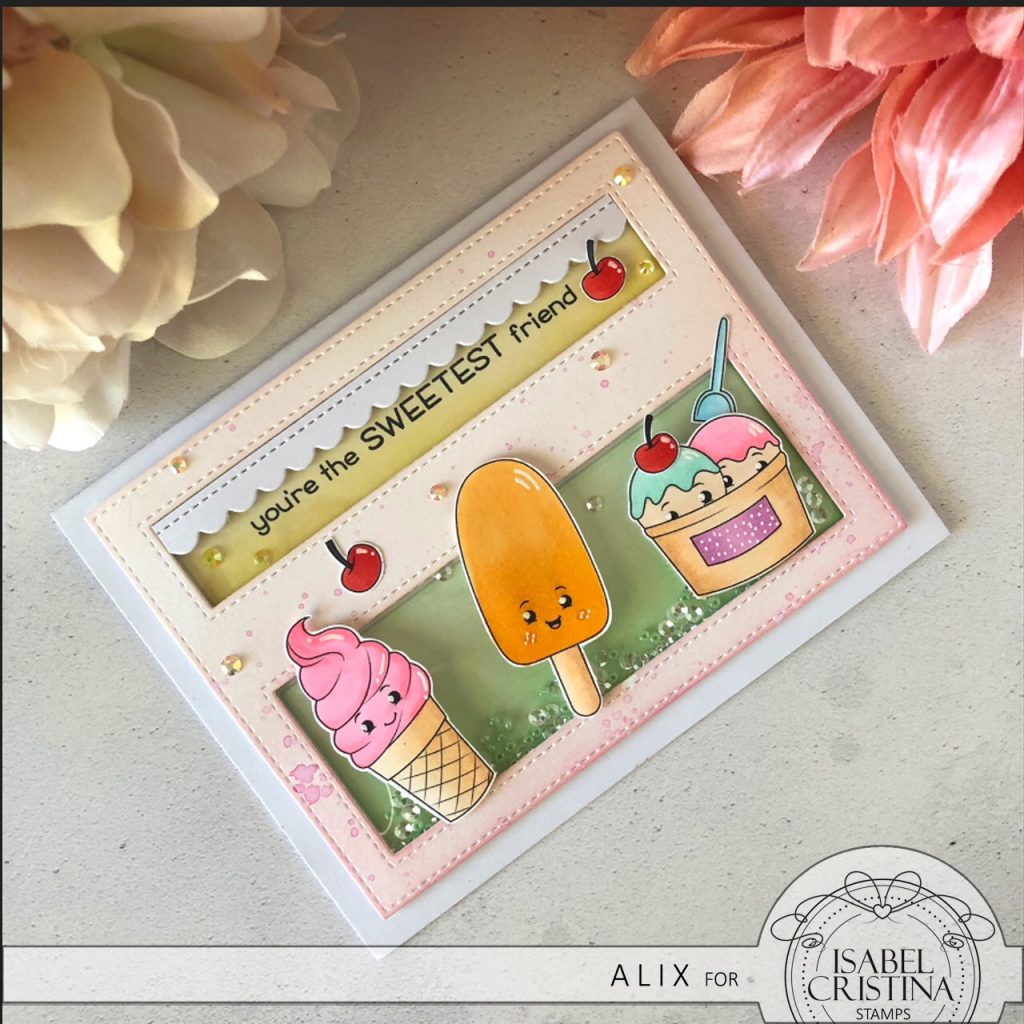
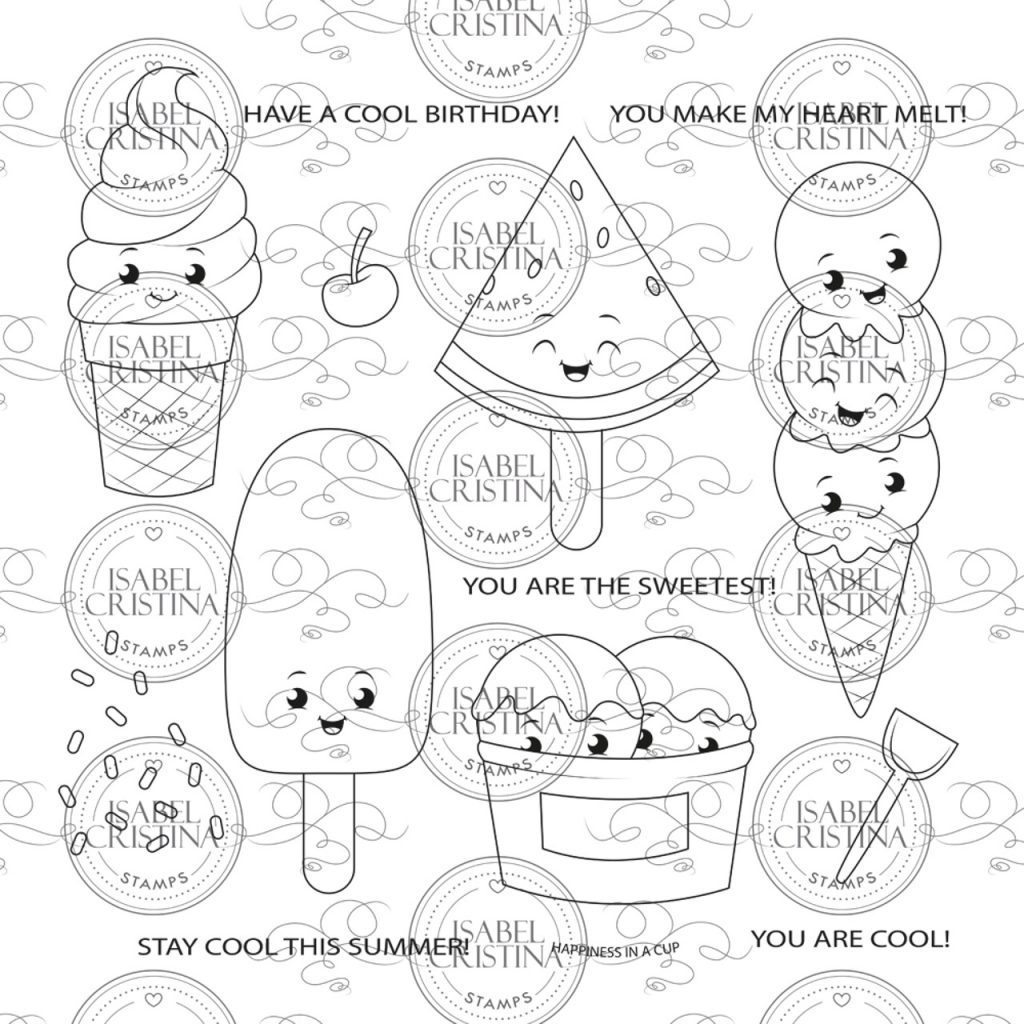
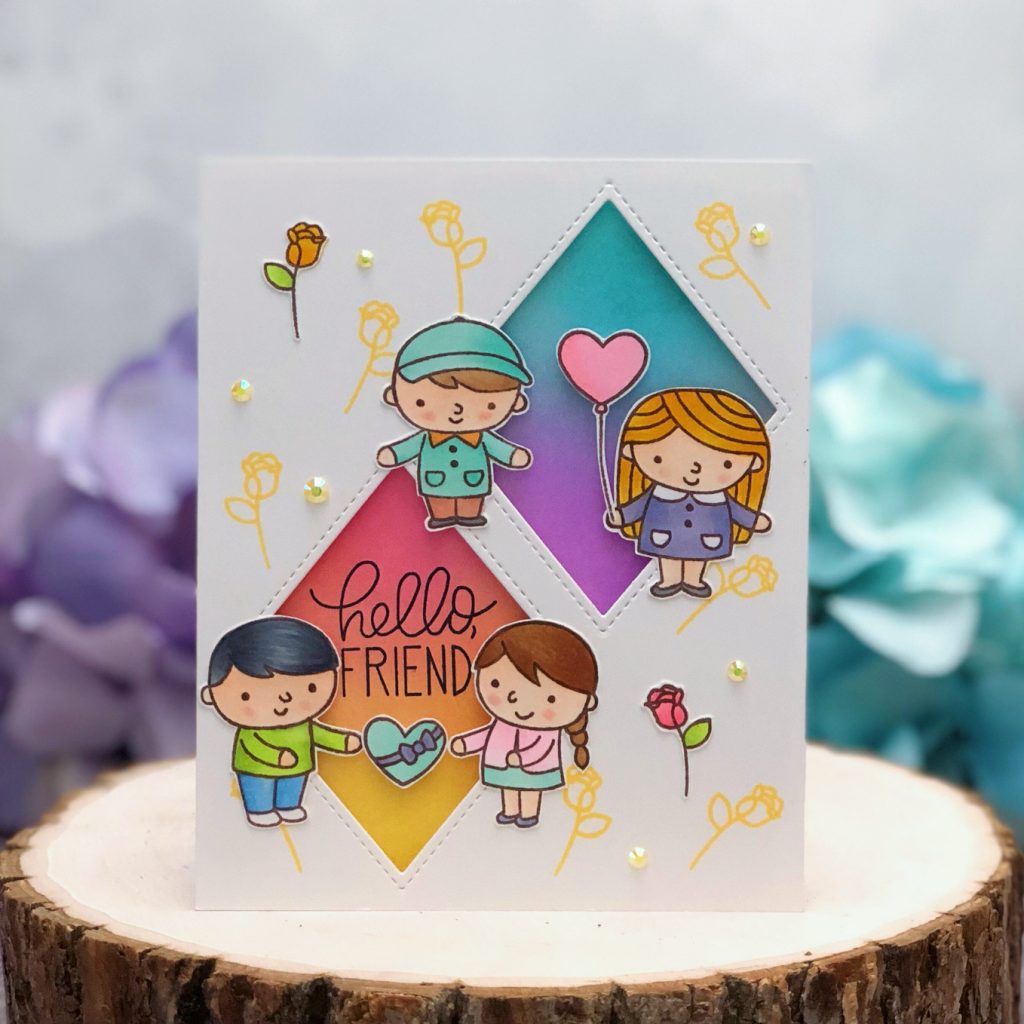
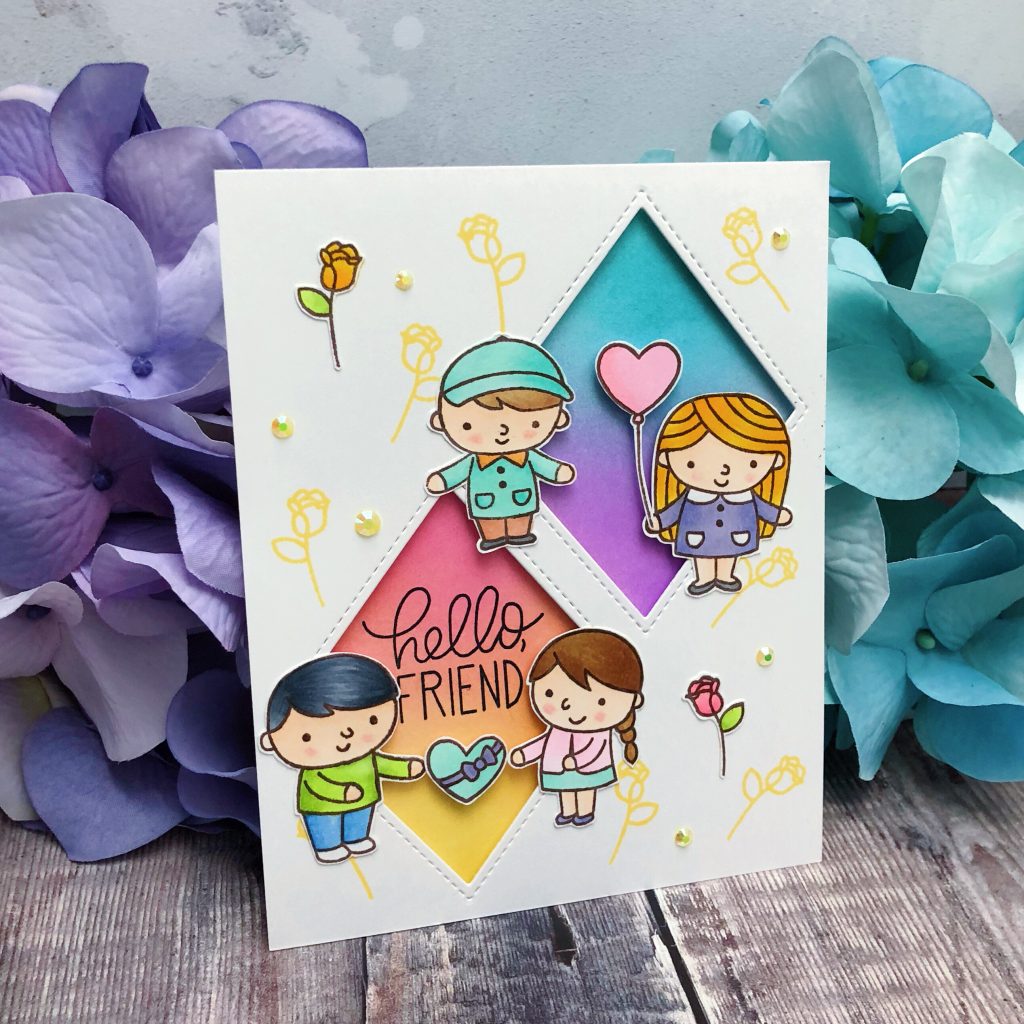
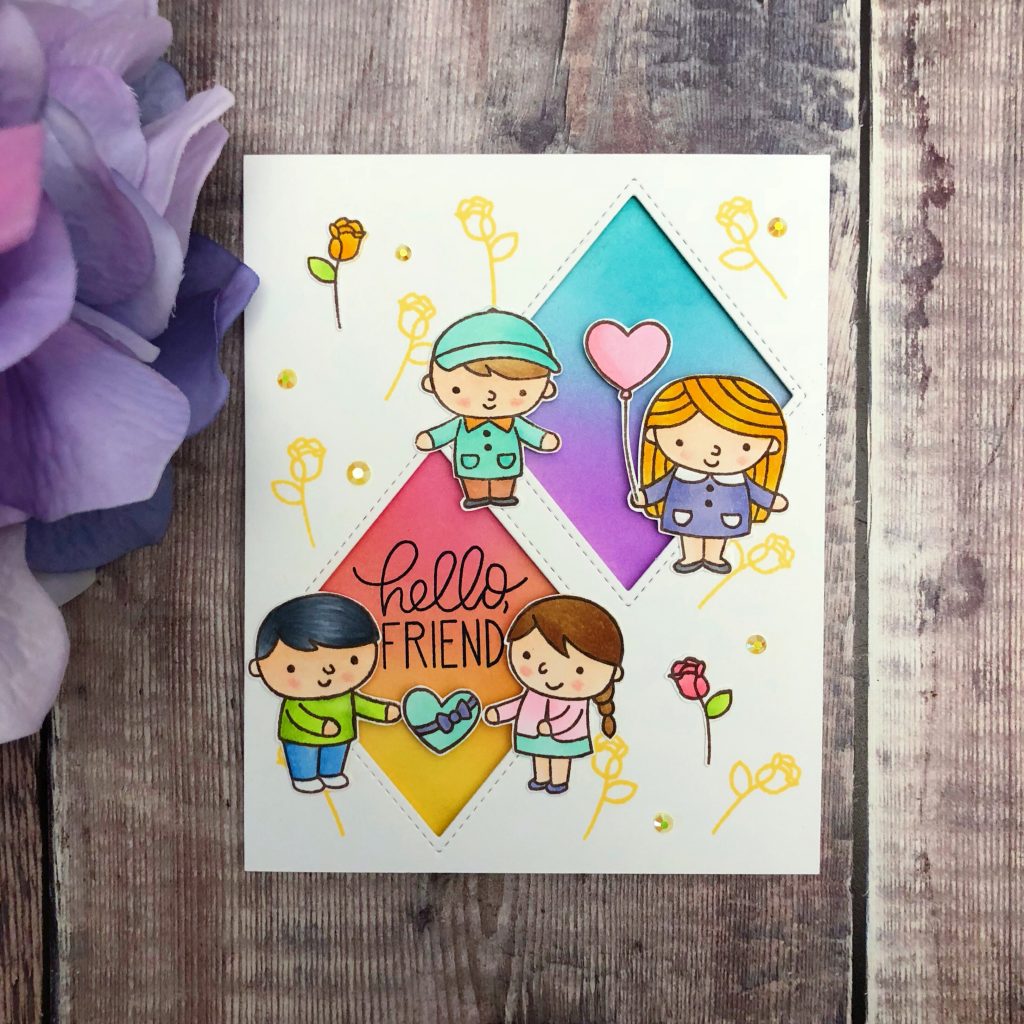
My second card featured another cute stamp set named Koala Friends. After I colored selected images from this set with my Copic Markers, I cut them with it’s coordinating die.
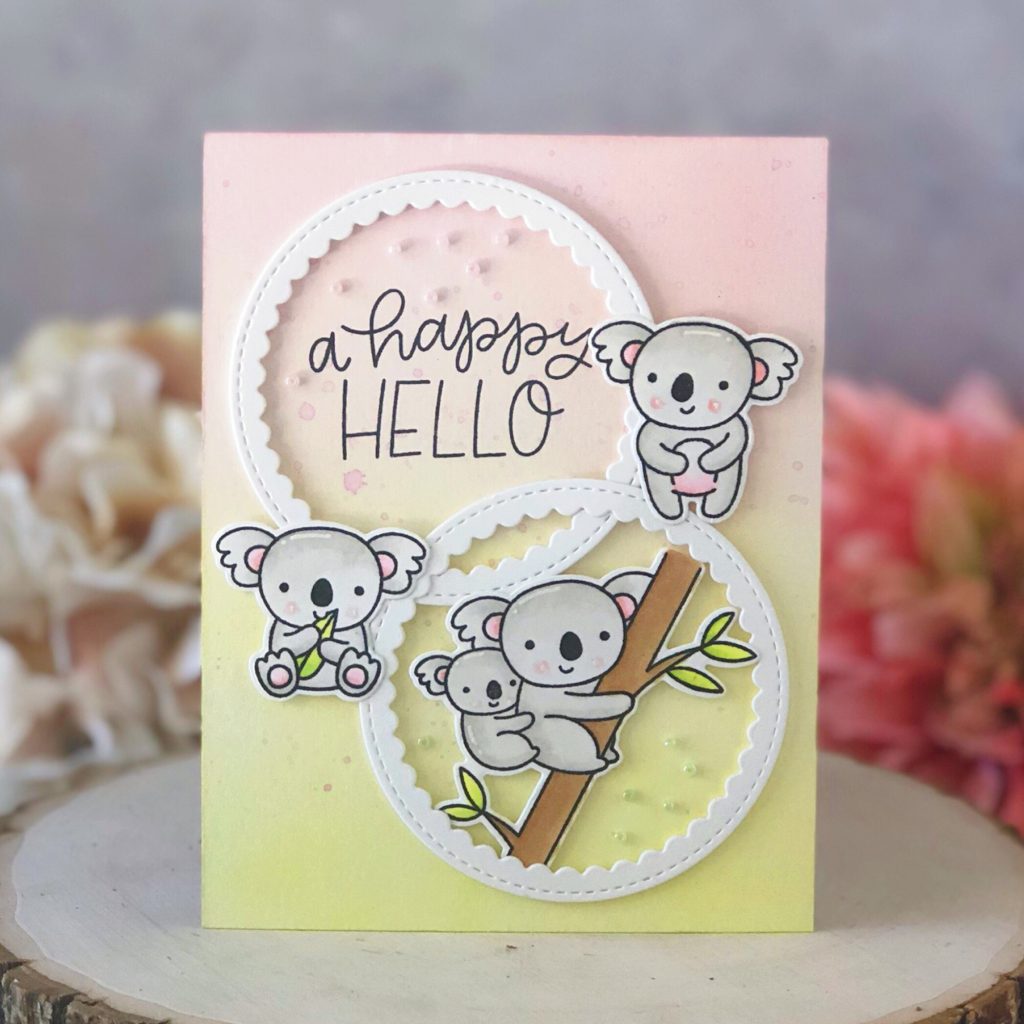
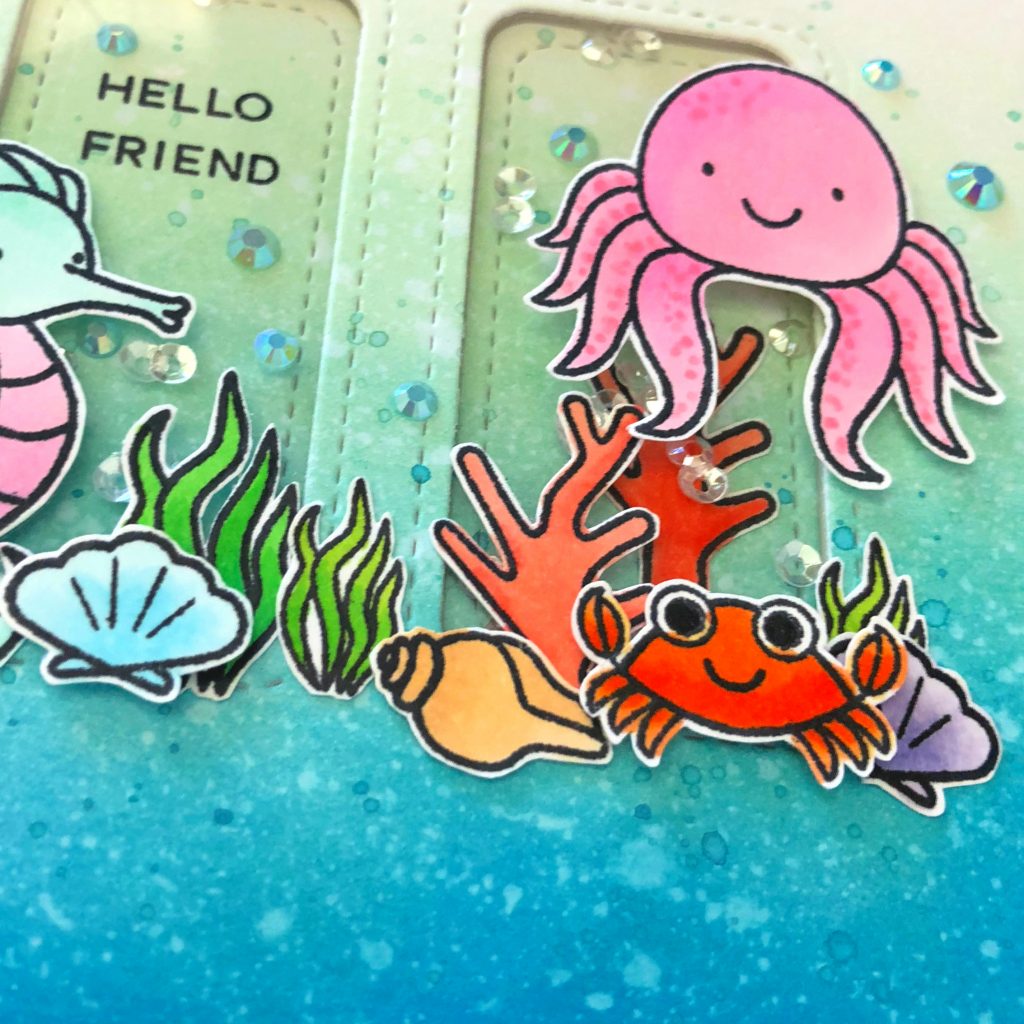
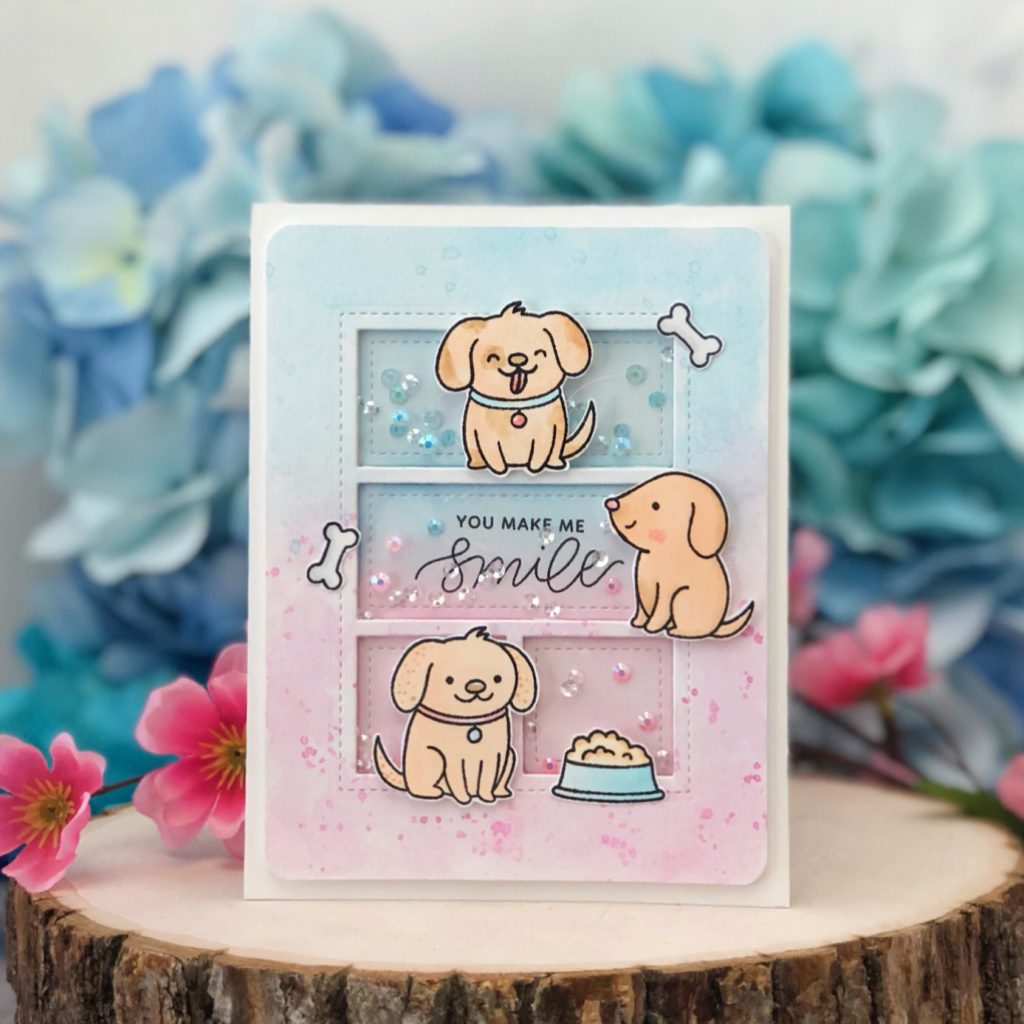
I ink blended distress oxide Picked Raspberry, Tattered Rose, Squeezed Lemonade, and Twisted Citron onto a piece of Tim Holtz Distress watercolor paper.I sprayed water over inked background and removed all wet spots with a piece of paper towel. When it dried, I splattered a mixture with ink and water lightly over the background Then I cut two circles using Pretty Pink Posh Scallop circle die out of white cardstock. I over lapped them a little and adhered them on the background with foam tape.
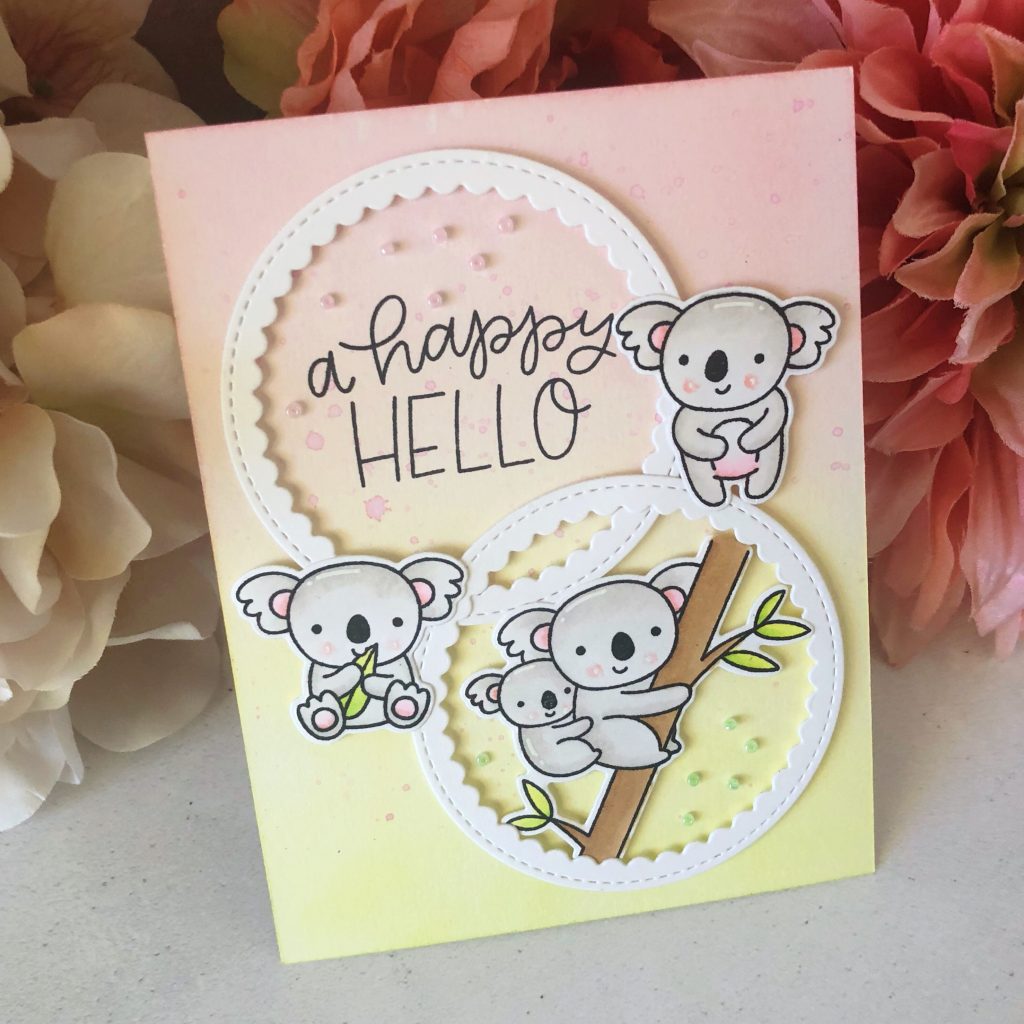
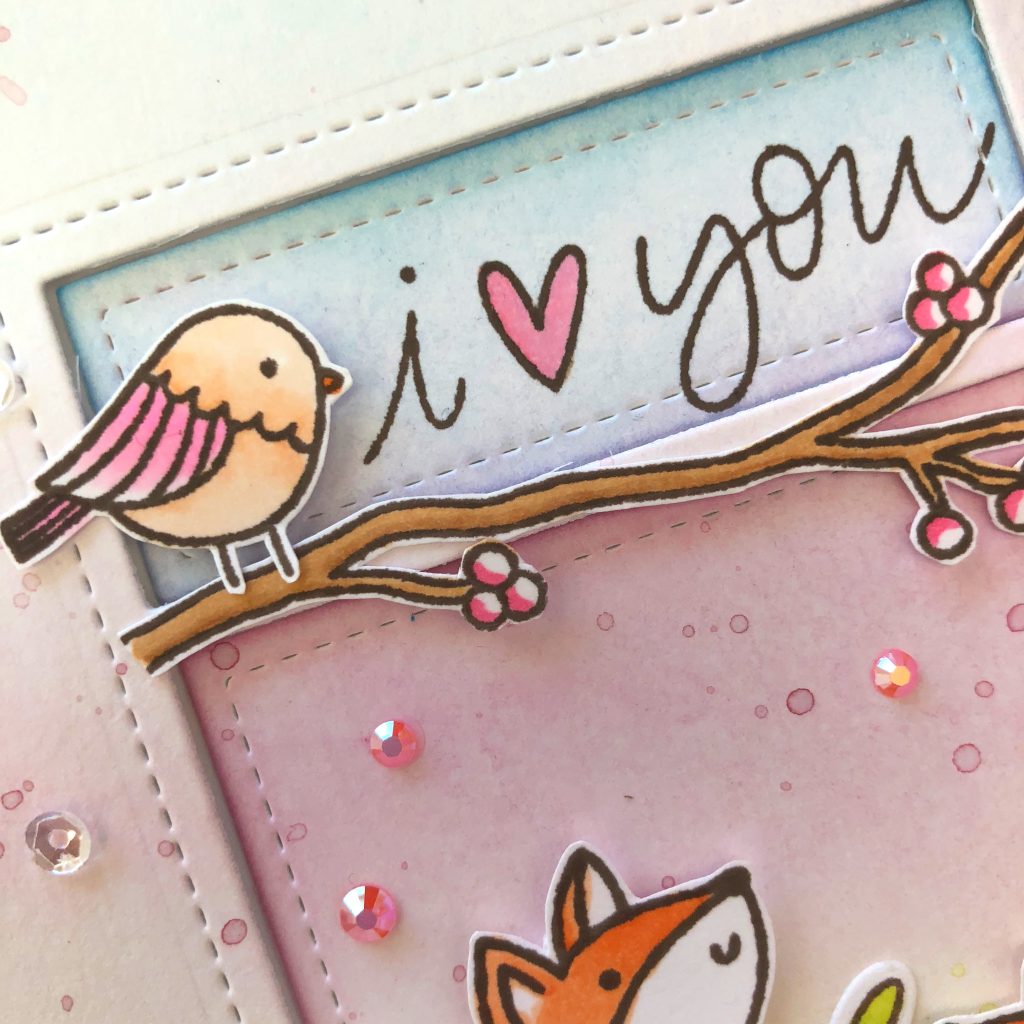
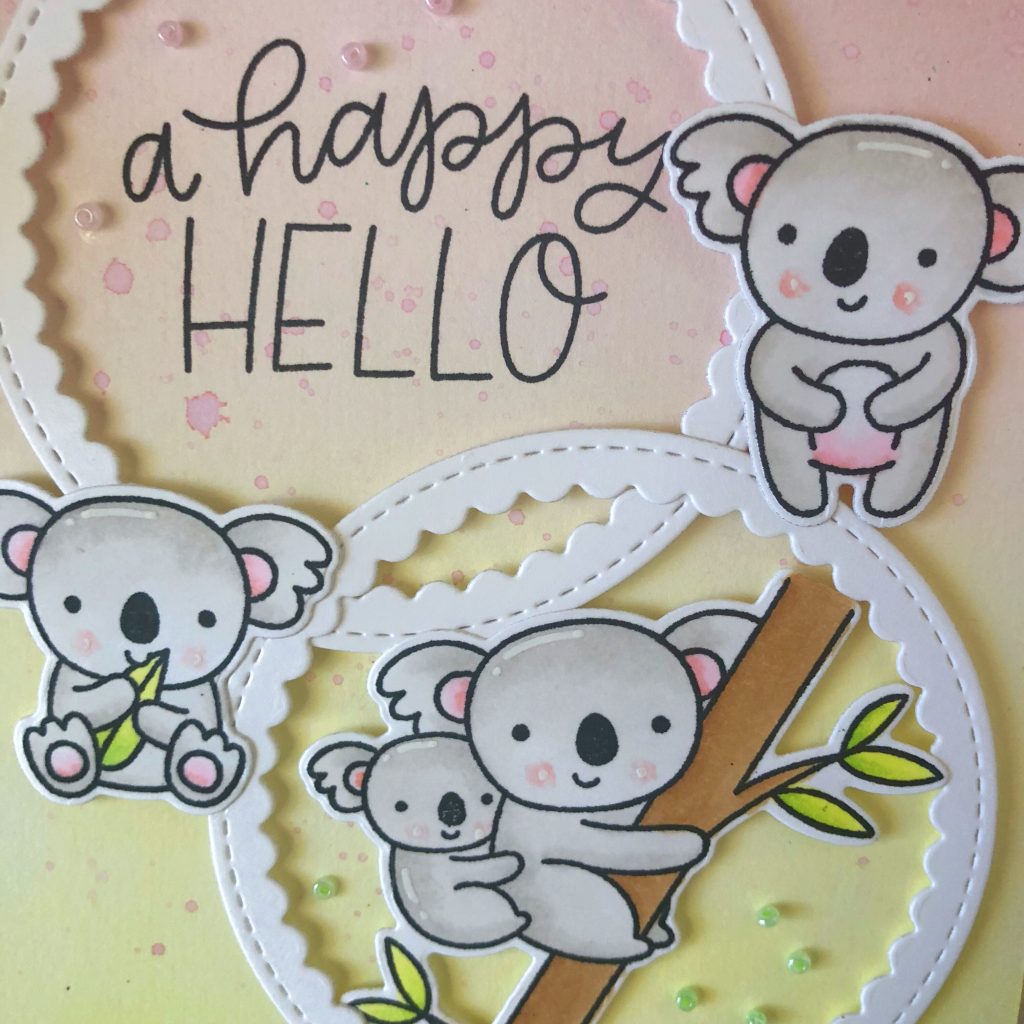
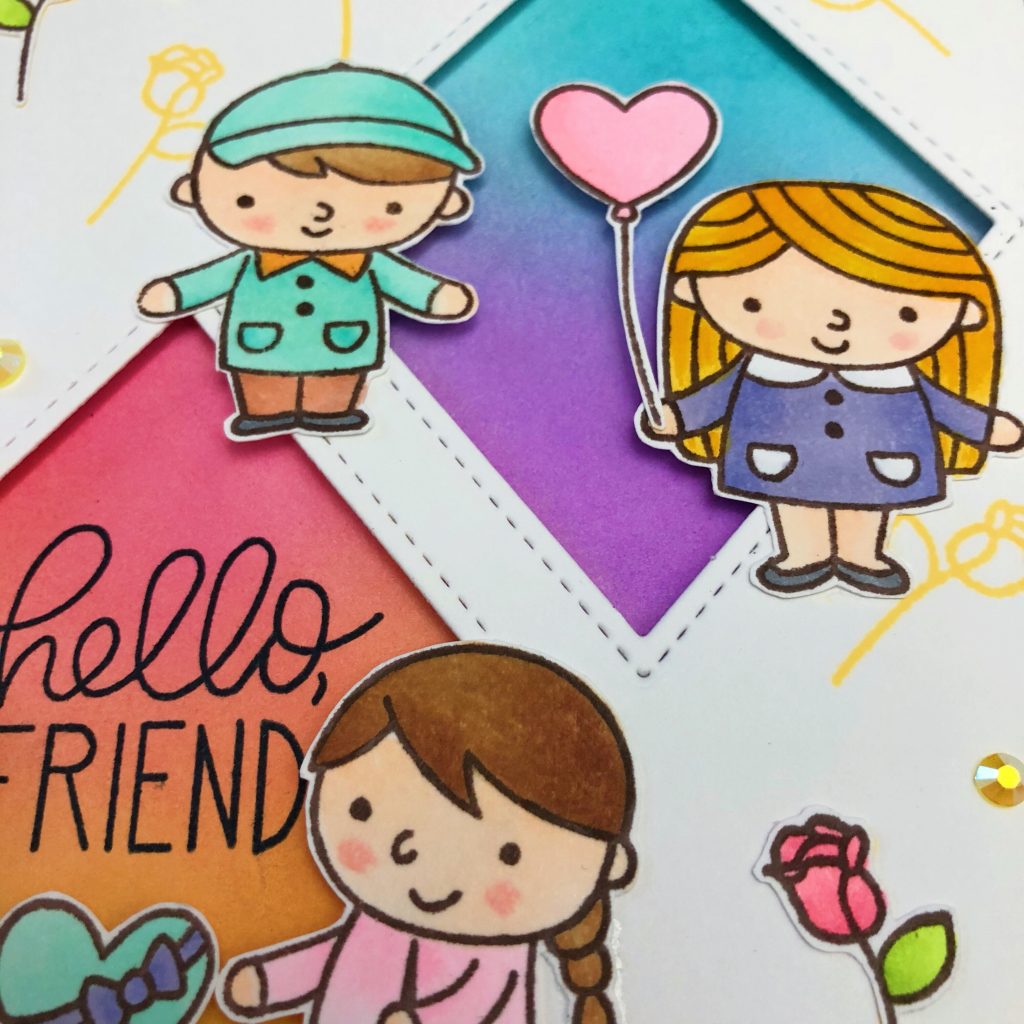
I arranged colored images inside and around the frames I created. Then I stamped the sentiment that comes with this stamp set using Memento Tuxedo Black ink. I added Pretty Pink Posh Seed beads in Cotton Candy and Spring Green to embellish the scene.
Here are Copic coloring references for this card:
Koala Bears
Bodies: W00, W1
Ears and Cheeks: RV00, R20
Tree Trunk: E31, E34
Leaves: YG21, YG23
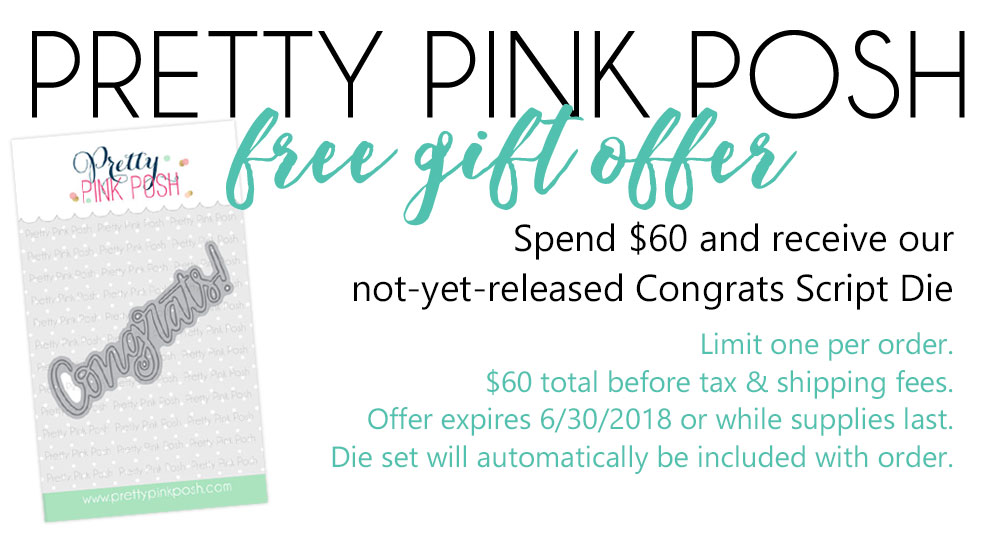
There are 4 $25 gift certificates up for grabs (two winners each day). Winners will be picked randomly along the blog hop. Comments must be left by 11:59 PM PDT on 6/19/2018. Winners will be announced on the PPP blog.
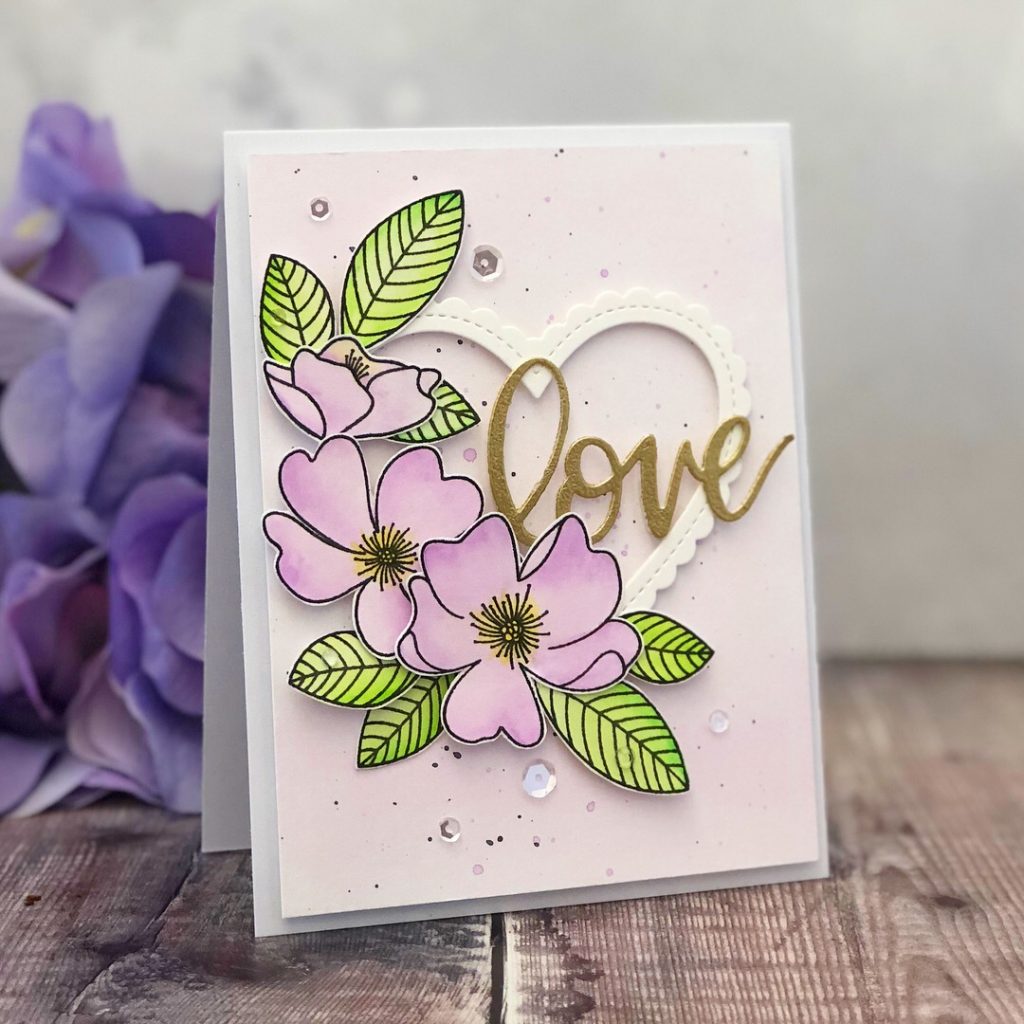
 Thanks for visiting this post. I will be back soon to introduce more cards I make out of these flowers. There are lots of colors of wild roses if you google. So let’s try some more possibilities playing with them!
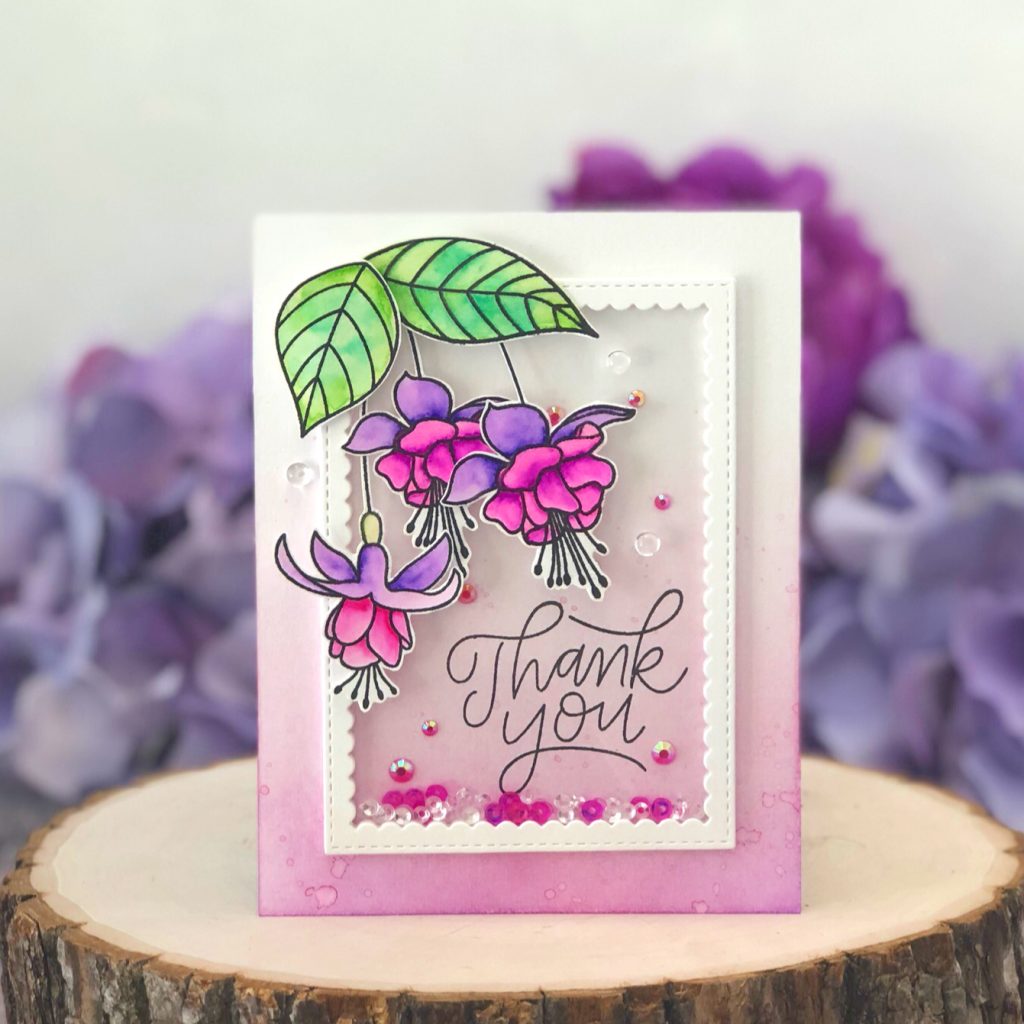
 First of all, I stamped all images with Memento ink in Tuxedo Black on