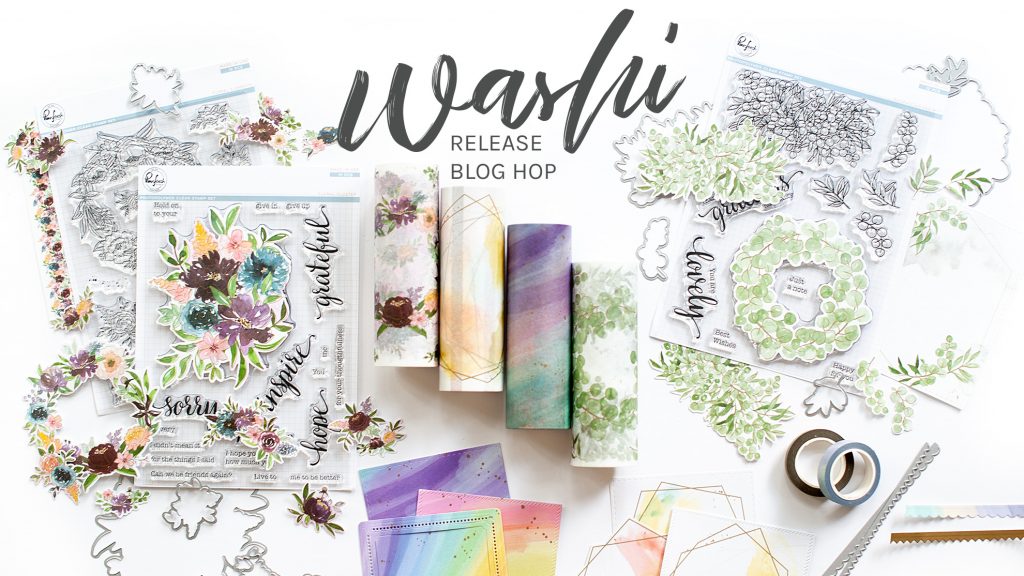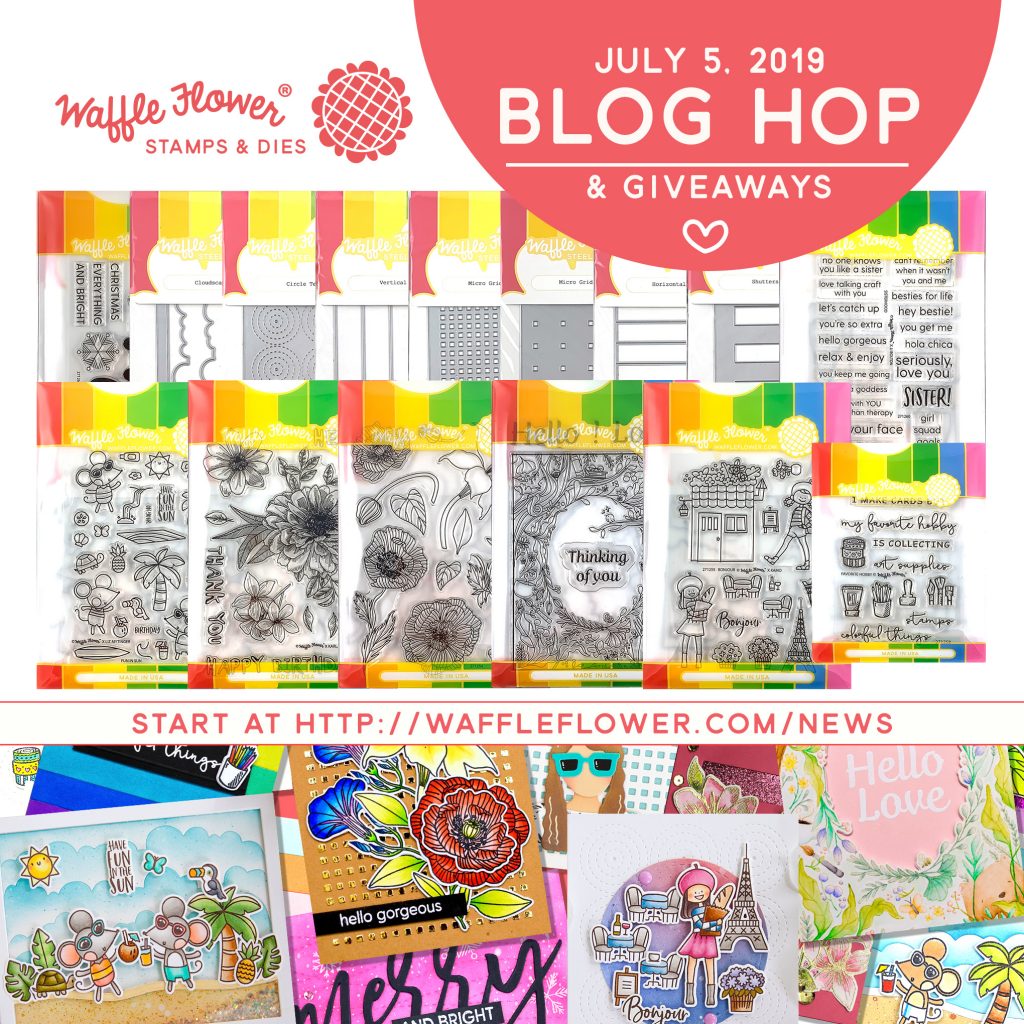
Welcome to Waffle Flower July 2019 Release Blog Hop! I hope everyone had a great time on the 4th of July. I am here wanting to introduce a series of great new products from Waffle Flower to add more fun into your life. It’s Holiday long weekend. What do you plan on doing for this nice holiday rest?
<Card 1>
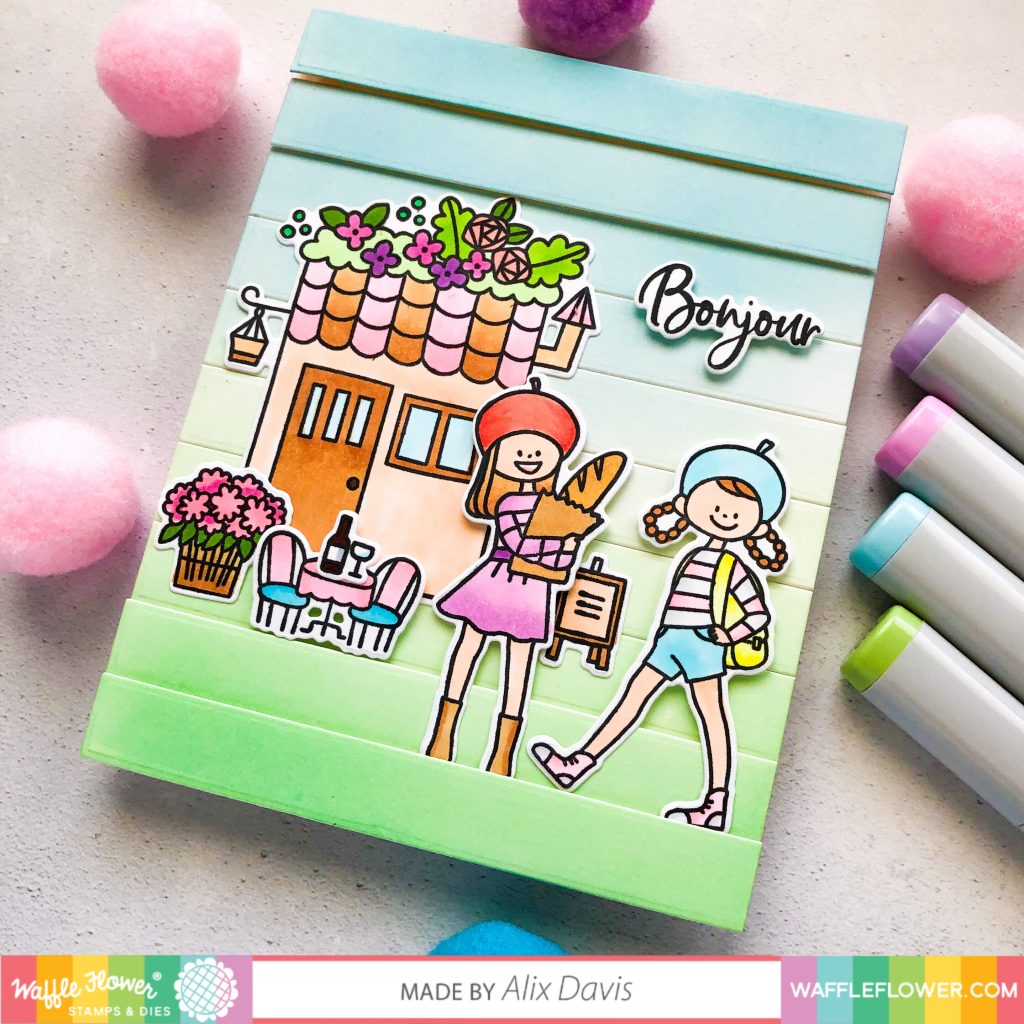
I always enjoy Kamo’s cutesy illustrations. She wowed me this time again with Bonjour Stamp set. If you love scenes in France, this set is perfect for you!

To begin with my card, I stamped images from Bonjour Stamp set and die cut with the Matching dies. Then I colored them with copic markers and set aside for later use.
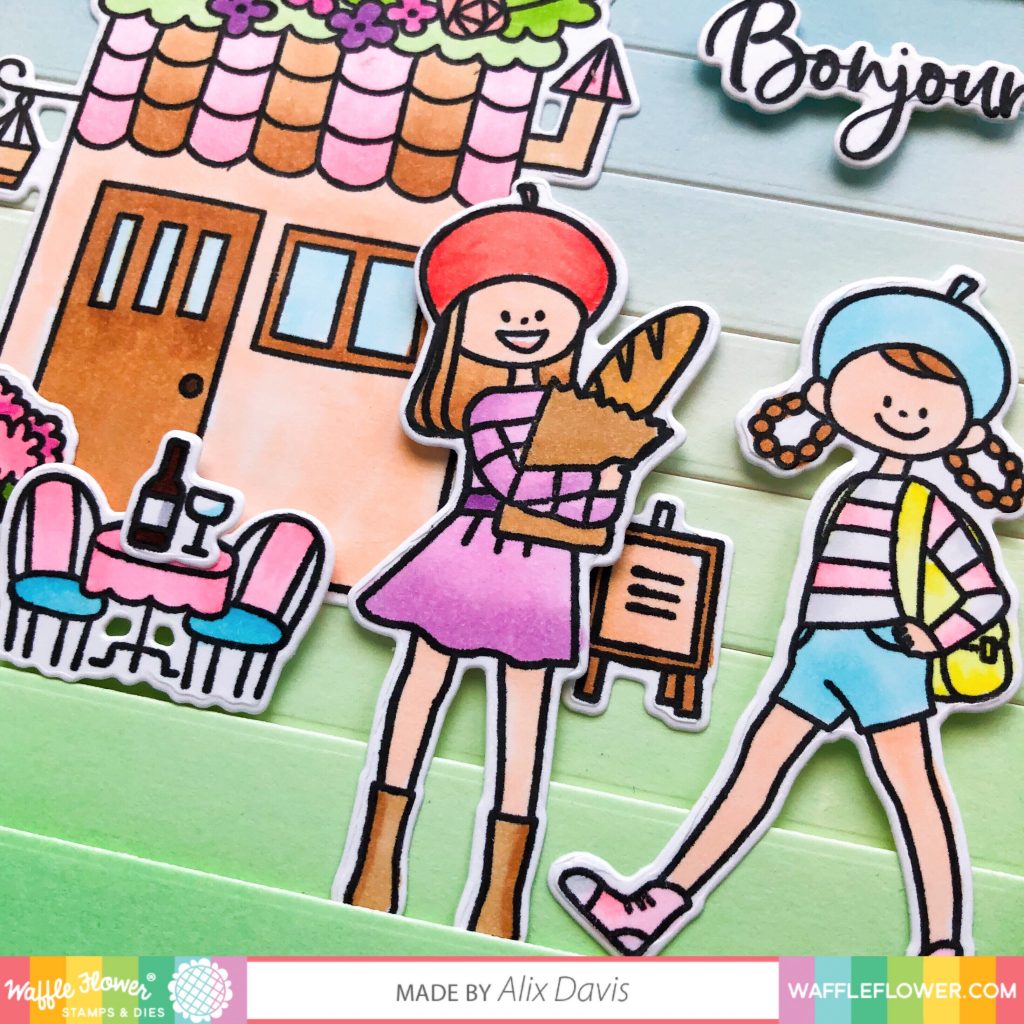
I ink blended my background with Tim Holtz Distress oxide ink ink Cracked Pistachio and Tumbled Glass onto a piece of A2 sized watercolor paper, Then I used Horizontal Stripes Die to cut them into pieces. I assemble them onto another piece of A2 sized card stock paper using Foam tapes and glue to create background dimensions. At last, I adhered my selected colored images onto my background to finish this card.
<Card 2>
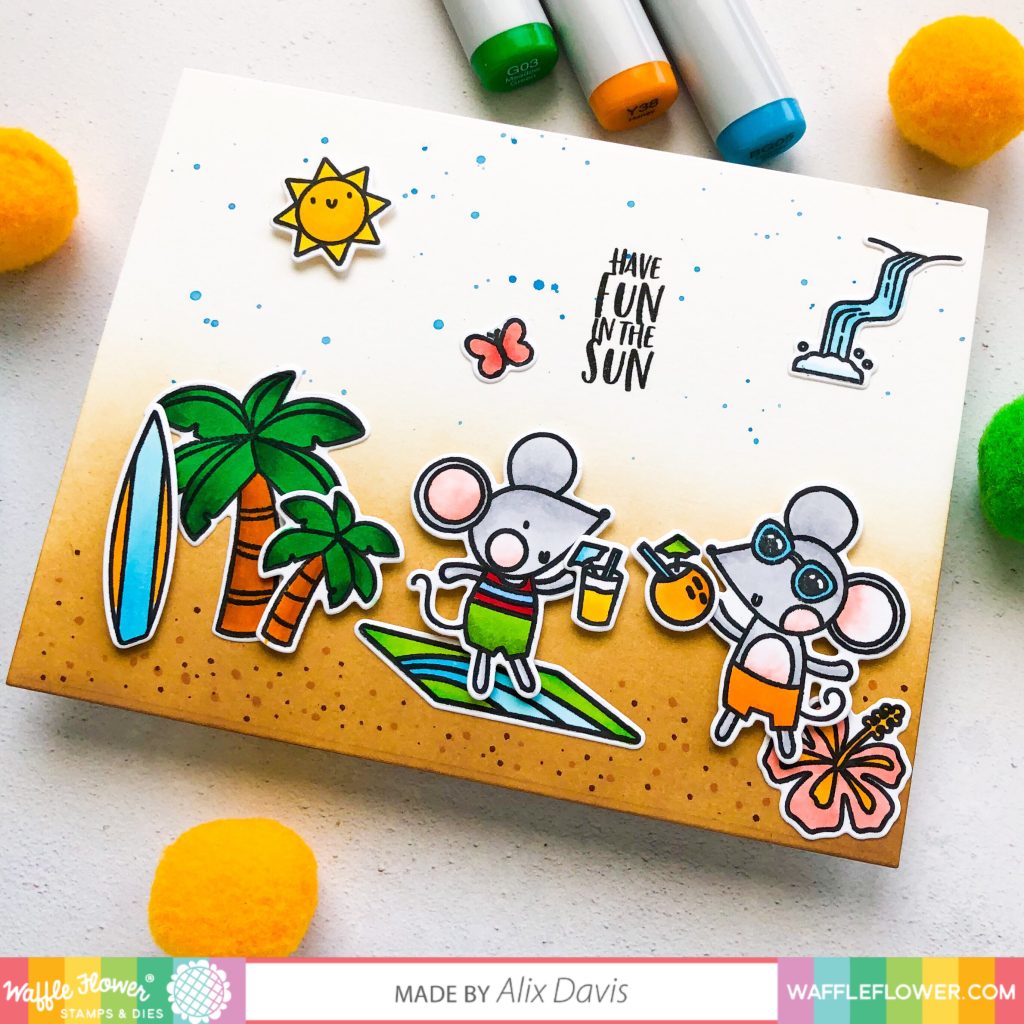
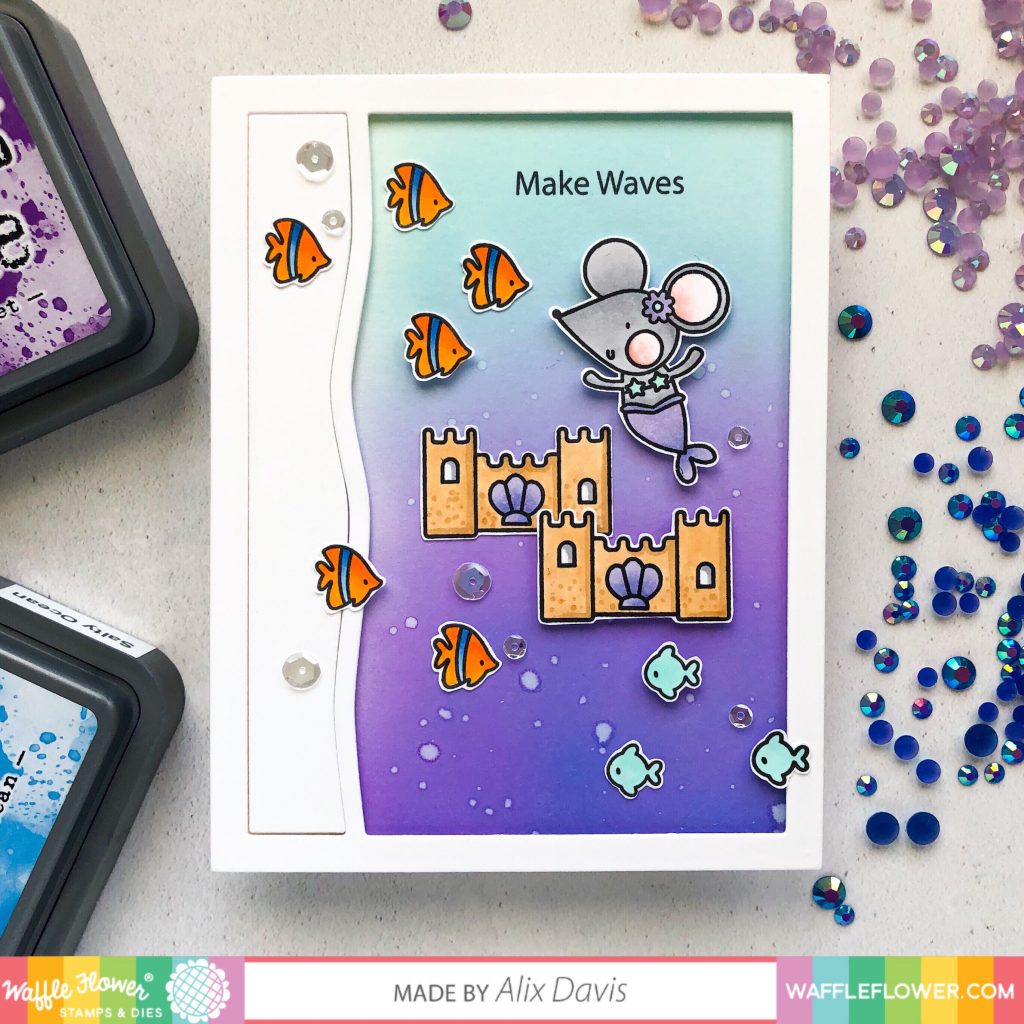
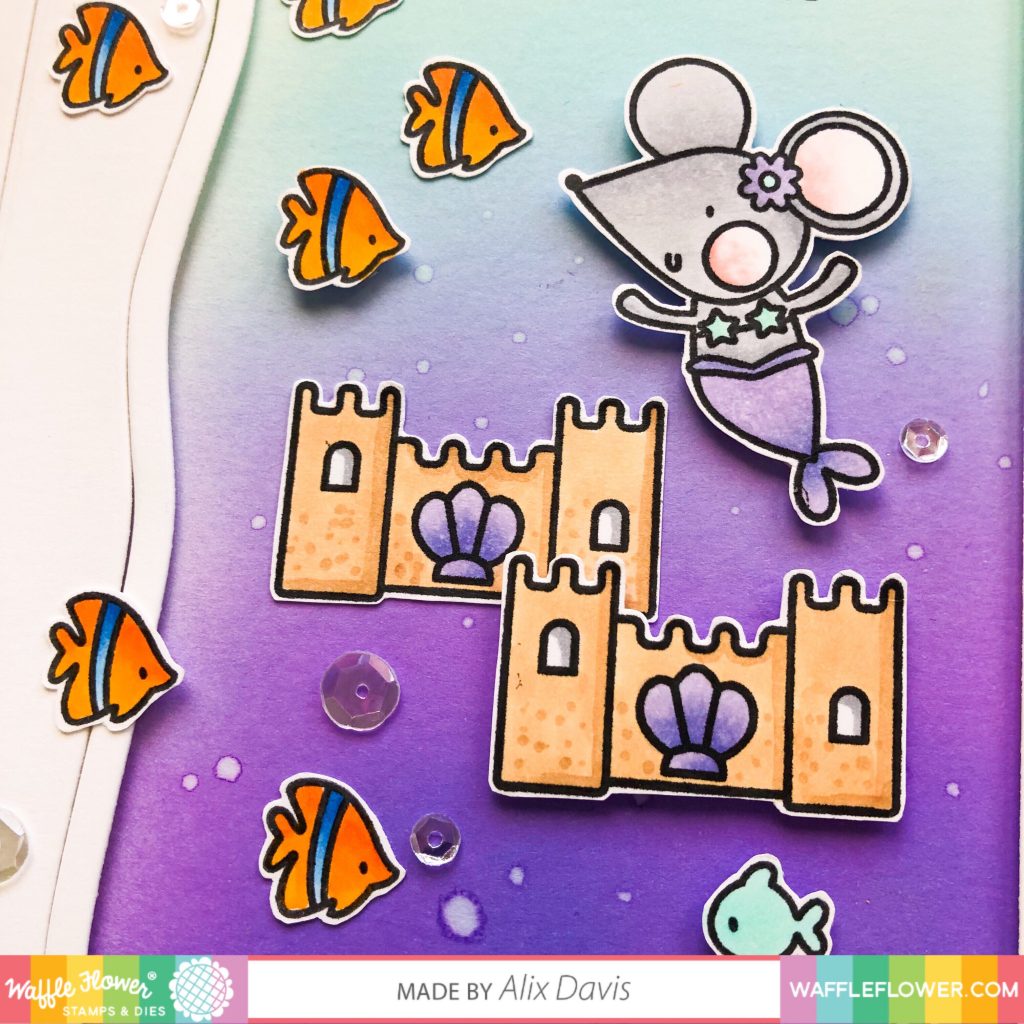
Our cute mice, illustrated by Liz Mytinger, are back for a day on the beach in Fun in Sun . It is almost like a dream for scene builder card maker. You got all elements of summer in this stamp set. Definitely a Must Have!

I colored my images from Fun in Sun Stamp set and die cut with the Matching Dies. Then I colored them with copic markers and set aside for later use.
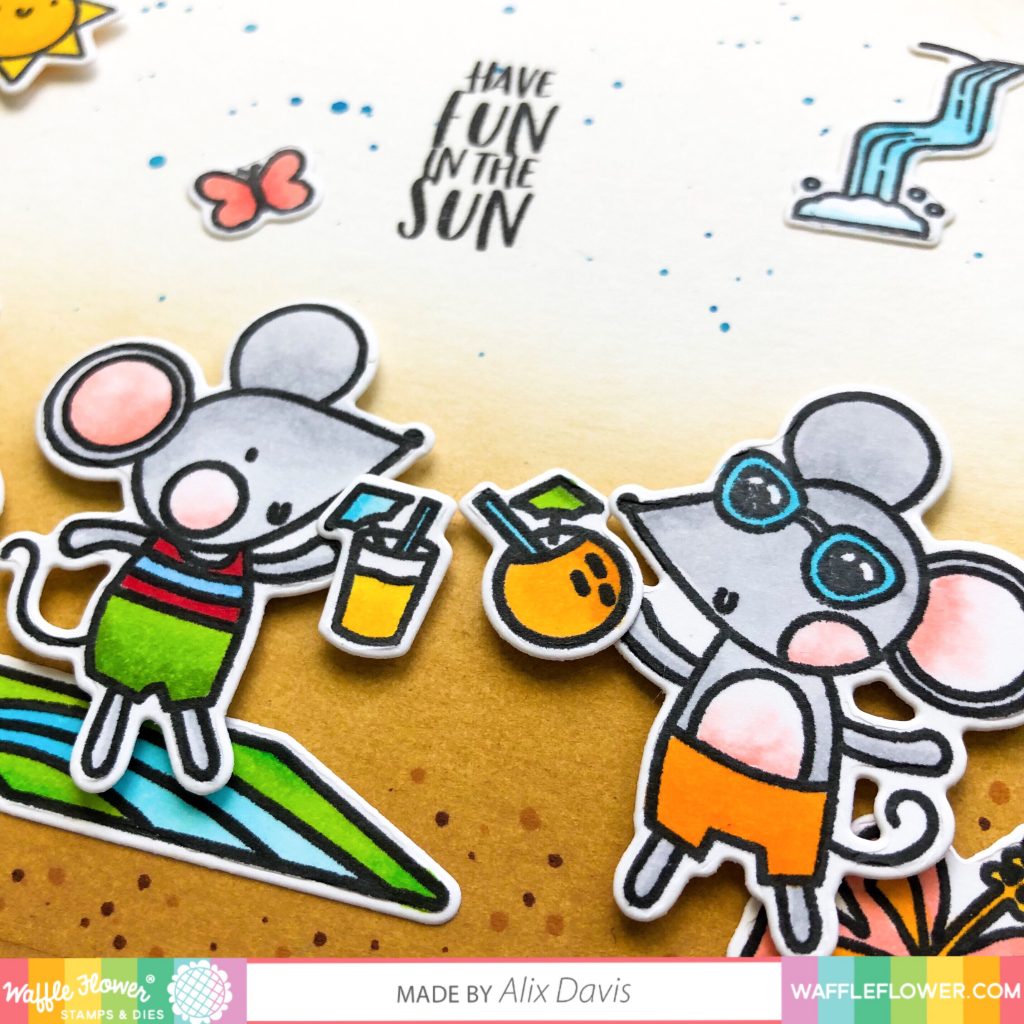
I prepped my background using Tim Holtz Distress oxide ink in Gathered Twigs for the bottom part of A2 sized card stock paper. Then I splattered Tumbled Glass distress oxide ink water mixture to the upper part of background. Once everything was dry, I used copic markers to create dots in the brown part to mimic sands. I arranged all colored images onto my ground and stamped the sentiment “Have Fun In the Sun” to end my second card.
<Card 3>
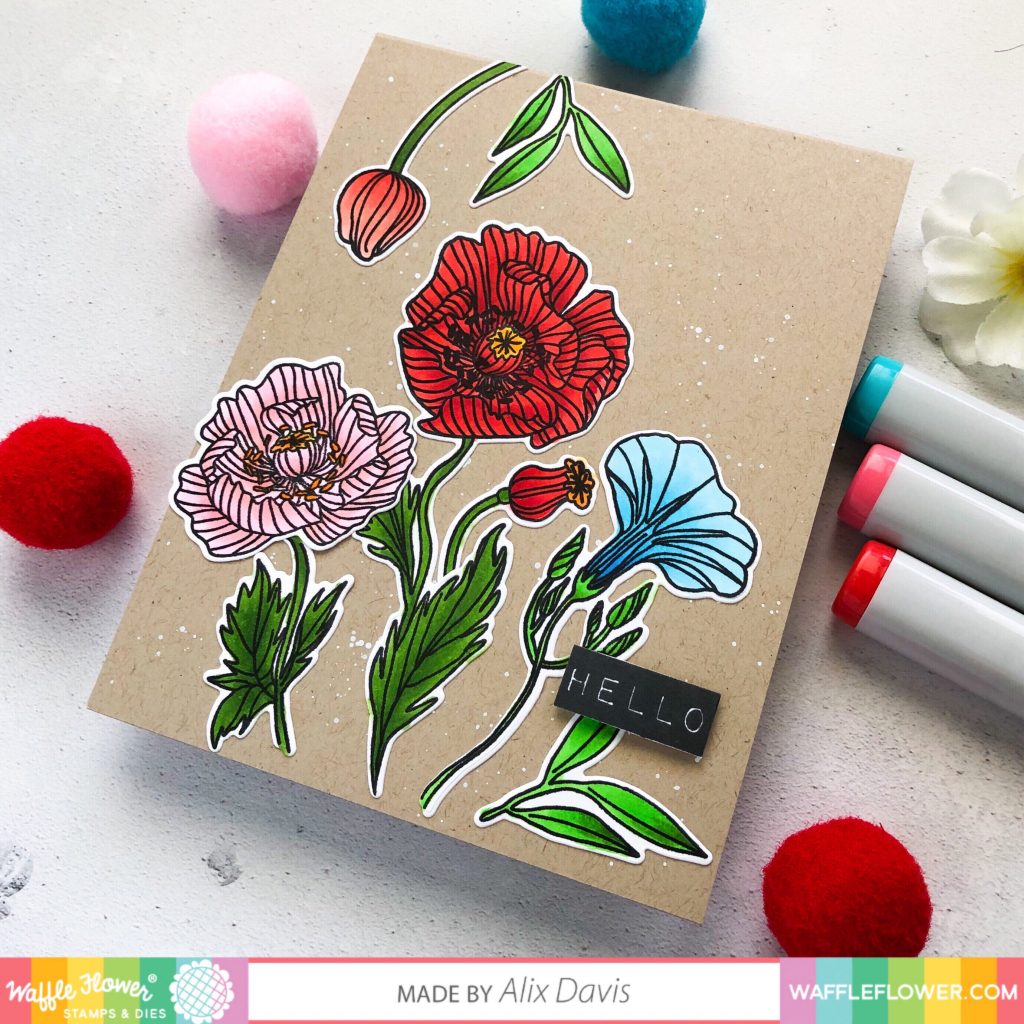
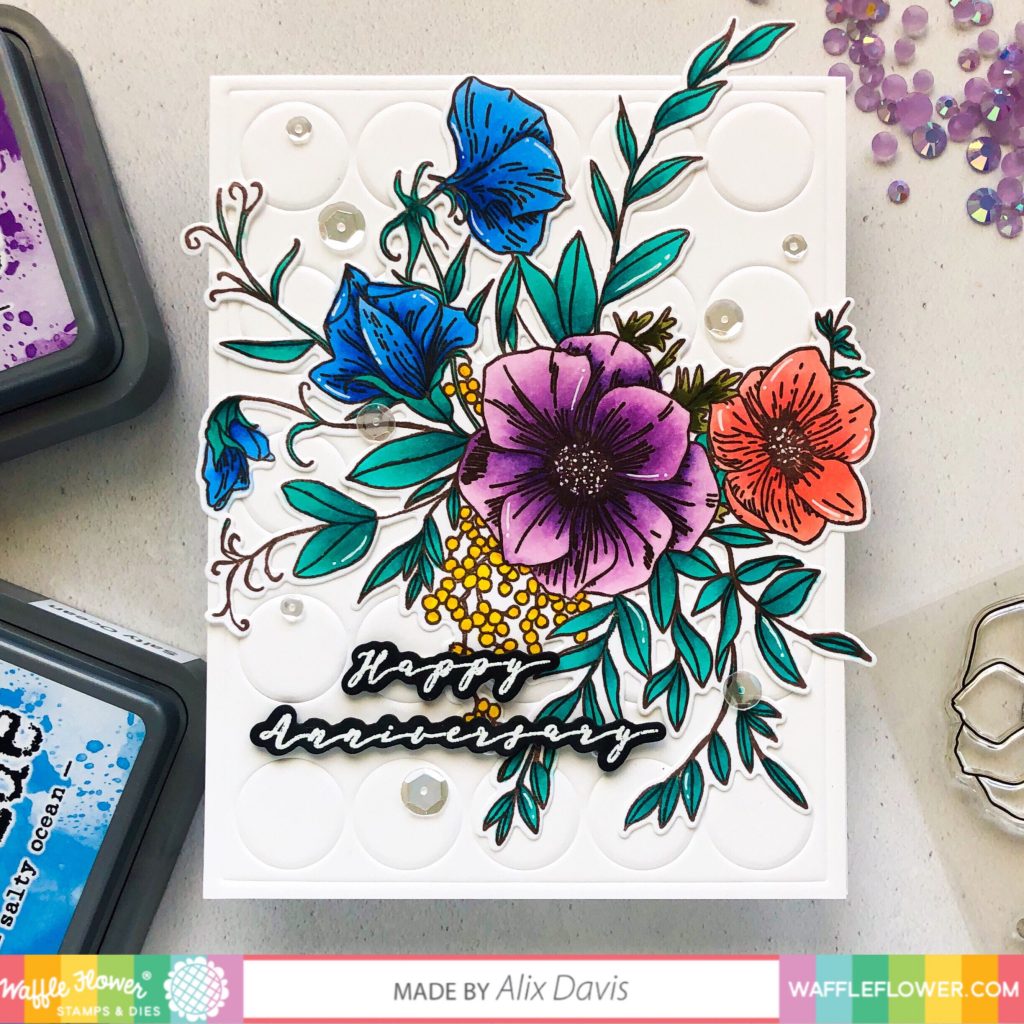
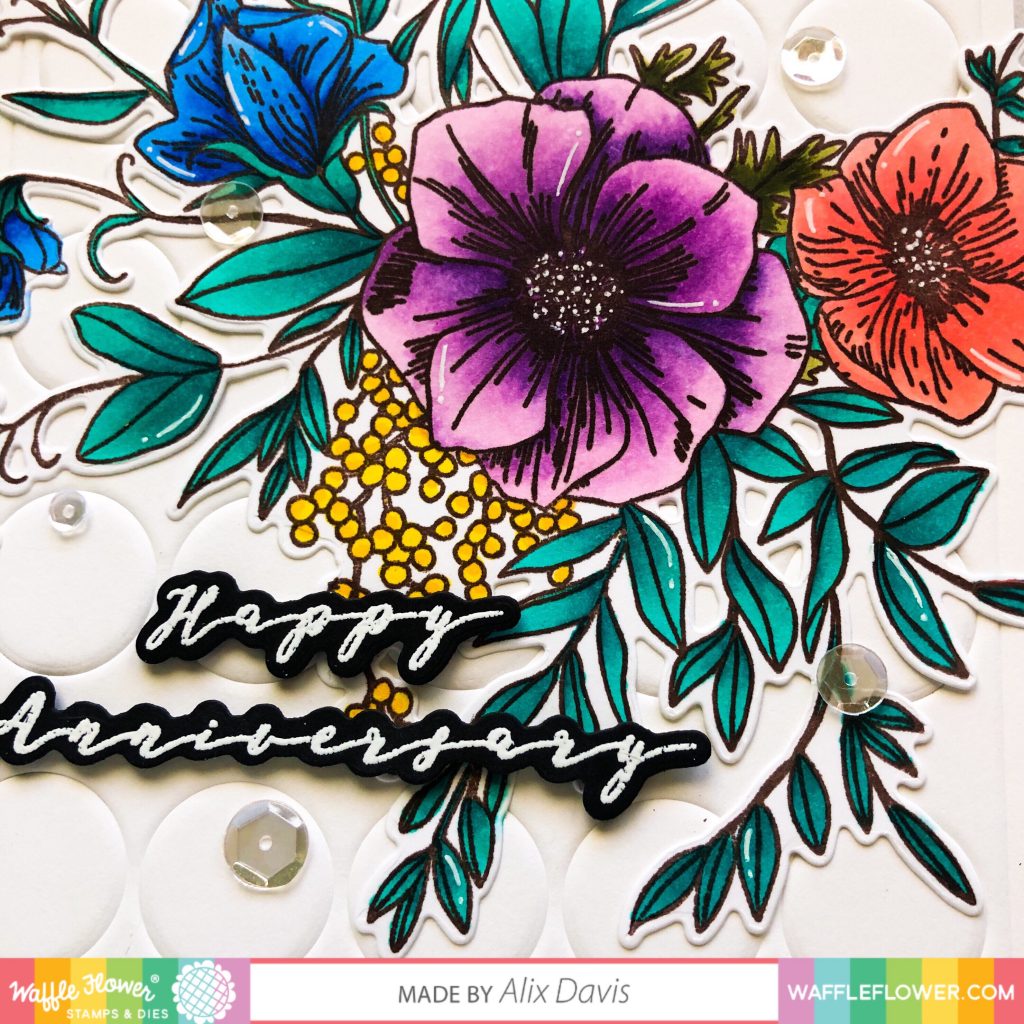
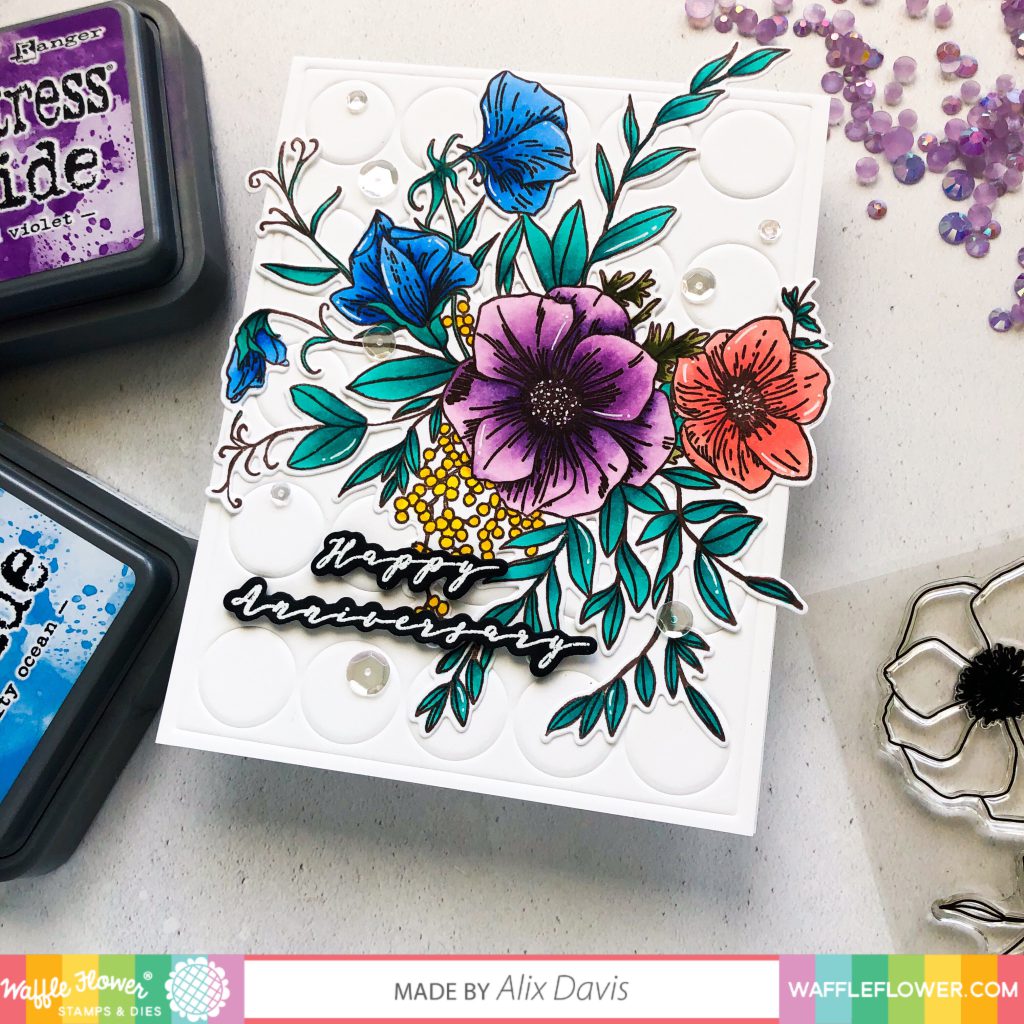
Bouquet Builder 4 , illustrated by Oana Befort, features large, modern, flowers that you can mix and match to create your own bouquet.
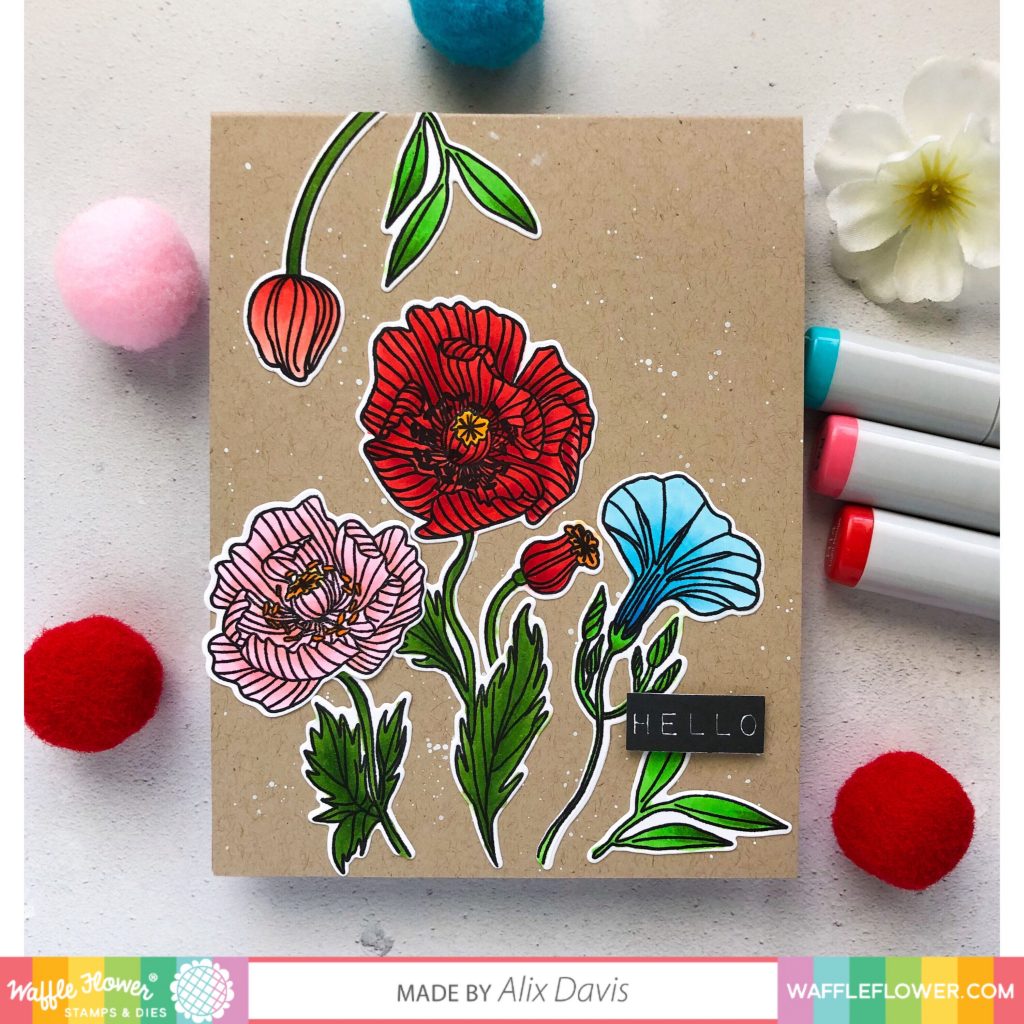
This time, I chose to fall back to a simple and almost one layer card. I stamped the images from Bouquet Builder 4 Stamp Set and Die cut with the Matching Dies.Then I colored them with copic markers and set aside for later use.
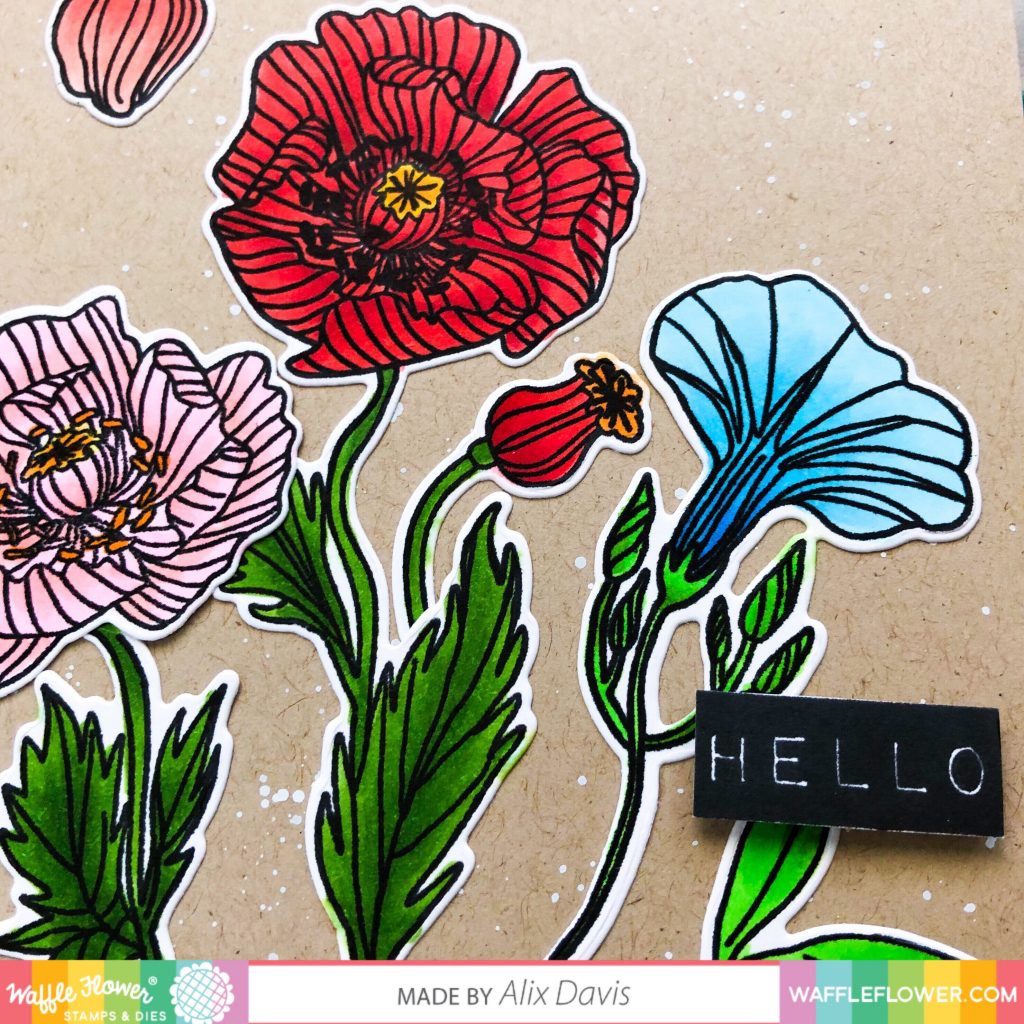
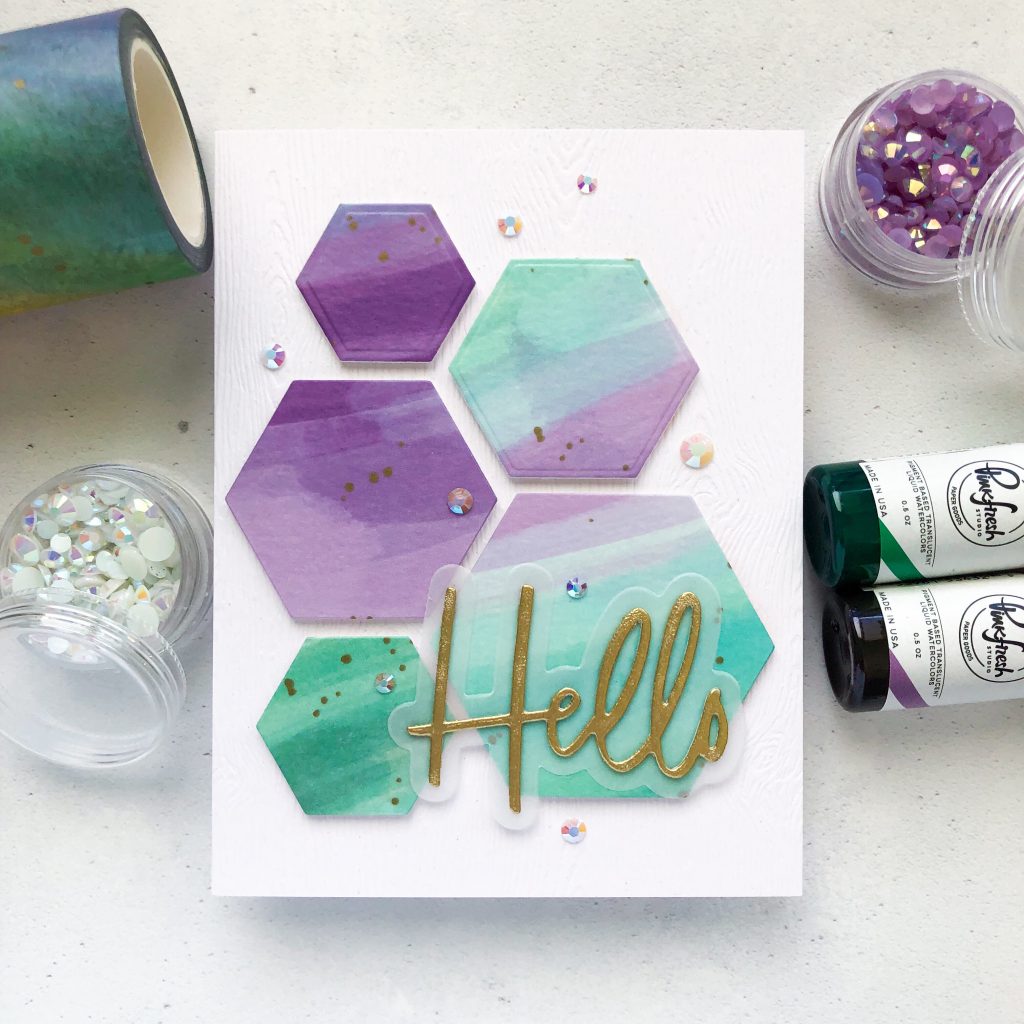
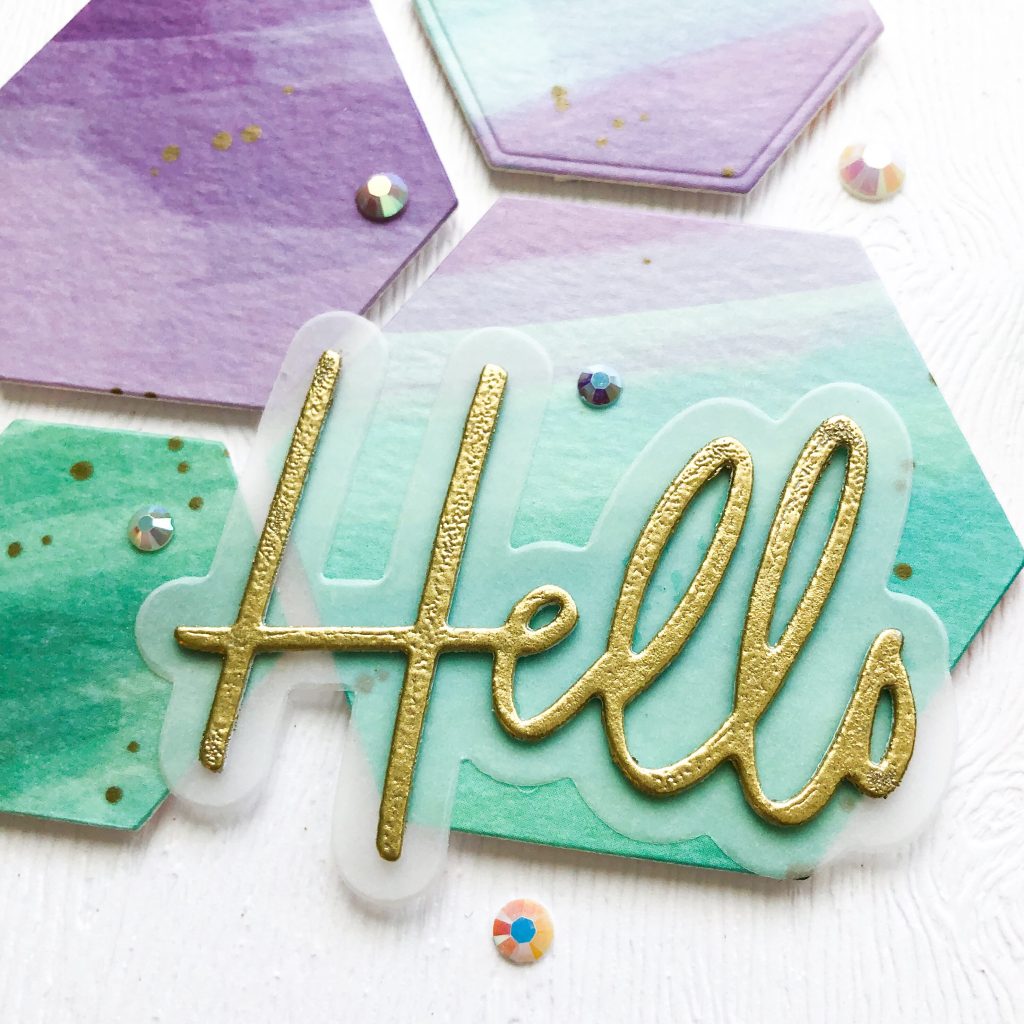
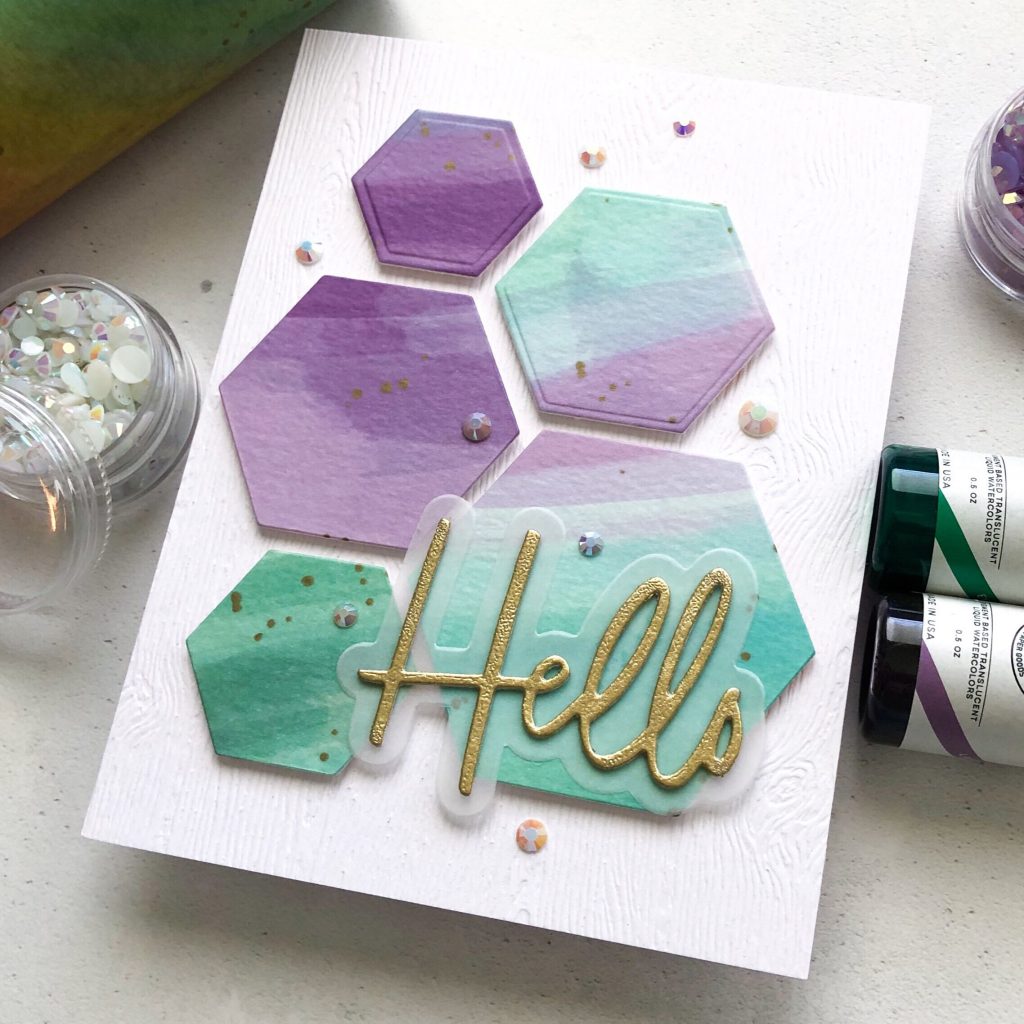
I grabbed Neeah dessert storm card stock paper and made it into a vertical folded card base. I splattered white paint over the front panel to create some interests. I adhered all selected images onto this prepped background with multi medium matte. I stamped the sentiment “HELLO” from Peony Notes Stamp set (released from last month) and I hand cut it with scissors. In the end, I attached this sentiment onto the lower right corner of my card.
<Card 4>
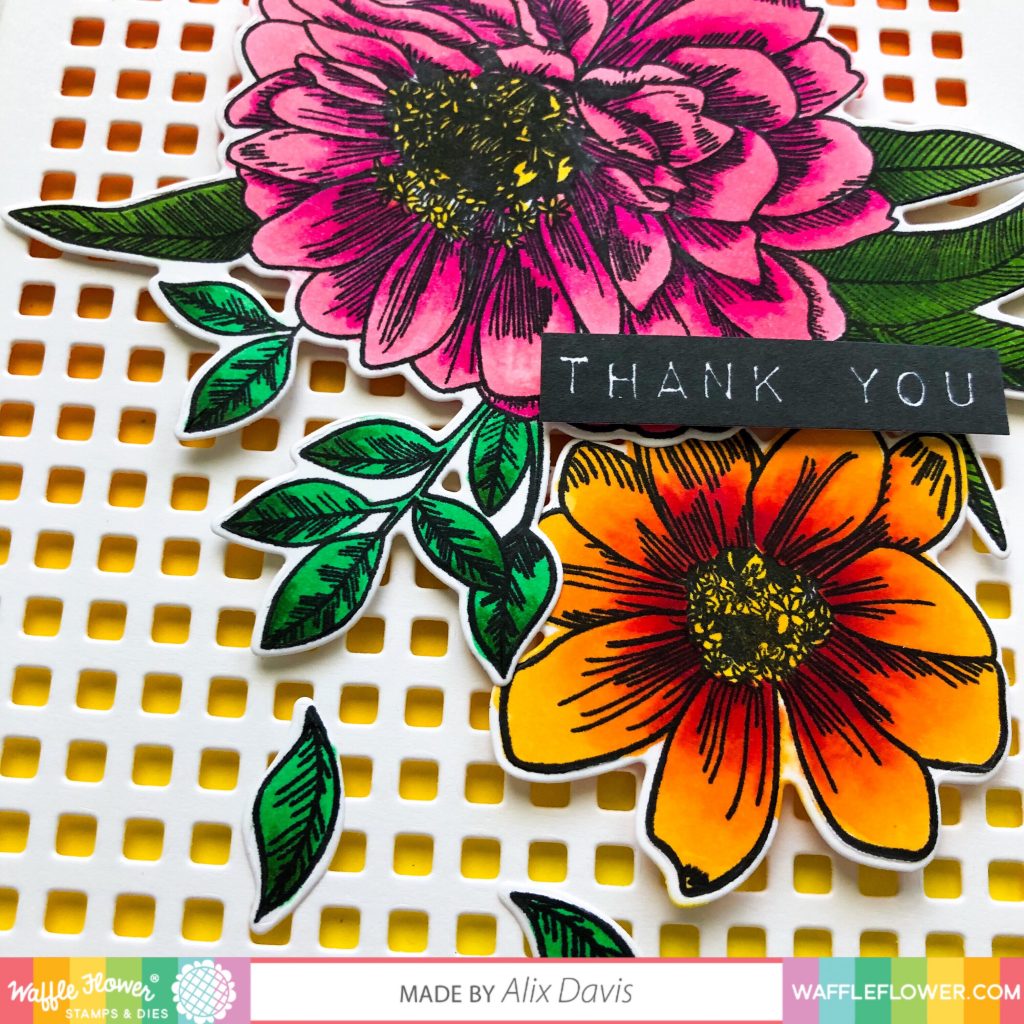
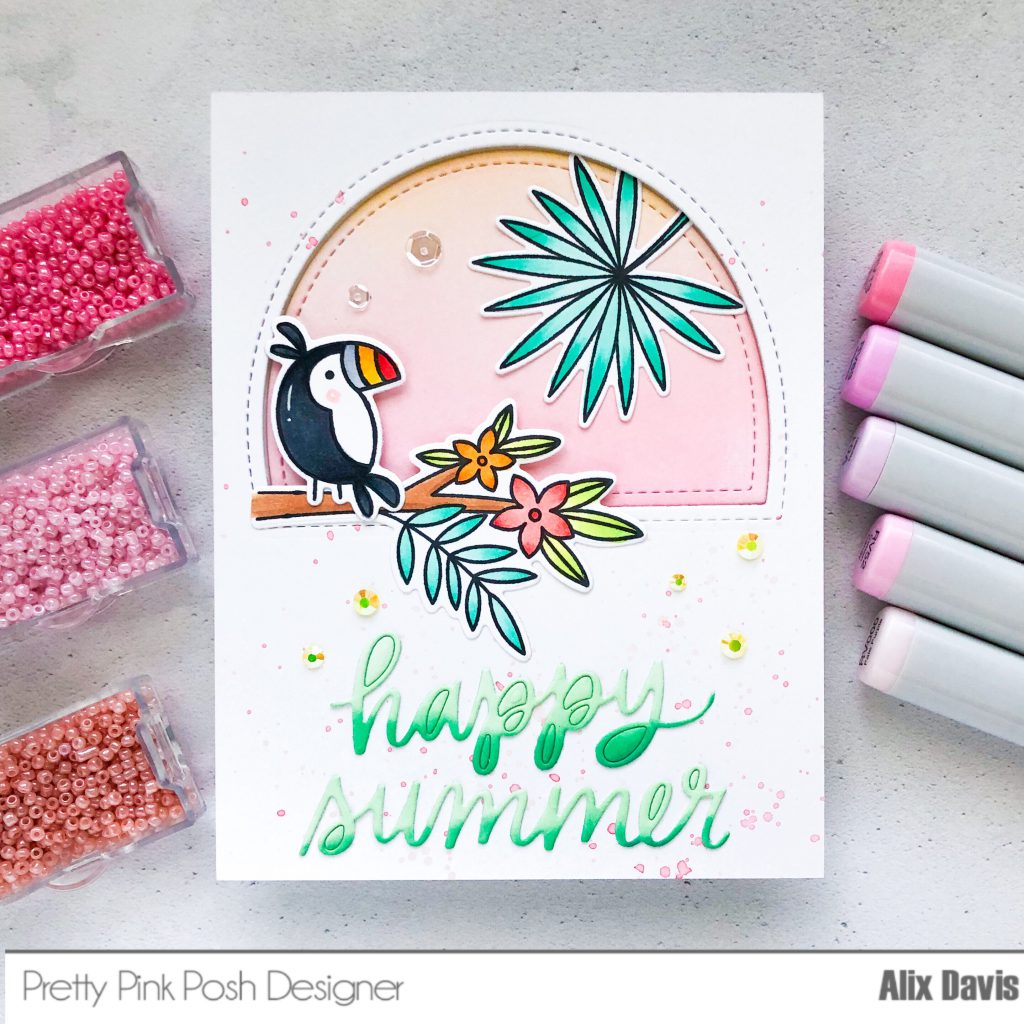
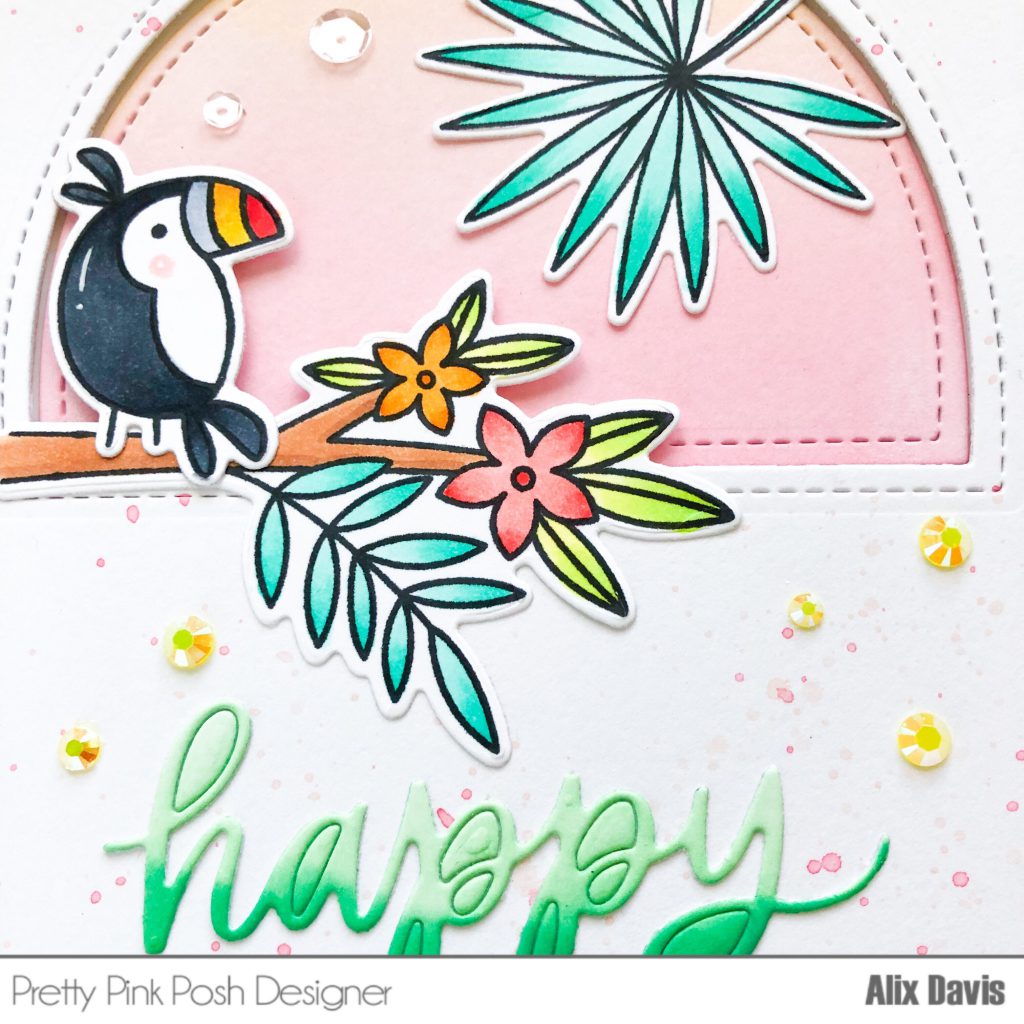
Here comes the last card of today’s inspirations. We have this stunning Zinnia illustrated by Karla Jodoin with gorgeous details.
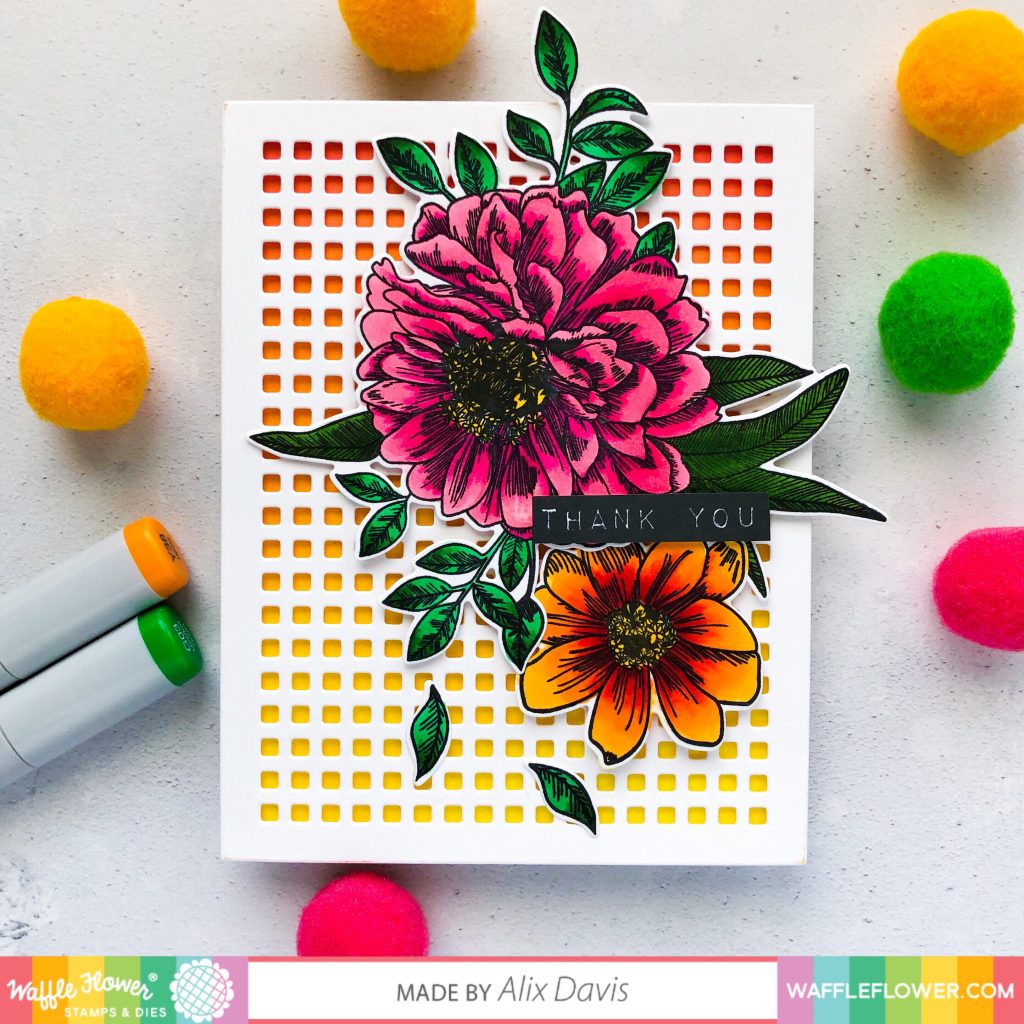
First of all, I ink blended the A2 sized watercolor paper with Tim Holtz Distress oxide ink in Picked Raspberry and Mustard Seed. Then I cut my overlay panel using Micro Grid Panel 1 Die out of white card stock paper. I attached the die cut over the inked background to create my dimension-ed panel.
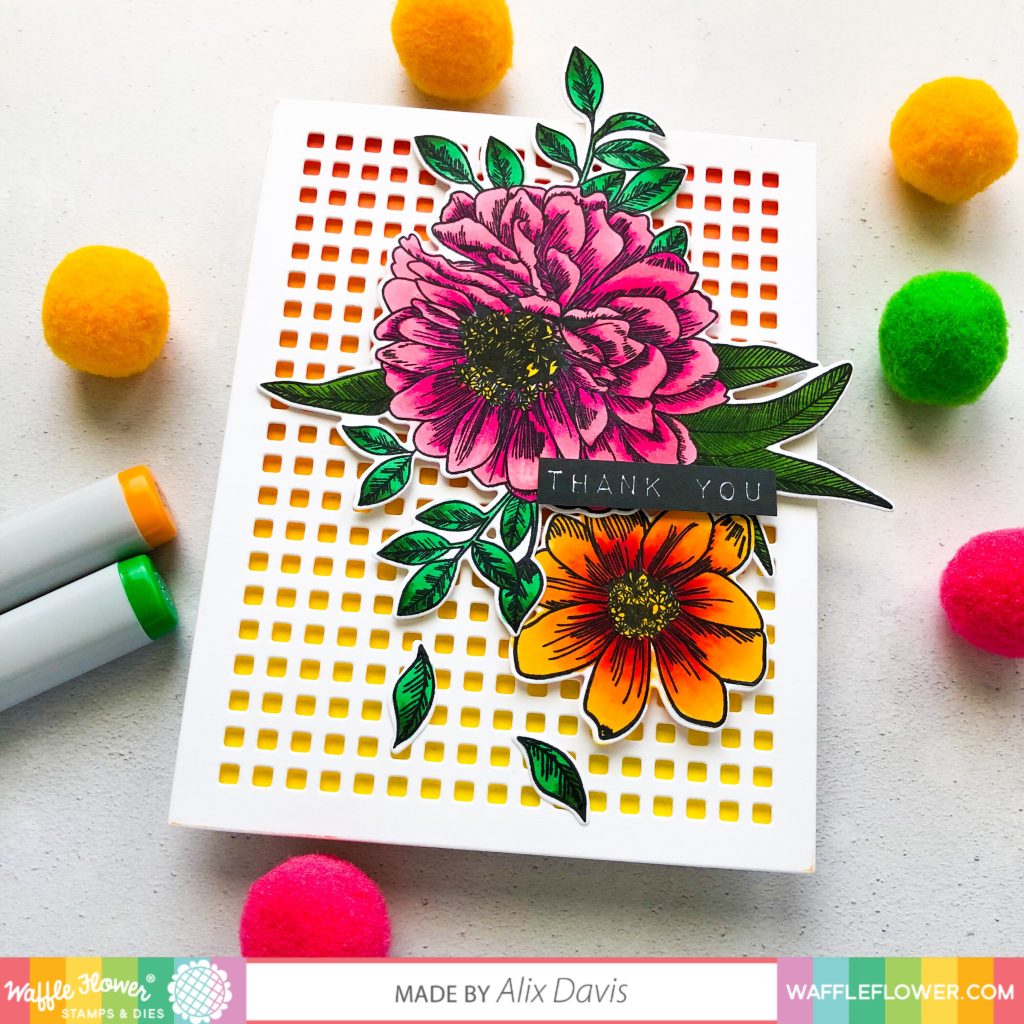
Now I copic colored the images from Zinnia Stamp set and die cut them with the Matching Dies. I arranged them on the card panel with multi medium matte and foam tapes. I stamped the sentiment “Thank you” from Peony Dreams Stamp set and I hand cut it with scissors. I attached it between my two Zinnia flowers with foam tape.
Hop With Us!
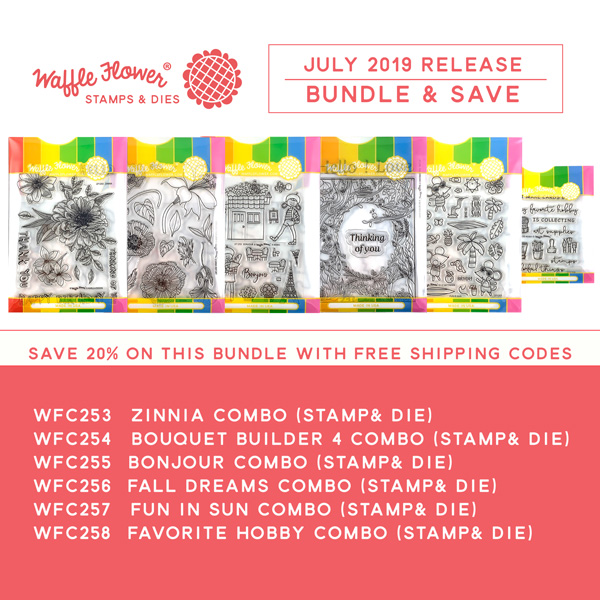
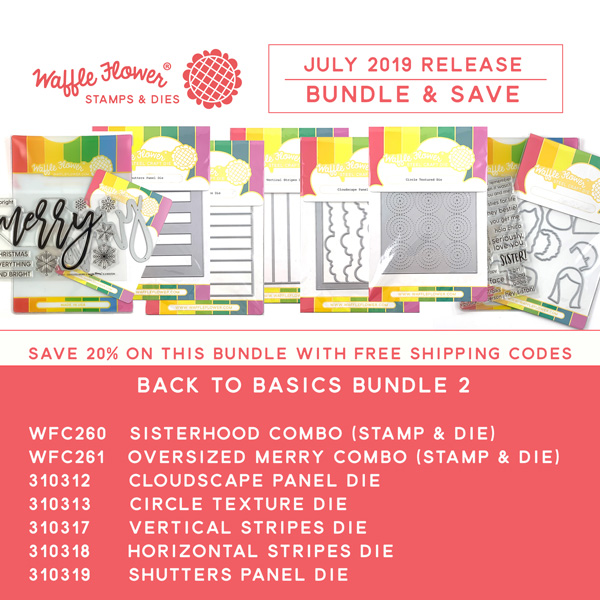
Promotions:
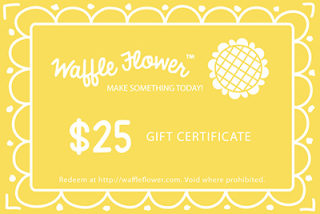
- To celebrate the blog hop, Waffle Flower is giving away $25 gift certificates to THREE lucky winners. You can leave a comment on this blog and along the hop by 11:59pm ET on 7/8/19 for your chances to win. Winners will be chosen at random from the comments left on any of the posts in this blog hop and will be announced on the Waffle Flower blog on 7/9/19.


 I want to thank Paulina, the owner of Pretty Pink Posh for the trust and all of my audiences for the support! I am sure to bring you more inspirations and excitements for you!!! XOXO!